Marantz PMD671 User Manual
Page 35
- 35 -
The display returns to RAW Mode flashing.
You can:
•
Press and release the F.FWD/+ button
or the -/
F.REV button
to tab to another menu choice, or
•
Press and release the
MENU/STORE button to
write the menu changes and return to stop mode, or
•
Press and release the CANCEL button
to cancel all
menu changes and return to stop mode.
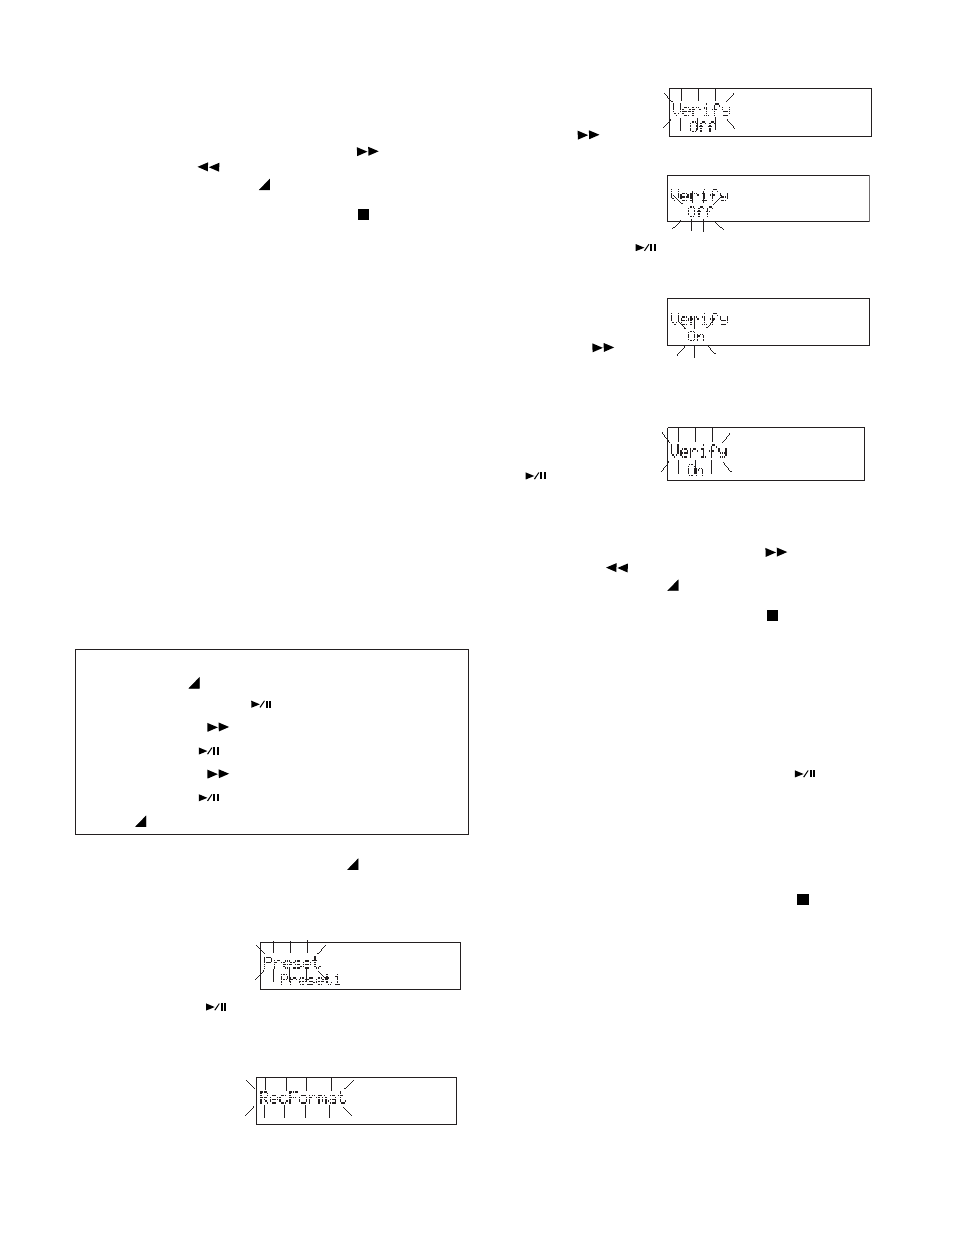
Verify
Verify is an automatic, electronic, Read After
Write check. With Verify On, the PMD671 con-
tinually reads the CF card about one second
after the recording. It compares what is recorded
to the source signal. A mismatch results in an
error message.
Verify does not depend on the position of the
MONITOR switch.
Verify does not function during MP2 record-
ing.
See charts on page 14.
How to set or change Verify
Quick instructions
Press & hold
MENU/STORE 2 sec ....... Preset
Double Click ENTER
.................. RecFormat
Press F.FWD/+
until ............................ Verify
Press ENTER
..................................... Off/On
Press F.FWD/+
........................ toggle Off/On
Press ENTER
...................................... Verify
Press
MENU/STORE .................... store & exit
1. From stop, press and hold the
MENU/
STORE button for about 2 seconds. Preset
will appear (flashing) in the display.
2. While Preset is
flashing, double
click the EN-
TER button
.
Example display
A menu choice will be flashing.
4. With Verify flash-
ing, press and
release the
3. Press and release
the F.FWD/+
button
until
ENTER button
.
Verify menu choice is flashing.
5. Press and re-
lease the F.FWD/
+ button
to
toggle between On and Off.
6. When the desired state is displayed, press
and release the
ENTER button
.
The display returns to Verify flashing.
You can:
•
Press and release the F.FWD/+ button
or the -/
F.REV button
to tab to another menu choice, or
•
Press and release the
MENU/STORE button to
write the menu changes and return to stop mode, or
•
Press and release the CANCEL button
to cancel all
menu changes and return to stop mode.
PupPreRec
Power Up Pre Record buffers (remembers) audio
during REC PAUSE. When you slide the REC
switch to engage record, CONT? is displayed.
• Press and release the PLAY button
to
record the buffered audio and continue
recording.
• Slide and release the REC switch again to
discard the buffered audio and continue
recording from that point.
• Press and release the STOP button
to
discard the buffered audio and stop record-
ing.
Note:
If there is less than 5 minutes of REC REMAIN time
PupPreRec does not work.
Verify is displayed.