Marantz PMD671 User Manual
Page 26
- 26 -
Auto Cue – Turn the Auto Cue feature on or off,
set the number of milliseconds the dB level must
meet or exceed the set threshold, and set the dB
threshold level.
S.Monitor - Turn the Stop Monitor feature on or
off.
SinglePly – Turn the single track play feature on
or off.
Remote – Set the effect of the optional wired
remote contact closure switch plugged into the
REMOTE 1 jack.
ID1Dscrpt – Set the description ID code for
broadcast wave file recordings.
ID2Origin – Set the origin ID code for broadcast
wave file recordings.
ID3OrgRef – Set the origin reference ID code for
broadcast wave file recordings.
Default – Reset all Menu settings to factory
default settings.
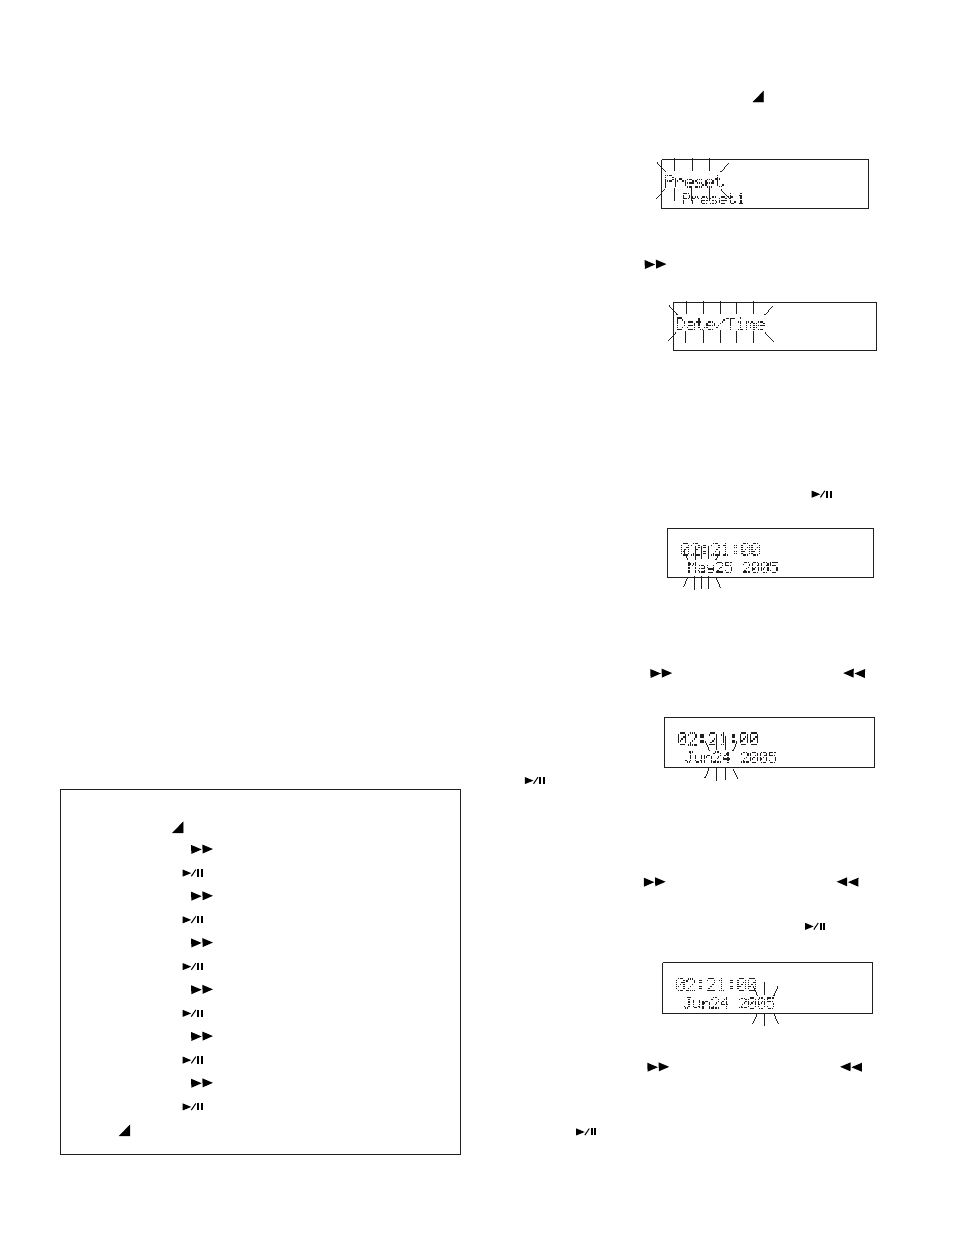
How to set or change the Date and time
The date and time are written on each audio track
(file) when the track is started. When an audio
track is viewed on a computer, this date and time
appears as when the file was 'modified'. (US date
format is illustrated.)
The Date/Time
Menu choice will
most likely ap-
pear.
Note
If another Menu choice appears (Date Form, Beep,
A.PowOff, Batt type) press and release the F.FWD/+ button
repeatedly until Date/Time is displayed.
3. Press and release the ENTER button
.
The current date
and time informa-
tion will be
displayed with
Example display
1. From stop, press and hold the
MENU/
STORE button for about 2 seconds. Preset
will appear (flashing) in the display.
Example
display
2. With Preset flashing, press and release the
F.FWD/+ button
.
Quick instructions
Press & hold
MENU/STORE 2 sec ....... Preset
Press F.FWD/+
............................. Date/Time
Press ENTER
..................................... month
Press F.FWD/+
repeatedly ..... correct month
Press ENTER
......................................... day
Press F.FWD/+
repeatedly ......... correct day
Press ENTER
........................................ year
Press F.FWD/+
repeatedly ........ correct year
Press ENTER
........................................ hour
Press F.FWD/+
repeatedly ........ correct hour
Press ENTER
.................................... minute
Press F.FWD/+
repeatedly .... correct minute
Press ENTER
............................... Date/Time
Press
MENU/STORE .................... store & exit
the month flashing.
4. With the month flashing press and release the
F.FWD/+ button
or the -/F.REV button
to tab through the months. When the month
Example display
is correct, press
and release the
ENTER button
.
The day will be flashing.
5. With the day flashing press and release the
F.FWD/+ button
or the -/F.REV button
to tab through days. When the day is correct,
press and release the ENTER button
.
The year will be flashing.
Example
display
6. With the year flashing press and release the
F.FWD/+ button
or the -/F.REV button
to tab through years (2005 - 2099). When the
year is correct, press and release the ENTER
button
.
PM
PM
PM