Assembly, Hook, Installing or removing the bit – Makita 6812 User Manual
Page 8
8
CAUTION:
•
If the tool is operated continuously at low speeds for a
long time, the motor will get overloaded, resulting in tool
malfunction.
•
The speed adjusting dial can be turned only as far as 5
and back to 1. Do not force it past 5 or 1, or the speed
adjusting function may no longer work.
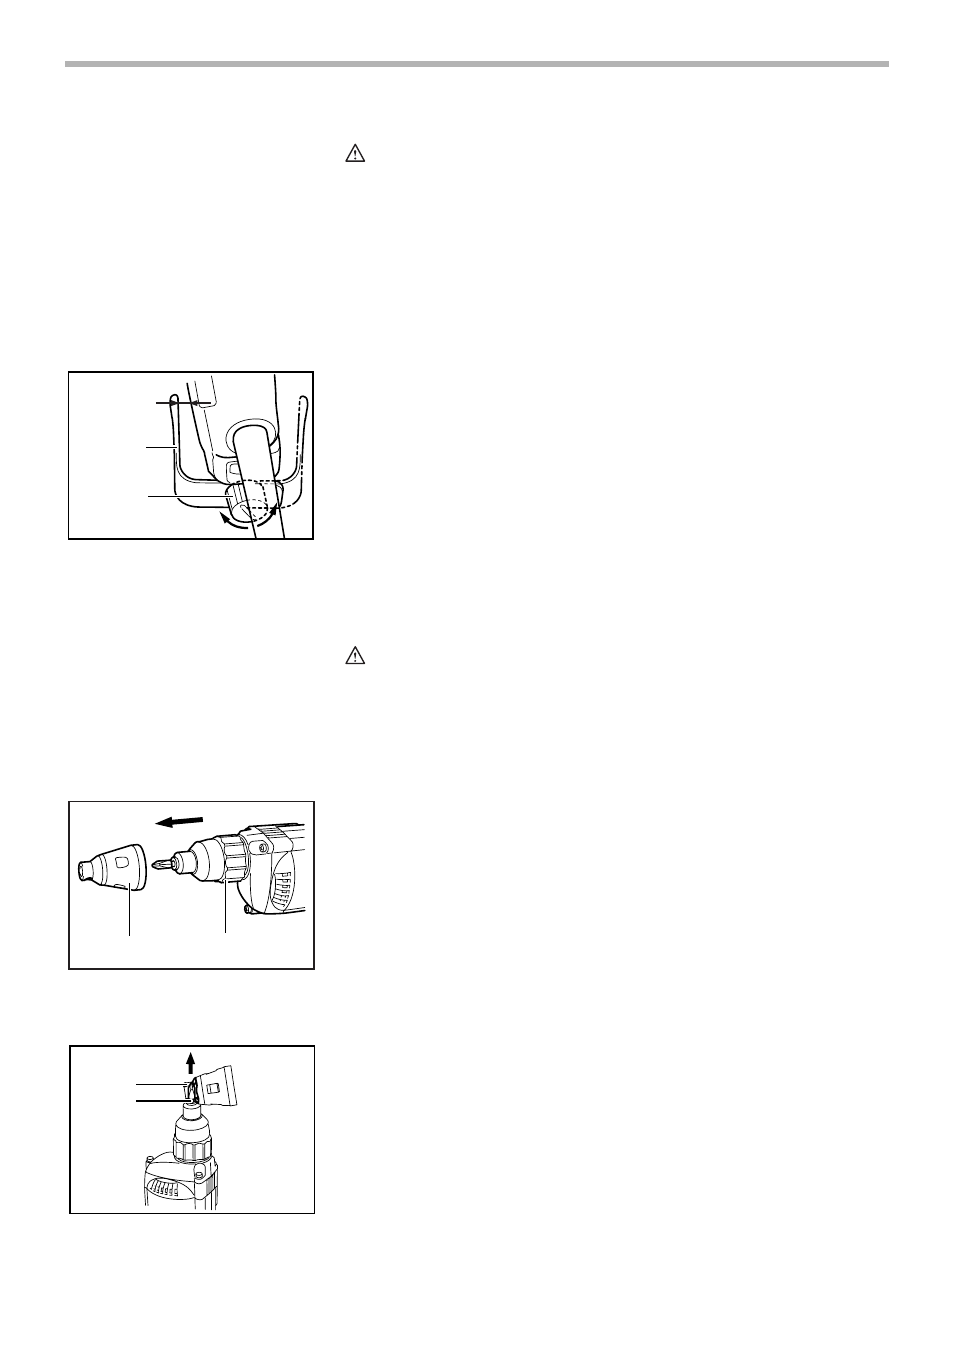
Hook
The hook can be installed on either side of the tool. To
change the hook position, remove the thumb screw and
hook. Replace the hook so that its bent portion will be on the
other side.
The space between the hook and the tool itself can be
adjusted to provide more 37 mm (1 - 7/16”) or less 17 mm
(11/16”) room for temporarily hanging the tool. To adjust,
remove the thumb screw and hook. Then use the other hole
when securing with the thumb screw.
ASSEMBLY
CAUTION:
•
Always be sure that the tool is switched off and
unplugged before carrying out any work on the tool.
Installing or removing the bit
To remove the bit, first pull the locator out of the locking
sleeve.
Hook the neck of the bit with one of the holes on the locator
and pull. The bit is thus easily removed.
1. Hook
2. Thumb screw
1
2
17mm(11/16")
or 37mm(1-7/16")
002643
1. Locator
2. Locking sleeve
1
2
002651
1. Locator hole
2. Bit neck
1
2
002658