Installation instructions, Legal requirements, Installing the appliance – Stovax REGENCY 1000 User Manual
Page 18
18
leGAl ReQUIReMeNTs
Before installation of this product please read these
instructions fully.
It is very important to understand the requirements of the national
Building Regulations* and standards**, along with any local
regulations and working practices that may apply. Should any
conflict occur between these instructions and these regulations
then the regulations must apply.
Your local Building Control Office can advise regarding the
requirements of the regulations.
The appliance must be fitted by a registered installer†, or
approved by your local building control officer.
Works must be carried out with care to meet the requirements of
Health and Safety‡ and comply with the Health and Safety rules,
and any new regulations introduced during the lifetime of these
instructions.. Particular attention should be drawn to:
• Handling: The appliance is heavy. Adequate facilities
must be available for loading, unloading and site handling.
• Fire Cement: Some fire cement is caustic and must not
come into contact with the skin. Protective gloves must be
worn. Wash hands thoroughly with plenty of water after
contact with skin.
• Asbestos: This appliance contains no asbestos. If there
is the possibility of disturbing any asbestos in the course of
installation seek specialist guidance and use appropriate
equipment.
• Metal Parts: Take care when installing or servicing the
stove to avoid personal injury.
A faulty installation can cause danger to the inhabitants and
structure of the building.
For users of this appliance:
Your building insurance company may require you to inform them
that you have installed a new heating appliance. Check that your
cover is still valid after installing the appliance.
1. INsTAllING THe APPlIANCe
Each installation is unique to the property so it is not possible
to give details to suit every setting. The installation must comply
with Building Regulations and be made using "best practice"
construction methods.
Many fireplace openings have a supporting lintel. Do not remove
without supporting the remaining structure of the building. do not
support the structure with the appliance or the flue system
.
1.1 Take care when installing the appliance. Careless
handling and use of tools can damage the finish and/or
area
.
1.2 Assemble the appliance as detailed:
• Open the box and remove the ash lip plate which is
packed separately at the back of the appliance, secured by
wire
INsTAllATIoN INsTRUCTIoNs
• Open the doors and remove the carton containing the
following items: Flue pipe adaptor
3 Legs
Blanking plate
Screws
• Remove the grate and ash pan
• Lay the appliance carefully on it's back
• Fit ash lip to front of appliance between bottom of
appliance sides and appliance bottom plate
• Line up the row of four holes in the lip plate with the
corresponding holes in the bottom plate
• Secure with 4 flat headed screws
• Secure appliance bottom plate to appliance sides with 2
long screws through the remaining 2 holes
• Choose top or rear flue exit:
Top
Rear
Hexagonal
bolts
AR2107
• Fit flue collar and blanking plate to suit
• Attach flue collar to top or rear with hexagonal bolts, see
picture 2
• Seal with fire cement if desired
• Secure blanking plate with clamping bar
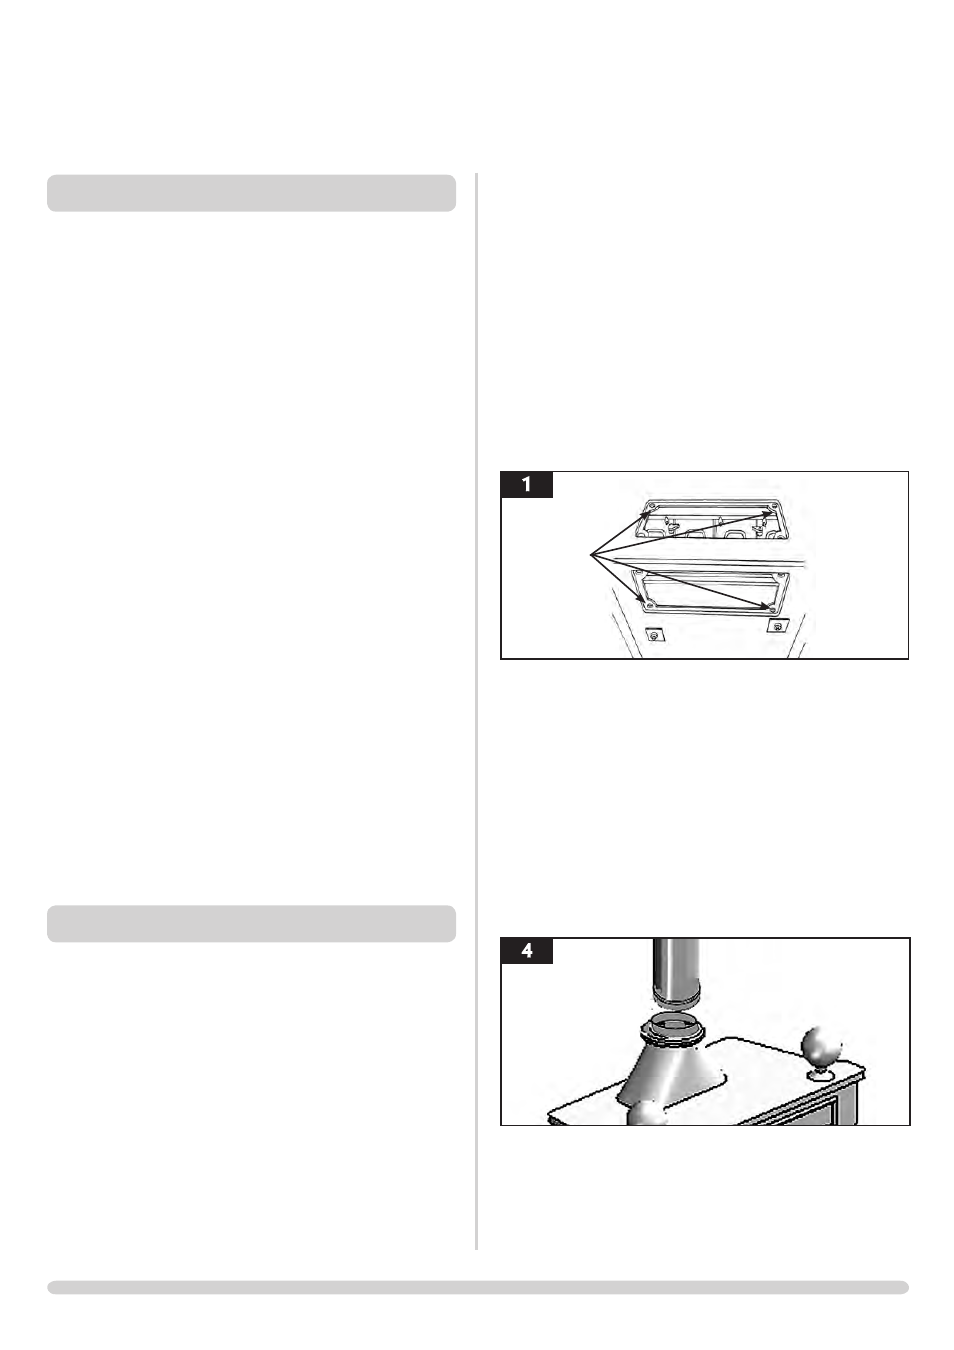
1.3 Top flue pipe installation
• Seal with fire cement if desired
• Lift appliance into position
Take care not to damage the hearth finish.
• Connect appliance to the chimney using flue pipe
• Secure with self tapping screw
• Seal the connecting joints
Flue
The Flue must be installed in accordance with
manufacturers instructions.