Preparing to install the dryer, Warning, Unpacking the dryer – GE DVL223 User Manual
Page 10
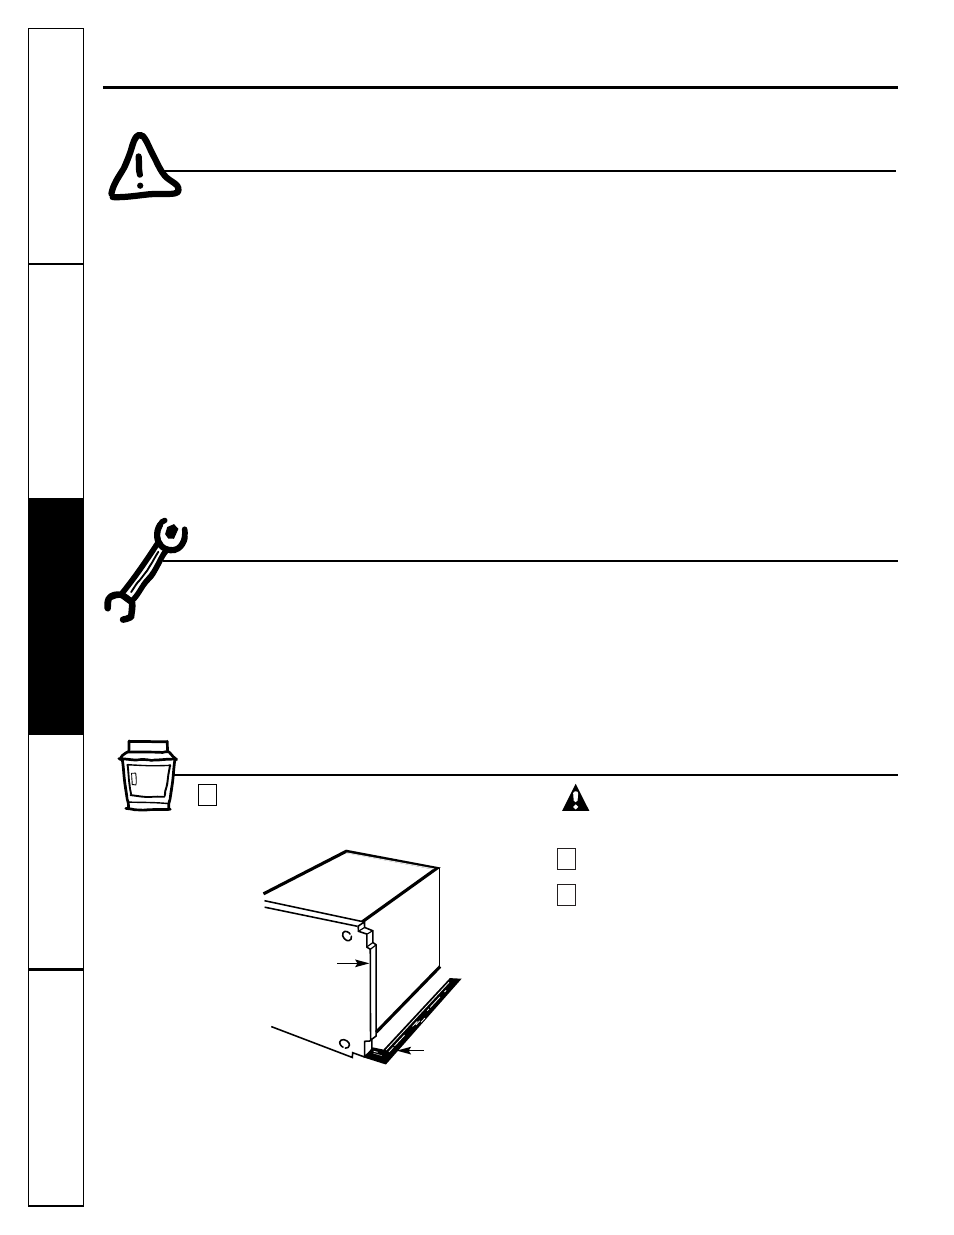
Using the four shipping carton corner posts
(two on each side), carefully lay the dryer on
its left side and remove foam shipping pad.
CAUTION:
To prevent damage, do not use
the control panel as a means to pick up or
move the dryer.
Return the dryer to an upright position.
Adjust the leveling legs to match the washer
height. The dryer must be level and rest firmly
on all four leveling legs.
3
2
1
10
WARNING
■
This dryer must be exhausted to the outdoors
using only rigid metal or flexible metal 4
″
diameter ductwork for inside the dryer cabinet
or exhausting.
■ Never use plastic or other combustible ductwork.
See Exhausting section.
■
This appliance must be properly grounded
and installed as described in these Installation
Instructions.
■
Do not install or store appliance in an area
where it will be exposed to water/weather.
See Location of Your Dryer section.
■
The National Fuel Gas code restricts installations
of gas appliances in garages. They must be 18
″
(45.7 cm) off the ground and protected from
vehicles by a barrier. See Location of Your Dryer
section.
■
The electrical service to the dryer must conform
with local codes and ordinances and the latest
edition of the National Electrical Code,
ANSI/NFPA 70.
■
The gas service to the dryer must conform with
local codes and ordinances or the latest edition
of the National Fuel Gas Code ANSI Z223.1.
The gas dryer is designed under ANSI Z 21.5.1
for home use only. This dryer is not
recommended for commercial applications
such as restaurants or beauty salons, etc.
Unpacking the Dryer
Foam shipping pad
Packing
■
Phillips head screwdriver
■
Channel-lock adjustable pliers
■
Carpenter’s level
■
Flat or straight blade screwdriver
■
Duct tape
■
Rigid or flexible metal 4
″
(10.2cm) duct
■
Vent hood
■
Pipe thread sealer (GAS DRYER)
■
Plastic knife
■
1/2
″
open-end wrench
Tools and Materials Required for Dryer Installation
Preparting to install your dryer.
Read these instructions completely and carefully.
Consumer Support
Troubleshooting T
ips
Operating Instructions
Safety Instructions
Installation Instructions