Putting into operation, Summary operating instructions – Gardena 7875 User Manual
Page 4
G
19
G
18
Putting into Operation
x Take the lower half of the housing from your GARDENA Radio
Remote Control Unit by unscrewing the 4 screws.
x Insert a 9 V alkali-manganese (alkaline) battery Type IEC 6LR61.
Please note the +/- markings.
x Screw the unit together again.
Ensure you have both your GARDENA Radio Remote Control Sok-
ket and GARDENA Radio Remote Control Unit close at hand.
x Press the On/Off key of your GARDENA Radio Remote Control
Socket. Hold the key down (➞ for at least 5 seconds) while you
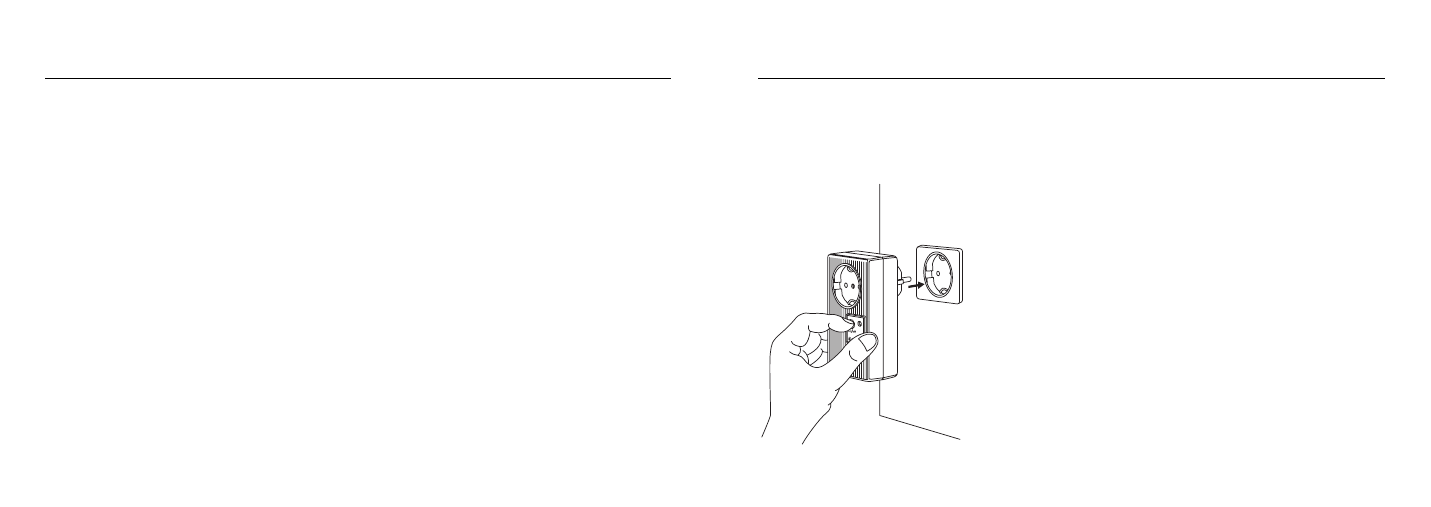
plug the Radio Remote Control Socket into a 230 V AC power
outlet.
x Your GARDENA Radio Remote Control Socket changes the
assignment mode; the red LED stays lit.
x Release the On/Off-key (LED flashes). Now you have 10 seconds
to assign the socket to a key on your Radio Remote Control Unit.
Select an (unassigned) key of the Remote Control and hold
down the corresponding "ON" key, located on the left-hand side,
for 1 second. The red LED stays lit for approx. 2 seconds once
you have successfully assigned the socket.
Plugging the
Radio Remote
Control Socket
into the Power
Outlet
Insert the battery
Summary Operating Instructions
4
1. Plug the devices
you wish to control
remotely into the
GARDENA Radio
Remote Control
Socket and switch
on.
2. You can now switch
devices on and
off using the Radio
Remote Control
Unit.
3
Assigning keys of the
GARDENA Radio
Remote Control Unit
to the corresponding
socket:
➔ While the LED on
the Remote Control
Socket is flashing,
press one of the
On keys on the
GARDENA Remote
Control and hold
down for 1 second.
2
1. Press the On/Off
key. Keep the
On/Off key pressed
down while plug-
ging the GARDENA
Remote Control
Socket into a 230 V
AC mains socket.
2. Release the On/Off
key after 5 seconds.
1
➔ Insert the battery
in the GARDENA
Radio Remote
Control Unit.
Use a 9 V alkali-
manganese (alkaline)
battery Type IEC
6LR61 and observe
the +/- markings.