Ir channel control – Gefen EXT-HDMI1.3-442 User Manual
Page 13
9
IR CHANNEL CONTROL
Use the following procedure to set the proper IR channel on the 4x2 Switcher for
HDMI 1.3.
1
Press and hold the EDID button.
2
While holding the EDID button, press and release the Reset button. The
input LED indicators, on the front panel, will represent the current IR channel
for the Switcher: A blinking LED corresponds to DIP switch set to the ON
position. An inactive LED corresponds to a DIP switch set to the OFF
position.
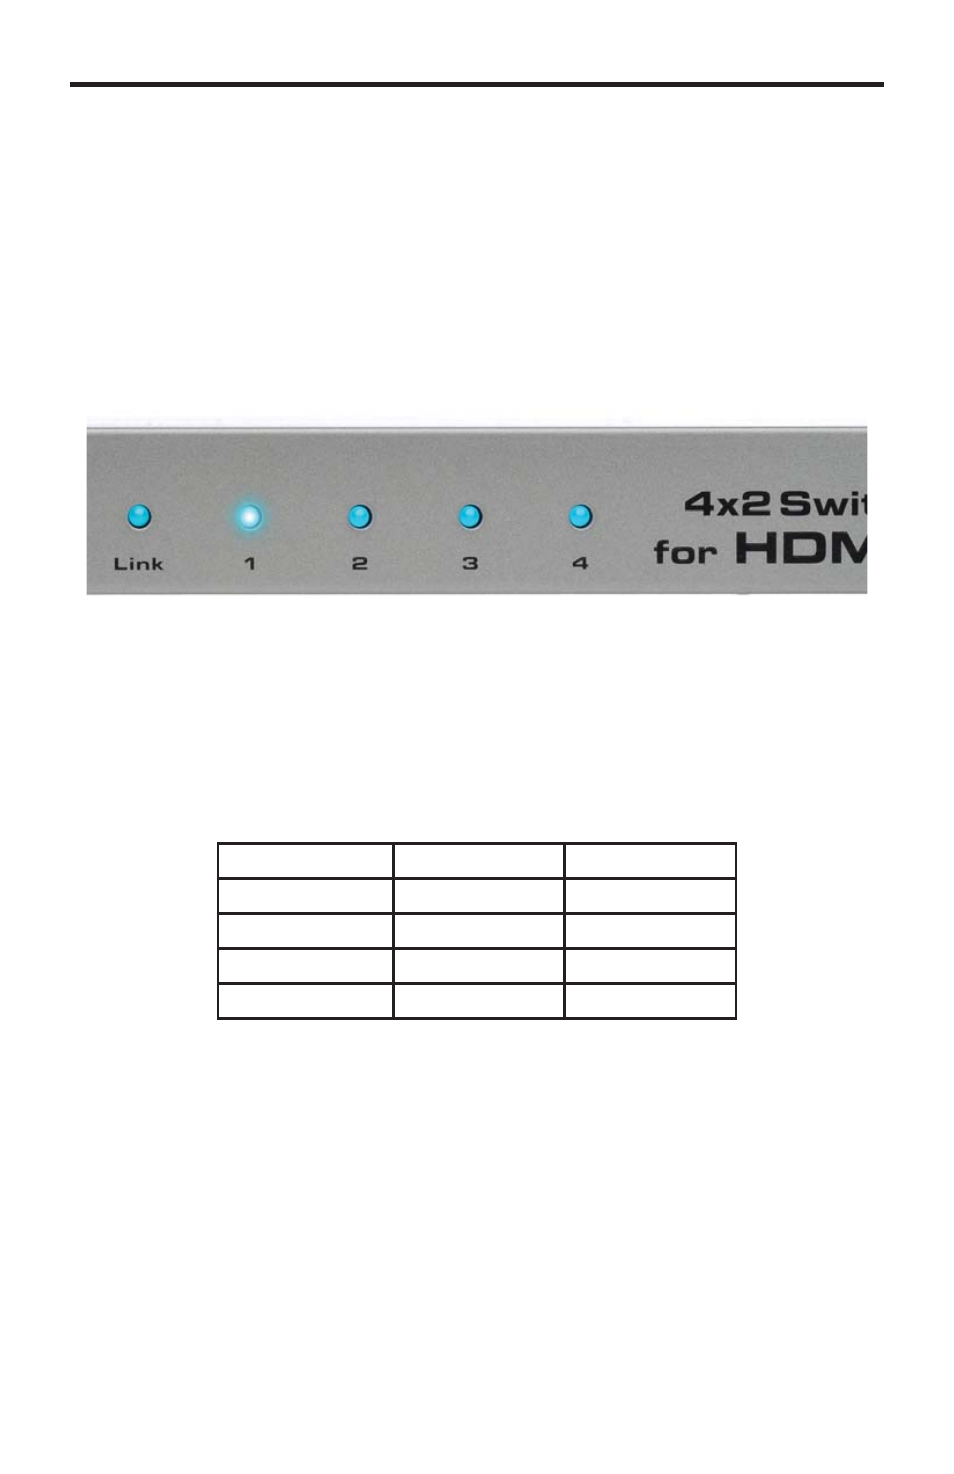
In the illustration above, the LED for Input 1 is blinking and the LED for Input
2 is inactive. This indicates that the Switcher is set to IR channel 1.
IMPORTANT: The selected IR channel must be the same as the IR channel
set on the IR Remote Control Unit (see previous page). Refer to the table
below for setting the IR channel on the 4x2 Switcher for HDMI 1.3.
IR Channel Table
Input LED 1
Input LED 2
IR Channel
OFF
OFF
0
OFF
ON
1
ON
OFF
2
ON
ON
3
3
Continue holding the EDID button while pressing and releasing the Reset
button to cycle to the next IR channel.
4
Once the proper IR channel has been selected, release the EDID button.