Aligning table, Sanding disc installation – Grizzly G0529 User Manual
Page 17
g0529 oscillating Spindle & disc Sander
-15-
the table must be spaced evenly away from the
face of the sanding disc so that the sandpaper
does not rub against the table.
to align the table:
1. loosen the bolts that secure the table to the
table support bracket as shown in
figure
13.
2. align the table so that there is a
1
⁄
16
'' gap
between the 12" disc and the table.
3. tighten the bolts loosened in step 1.
4. Spin the disc by hand to check if the sandpa-
per is touching the table. note—DO NOT
turn the disc sander on at this point.
5. repeat steps 1-3 if the sandpaper touches
table at any point in the rotation.
aligning table
figure 14. loosening table bolts.
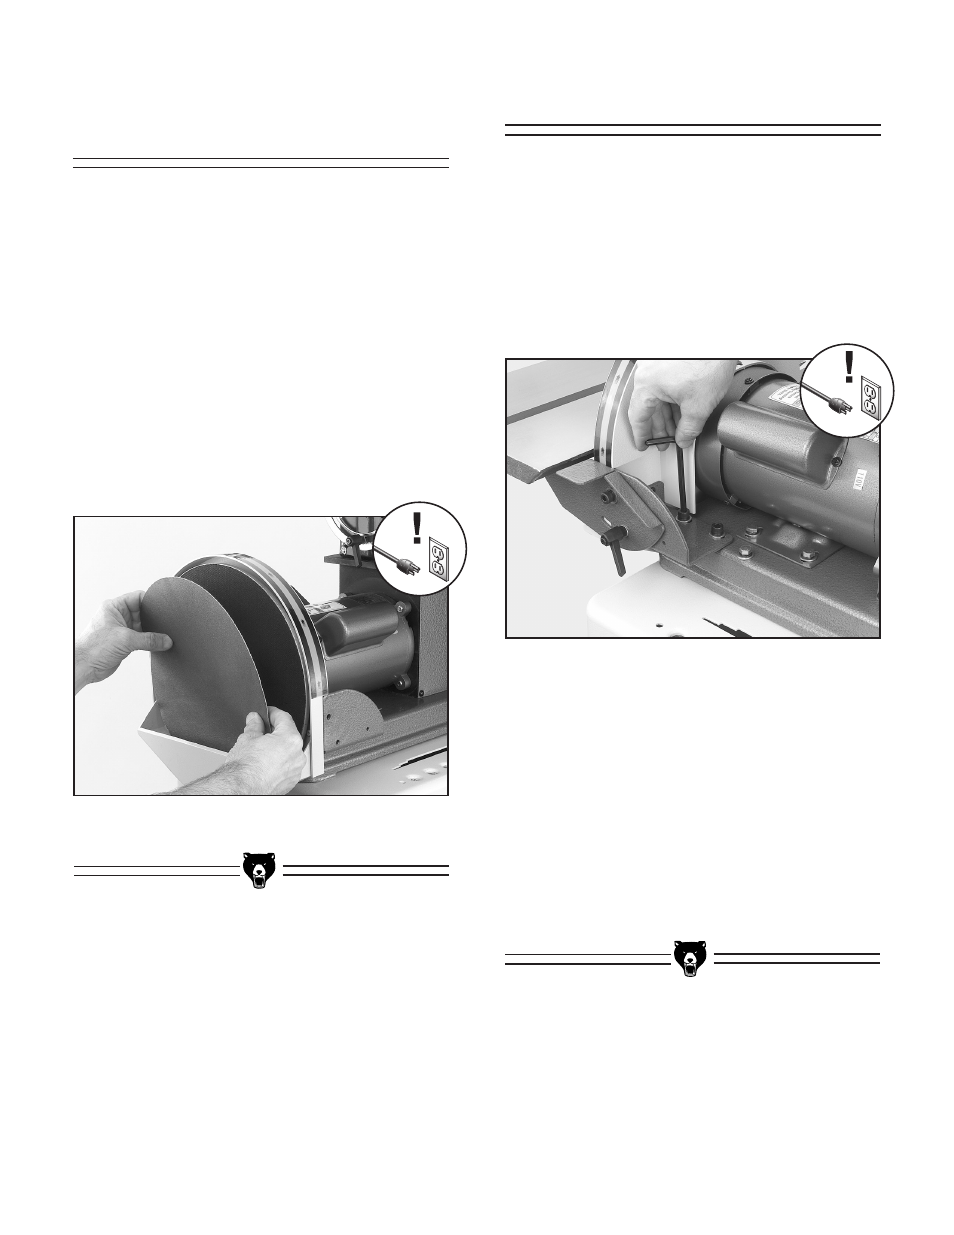
figure 13. installing pSa sanding disc.
sanding disc
installation
the disc sander requires 12" pSa (pressure sen-
sitive adhesive) sanding discs.
to install a new sanding disc on the 12" disc
sanding surface:
1. disconnect the machine from the power sup-
ply.
2. remove the disc sanding table.
3. remove the old sanding disc.
4. install the new sanding disc as shown in
figure 12.