Installation instructions, Installation, Reprogramming handset/control box – Stovax PR0731 User Manual
Page 14: Lighting the linea
14
INSTALLATION INSTRUCTIONS
INSTALLATION
• automatically regulates the room temperature during the
set periods
TOUCH PAD CONTROL
10
AR1885
• Press the ON-OFF button to light the appliance, (up to
30 seconds)
• Press the UP button to increase the flame height
• Press the DOWN button to decrease the flame height. At
the lowest point it goes to ‘standby mode’, (only pilot
lit)
• Press the ON-OFF button to turn the appliance off
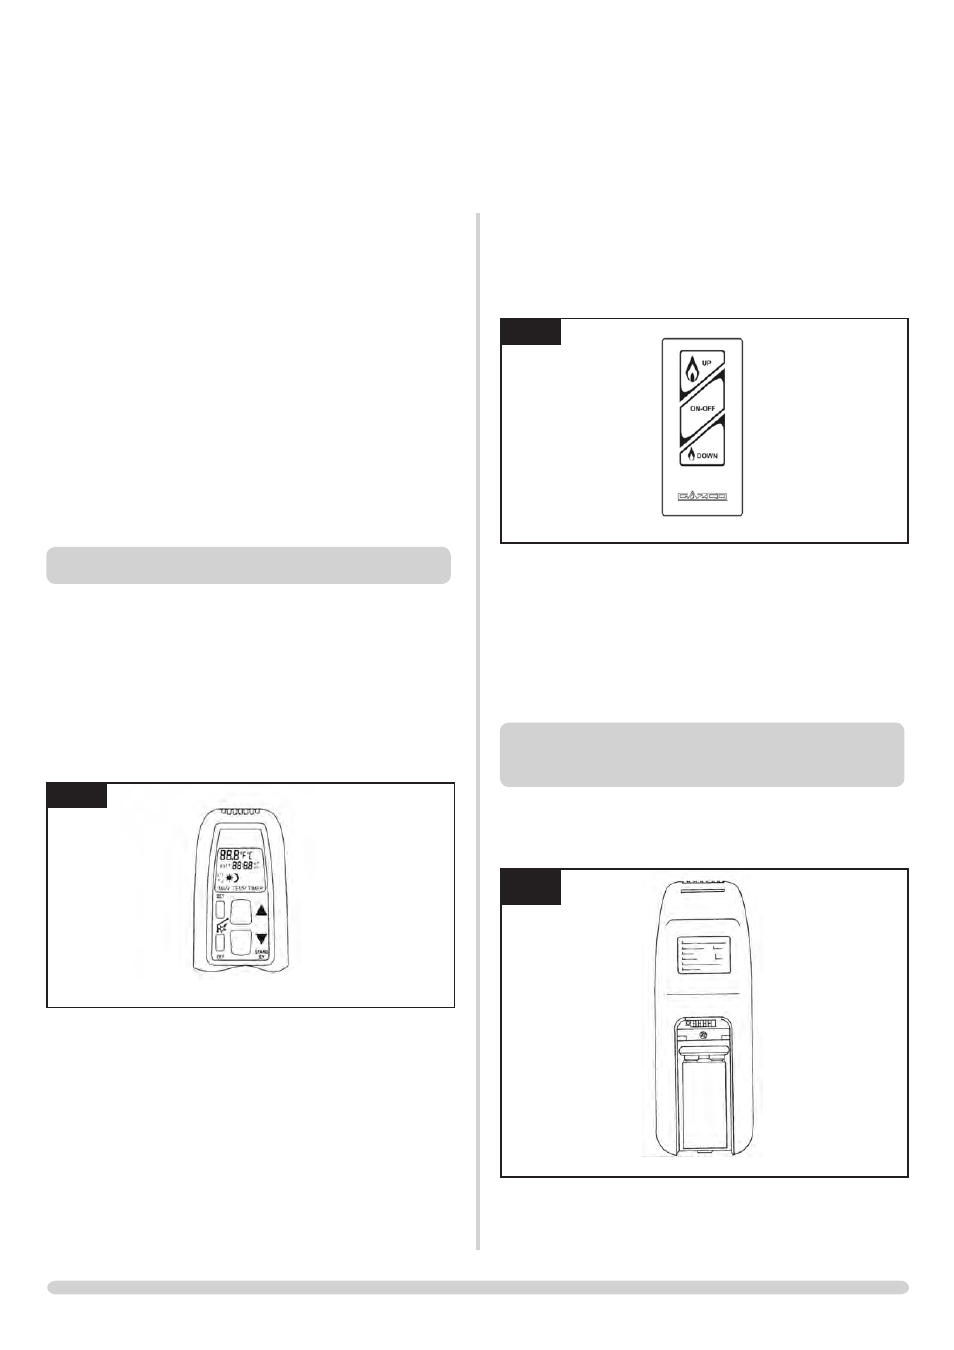
4. REPROGRAMMING HANDSET/CONTROL
BOX
• Remove the battery cover from the handset to see the
four DIP switches, Diagram 11
11
AR1935
2.15 Replace the glass frame; ensure the top of the frame is
hooked on the tabs at the top of the appliance and replace
the nine screws with the three longest screws used in the
bottom fixing holes. Tighten from the top down.
HAVE YOU PURGED THE GAS SUPPLY?
2.16 Connect the gas supply to the isolation device using 8mm
pipe. Connect a suitable pressure gauge to the test point
and turn on the gas supply and check for leaks.
2.17 Light the appliance and set it to maximum. Check the
pressure corresponds to the data badge. Turn the gas off
and replace the test point screw. Turn the gas on and check
the screw for leaks.
THE YELLOW FLAMES WILL APPEAR WHEN THE FIRE
HAS GAINED SUFFICIENT HEAT - TYPICALLY 20
MINUTES.
3. LIGHTING THE LINEA
Note: The Emergency Shut Off switch must be in the ON
position, refer to Section 2, User Instructions.
There are two ways of lighting the Linea:
• by thermostatic remote control
• using the fire’s touchpad
THERMOSTATIC REMOTE CONTROL
9
AR1883
This remote controls the gas fire. In ‘MANUAL MODE’ you can:
• turn on the main burner
• regulate the flame from low to high and back
• turn off the burner
In ‘TEMP MODE’ you can:
• set the room temperature so the fire automatically
maintains that temperature
In ‘TIMER MODE’ the fire:
• turns on and off according to the set time periods