Step 1, remove packaging, Step 2, leveling, Step 3, connect power – GE Monogram ZDOD240 User Manual
Page 6: Step 4, slide product into cutout, Step 5, set temperature controls, Installation instructions, Caution, Attention, Step 5 set temperature controls, Step 3 connect power
6
Installation Instructions
STEP 5 SET TEMPERATURE
CONTROLS
• The temperature controls are preset. Refer to the
Owner’s Manual for more information. Allow 12–24
hours for temperature to stabilize.
NOTE: The Outdoor/Indoor Refrigerator operates very
quietly. You may not notice the unit running, and when
first installed, the fans and motor may not come on
immediately—this is normal. If the display is lit and
the light is working, the unit is operating.
STEP 3 CONNECT POWER
• If the refrigerator is used outdoors, plug the power cord
into a GFCI receptacle.
• Check to make sure power is on by opening the door to
see if interior light turns on.
• The interior fan runs at all times except when the
door is open. See the the Owner’s Manual for further
explanation.
STEP 4 SLIDE PRODUCT INTO
THE CUTOUT
CAUTION:
Do not push against the door
with your knees. Do not push or lift the unit by the door
handle. Damage may occur!
ATTENTION :
Ne poussez jamais la porte
avec vos genoux. Ne poussez jamais votre appareil
ou ne le soulevez jamais par la poignée de porte.
Vous pouvez l’endommager.
• Open the door and gently push the unit back into the
opening with your hands against the sides. Be careful
not to entangle power cord.
• In a standard 24
″ opening, the door will protrude
1-1/2
″ forward of the surrounding cabinets.
• Check again to be sure the unit is level.
• If the unit is installed under a countertop, adjust the
leveling legs until the unit is resting firmly against
the bottom of the countertop.
• If alignment with adjacent cabinetry is an issue,
use a shim to secure the unit against the underside
of the countertop.
• Test the door swing. Carefully open and close the door.
The door should not rub or catch on adjacent cabinetry.
Notify the installer if the door makes contact with
cabinetry.
STEP 1 REMOVE PACKAGING
• Remove corner blocks and foam drawer stops.
• Remove all packing material, tape and protective
plastic coverings.
CAUTION:
Small objects are a choke hazard for
children. Remove and discard any parts not used.
ATTENTION :
Les petits objets peuvent
étrangler les enfants. Il faut jeter toutes les piéces
qui ne sont pas utilisées.
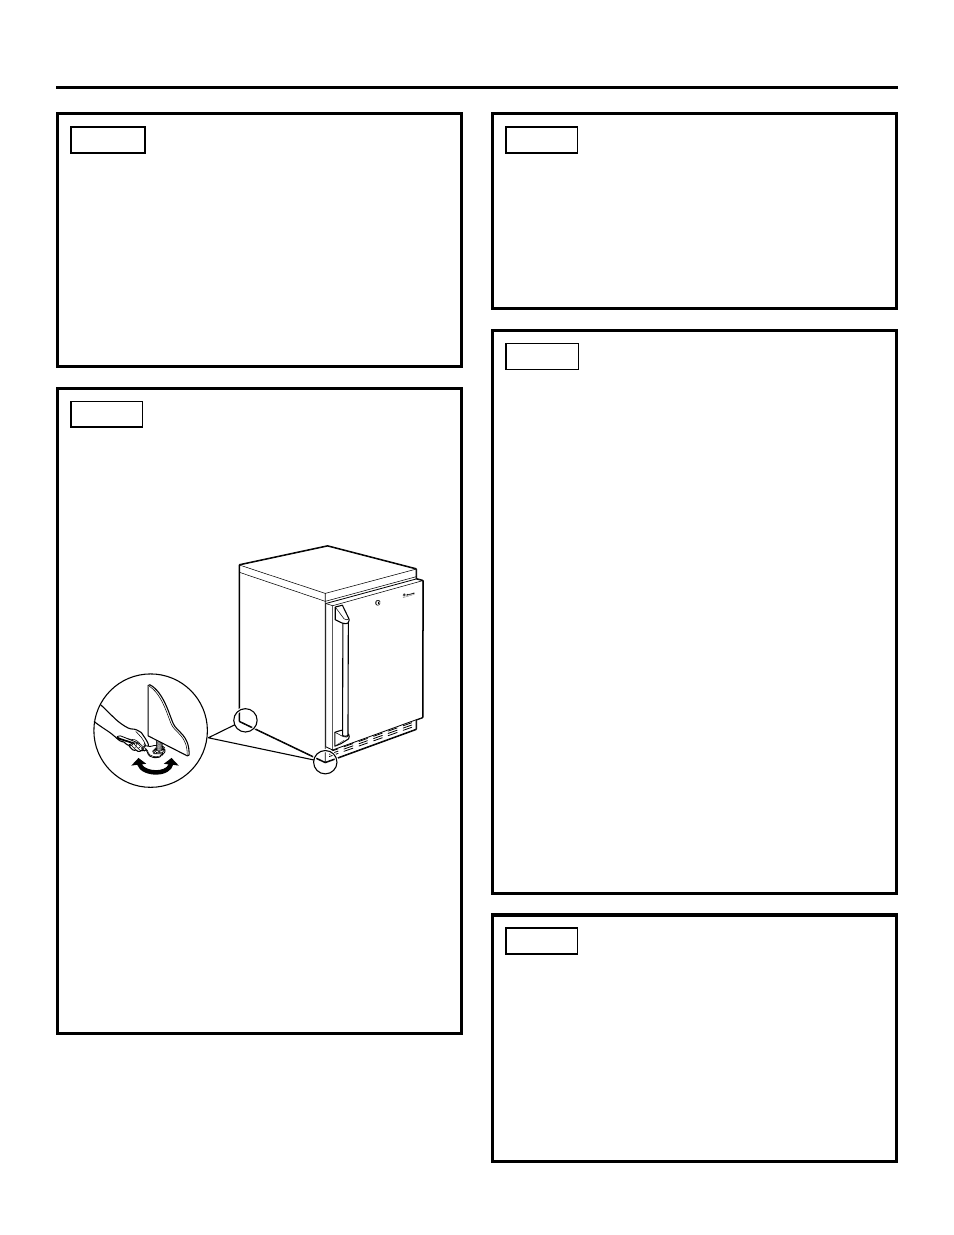
STEP 2 LEVEL
• Use an adjustable wrench to turn and raise or lower the
leveling legs.
• Measure floor to countertop height inside the opening.
Adjust leveling legs until the product is approximately
1/8
″ less than countertop height.
INSTALLATION TIP:
Measure floor to underside of countertop inside the
opening.
• If the room floor is higher than the floor inside the
opening, adjust the rear leveling legs to approximately
1/8
″ less than the opening height. Screw front leveling
legs all the way in to shorten the height at the front.
This will allow you to slightly tip the unit into the
opening. Once the unit is in the correct position,
the front legs can be adjusted to level the product.
Turn Right to Lower
Turn Left to Raise