3 nav mode – Furuno NAVPILOT 500 User Manual
Page 20
3. STEERING MODES
3-4
3.3 NAV
Mode
3.3.1
Starting the NAV mode
If a destination waypoint is set on a GPS / Plotter, the NAVpilot-500 can receive
this information and guide the boat to the destination waypoint as determined by
the plotter. To use the NAV mode, complete the following steps.
Note: It takes 5 seconds to activate the NAV mode after the NAVpilot-500
receives the above information.
1. Set the destination waypoint (or route) on the plotter.
2. Manually steer the boat towards the waypoint.
3. Press and hold the [NAV] key down until the following message appears.
NAV TO _ _ _ _ _ _ _
FROM PORT 1?
ARE YOU SURE?
YES...PUSH ENTER KNOB.
NO.....PUSH ANOTHER KEY.
4. Press the course control knob to go to the NAV mode.
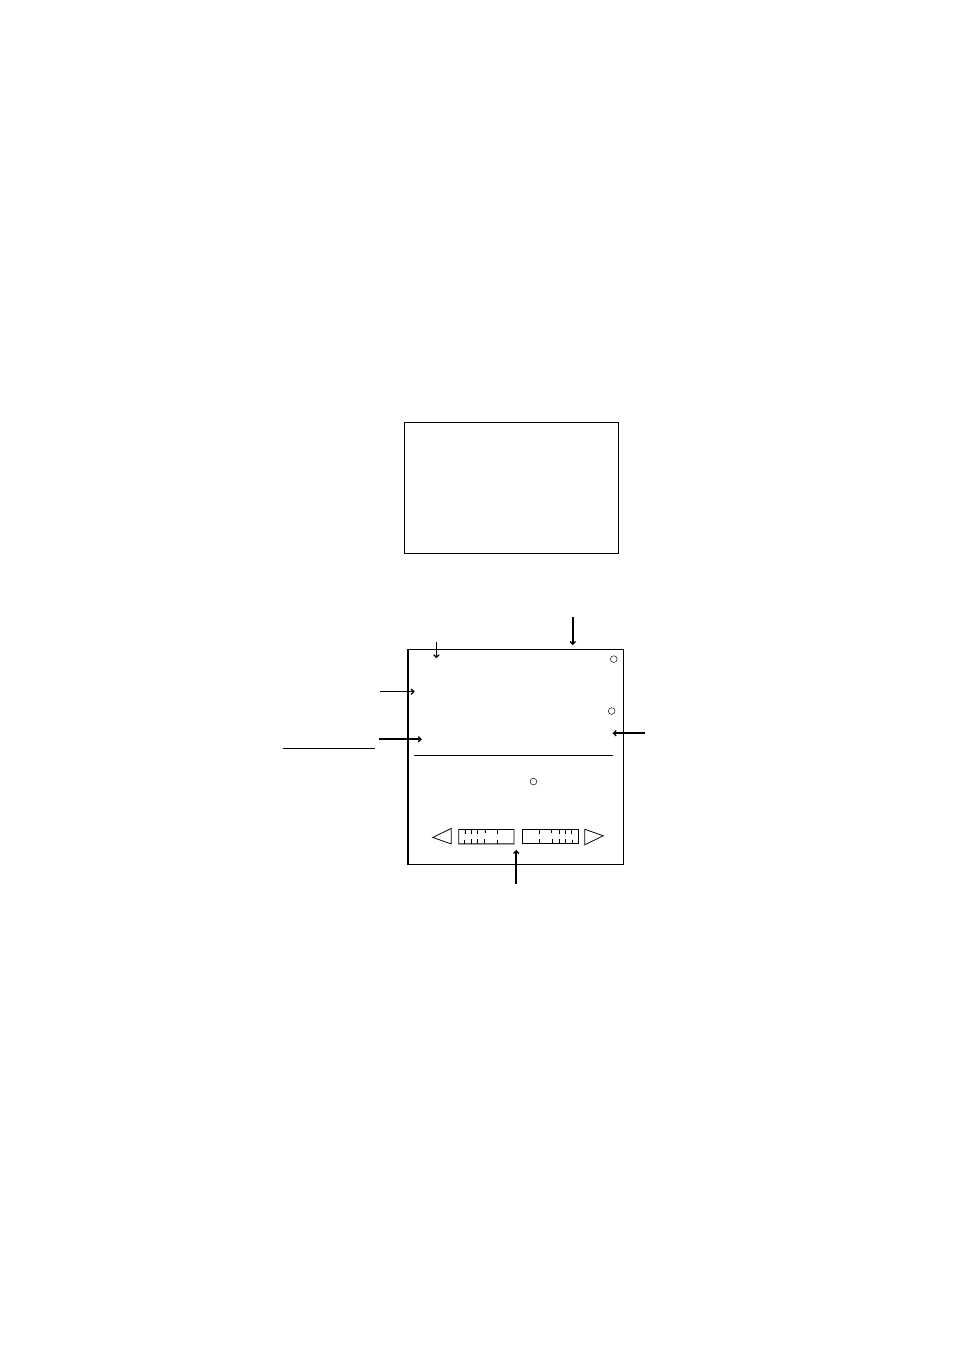
NAV
Track control mode (NAV)
359
359.9
Heading from
heading sensor
Rudder angle (or XTE)
Course to the destination waypoint
HDG
M
RUDDER
0
40
20 10
40
20
10
Heading mode
M: Magnetic
T: True
SRC: PORT 1
Selected
Navigator
NAV mode display (Normal display 1)
Note that while in the NAV mode, the course reading on the NAVpilot-500 will not
always be the same as the waypoint direction shown on the plotter.
When you want to navigate a route, make sure that your plotter is navigating
towards the nearest or desired waypoint before putting the NAVpilot-500 into the
NAV mode.
5. Press the [STBY] key to terminate the NAV mode.
Note: You can change the port to use by pressing the course control knob over
three seconds.