4 initial adjustment of picture, 5 displaying the installation menus, Gain – Furuno 841 User Manual
Page 52: Caution
41
❒ Are all connectors at the rear of the
display unit fastened securely?
CAUTION
If it is necessary to open the display unit, be sure
the rear cover is fitted to the front chassis
properly when closing the rear cover. When
reassembling, first turn off the unit and then
press the center of the rear cover to plug in the
multipin connector on the rear cover.
5.4 Initial Adjustment of Picture
Follow the procedure below to obtain proper
radar picture.
1) Press the [POWER] key on the display
unit. The display should light. Wait until
the message "ST-BY" appears on the
screen. (About 1:30 for the 0821 and 2:30
for the 0841.)
2) Press [TX ST-BY] key to transmit. The
radar will start transmitting, and you will
probably see some targets around you,
even though the radar is not yet properly
adjusted.
3) Select a long range.
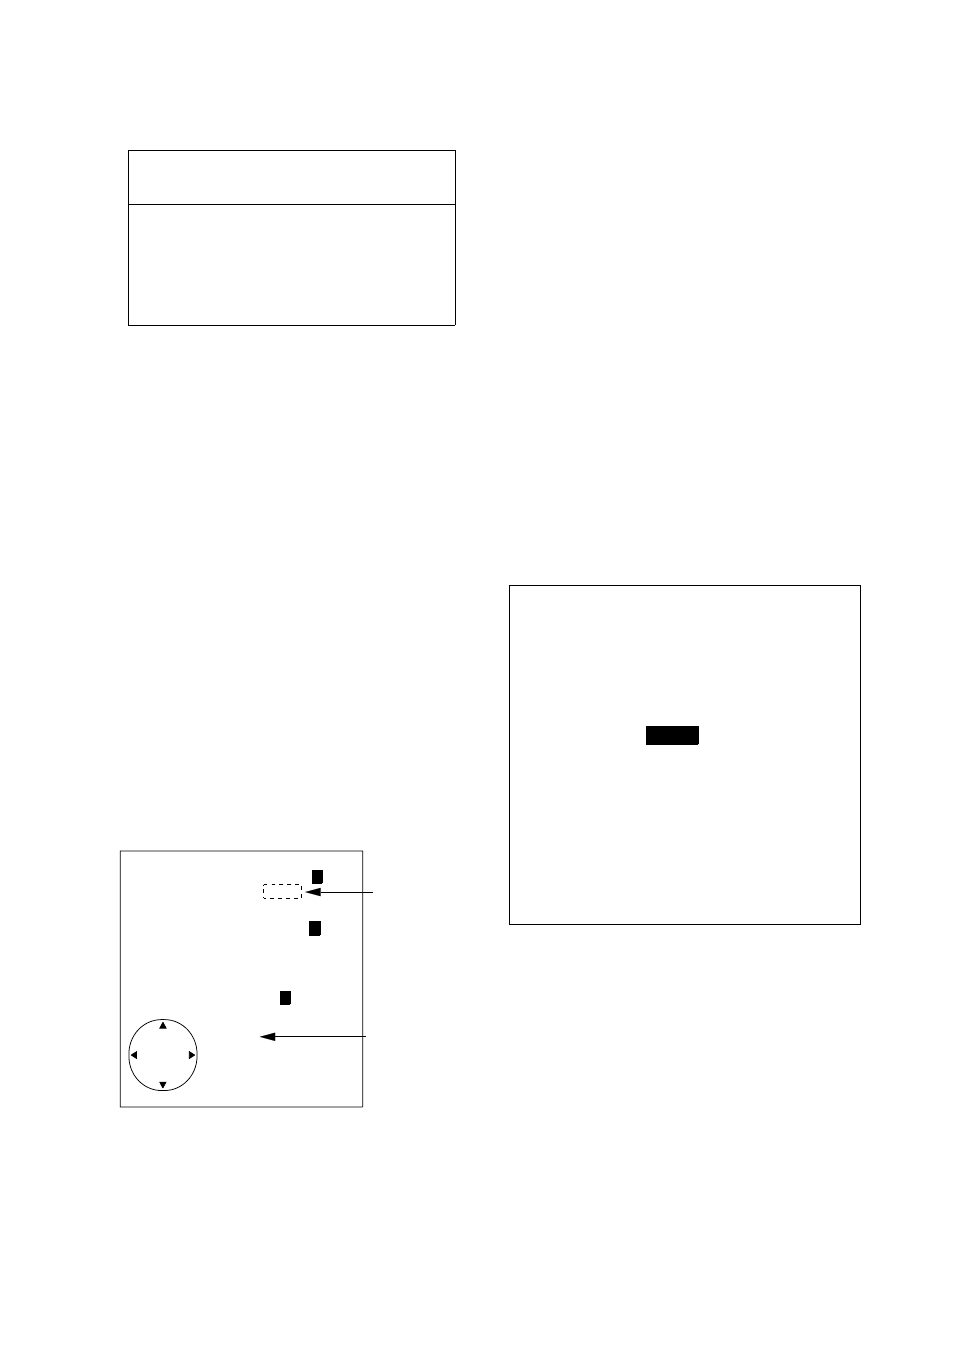
4) Press the [ECHO] key. The following
display appears.
AUTO
1
2 3
MAN
AUTO
1
2 3
MAN
GAIN
STC
◆
◆
[
[
A/C RAIN 00
FTC 0
1
2
12
ECHO KEY
TO EXIT
Current
level
Item selected
for adjustment
Figure 5-16 Display for adjustment of
gain, STC, A/C RAIN and FTC
4) Press the cursor pad to select GAIN-
AUTO, if it is not already selected.
5) Select minimum range. Press the
[ECHO] key and press the cursor pad to
select STC-AUTO, if it is not already se-
lected.
5.5 Displaying the Installation
Menus
Two sets of installation menus, Installation
Setup 1 and Installation Setup 2 enable en-
try of initial settings and adjustment of the
radar.
Procedure
1) Turn on the power while pressing and
holding down the [HM OFF] key.
2) Press the [MENU] key.
●
MAIN MENU
●
Select item by
▲▼
keys
and press ENT key.
1. Backlight/Brilliance
2. P/L, IR, NR & Radar Mode
3. Nav Data
4. Mode & Function
5. Tuning
AUTO
MANUAL
6. Self Check
7. Installation Setup 1
. . . . . . . . . . . . . . . . .
Press HM-OFF to temporarily
hide menu.
Figure 5-17 main menu