4 initial adjustment of picture, 5 displaying the installation menus, Gain – Furuno 841 MARK-2 User Manual
Page 48
36
5.4 Initial Adjustment of Picture
Follow the procedure below to obtain proper
radar picture.
1) Press the [POWER] key on the display unit.
The display should light. Wait until the mes-
sage “ST-BY” appears on the screen. (About
1:30.
2) Press [TX ST-BY] key to transmit. The ra-
dar will start transmitting, and you will prob-
ably see some targets around you, even
though the radar is not yet properly adjusted.
3) Select a long range.
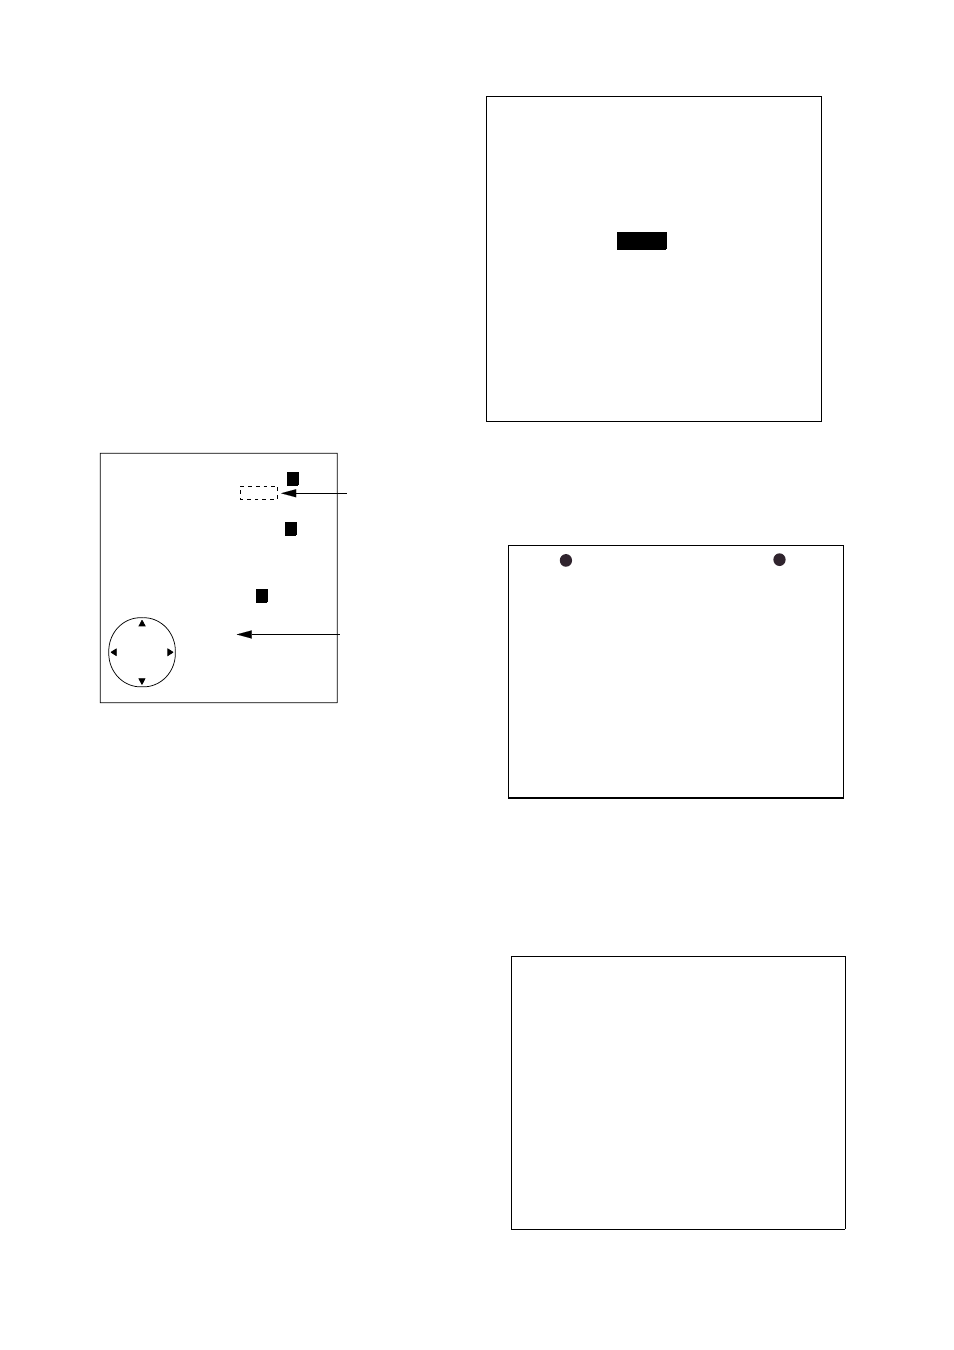
4) Press the [ECHO] key. The following dis-
play appears.
AUTO
1
2 3
MAN
AUTO
1
2 3
MAN
GAIN
STC
◆
◆
[
[
A/C RAIN 00
FTC 0
1
2
12
ECHO KEY
TO EXIT
Current
level
Item selected
for adjustment
Figure 5-14 Display for adjustment of gain,
STC, A/C RAIN and FTC
5) Press the cursor pad to select GAIN-AUTO,
if it is not already selected.
6) Select minimum range. Press the [ECHO]
key and press the cursor pad to select STC-
AUTO, if it is not already selected.
5.5 Displaying the Installation
Menus
Two sets of installation menus, Installation
Setup 1 and Installation Setup 2 enable entry
of initial settings and adjustment of the radar.
Procedure
1) Turn on the power while pressing and hold-
ing down the [HM OFF] key.
2) Press the [MENU] key.
●
MAIN MENU
●
Select item by
▲▼
keys
and press ENT key.
1. Backlight/Brilliance
2. P/L, IR, NR & Radar Mode
3. Nav Data
4. Mode & Function
5. Tuning
AUTO
MANUAL
6. Self Check
7. Installation Setup 1
. . . . . . . . . . . . . . . . .
Press HM-OFF to temporarily
hide menu.
Figure 5-15 main menu
3) Press the cursor pad to select Installation
Setup 1 and press the [ENT] key.
INSTALLATION SETUP 1
Select item and option
by
▲▼
keys.
1. Key Beep
2. Hdg Sensor
3. Ant on Tx
4. Demo Display
5. Antenna Unit
. . . . . . . . . . . . . . . . .
Press HM-OFF to temporarily
hide menu.
OFF ON
MAG GYRO
ROTATE STOP
OFF ON
6. Installation Setup 2
M841 M841 MK2
Figure 5-16 Installation setup menu 1
4) To display the Installation Setup 2 menu,
press the cursor pad to select Installation
Setup 2.
●
INSTALLATION SETUP 2
●
Select item and option
by trackball.
1. Align Heading
2. Adjust Sweep Timing
3. On Hours 000019.8 H
4. Tx Hours 000016.0 H
. . . . . . . . . . . . . . . . .
Press HM-OFF to temporarily
hide menu.
Figure 5-17 Installation setup 2 menu