3 storing menu items in product buttons – Frymaster 8196339 User Manual
Page 38
4-15
24. With
sensitivity displayed on the left and 0
displayed on the right, use the number keys (see
Figure 49) to enter a number between 0-9.
Figure 49
25. Press the
u
button (see Figure 50) to save sensitivity and scroll to
assign btn.
Figure 50
26. Press and hold for three seconds an unassigned button between 1-0 to
assign the product. The LED in the chosen product button will illuminate
(see Figure 51). To unassign a product from a button, press and hold the
button assigned to that product for three seconds. The LED no longer
illuminates.
Figure 51
27. Press the
u
button (see Figure 52) to save the assigned button.
The computer displays
name on the left with the product (ex. WINGS) on the right.
Figure 52
* Note: If additional programming, to add other products, is necessary
press the 8 (2) button (see Figure 53) once and then the
4
button
(see Figure 54) and return to step 8.
Figure 53 Figure 54
28. If no further programming is necessary, press the 8 (2) button three times (see
Figure 55). The computer displays
OFF.
Figure 55
4.10.3 Storing Menu Items in Product Buttons
This function is used to store individual menu items in product buttons for one or two button
cooking.
To store menu items to a specific button:
1. Perform steps 1-10 on pages 4-12 thru 4-13.
2. The computer displays
NAME on the left and the selected product (ex. wings) on the right.
3. Press the
t button (see Figure 56) to scroll to the ASSIGN BTN option
used to assign a menu item to a specific product button.
4. The computer displays
assign btn on the left and wings on the
right.
Figure 56
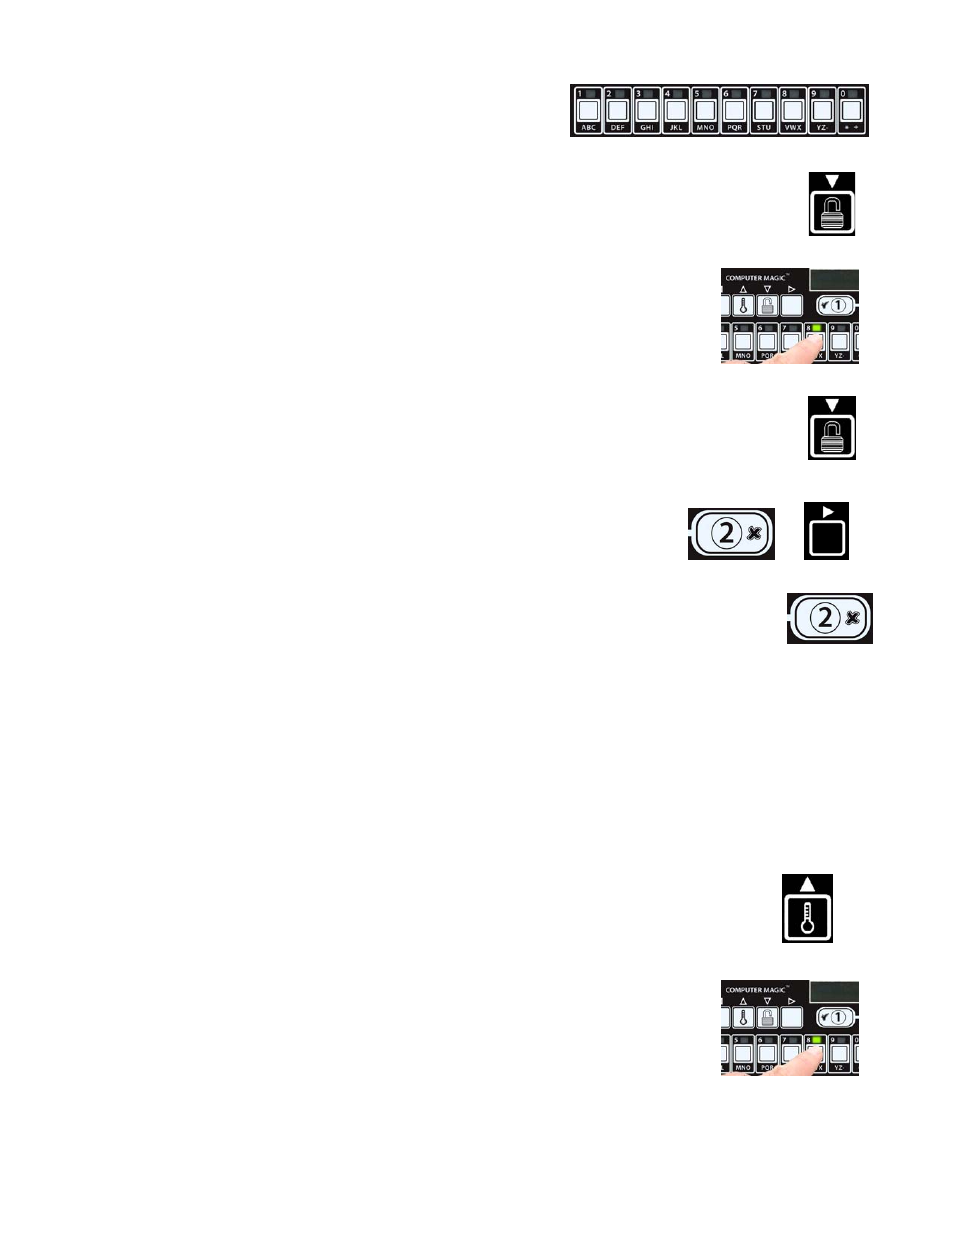
5. Press and hold for three seconds a button between 1-0 to assign the
product. The LED in the chosen product button will illuminate (see
Figure 57). To unassign a product from a button, press and hold the
button assigned to that product for three seconds. The LED no longer
illuminates.
Figure 57