En-8, Starting weekly timer operation, Press the start/stop button to start operation – FUJITSU AOU36RC User Manual
Page 9: Cancelling selected time settings, Press the set button, Press the set button again
En-8
PM
PM TIMER
DAY
WEEKLY
ON
OFF
2
TIMER
DAY
WEEKLY
ON
OFF
1
TIMER
MODE
SET
ZONE
START/STOP
CLOCK ADJUST
SET TIME
TEMP./DAY
FAN
CONTROL
MASTER
CONTROL
DAY OFF
ENERGY SAVE
PM TIMER
DAY
WEEKLY
ON
OFF
1
2
3
TIMER
MODE
SET
ZONE
START/STOP
CLOCK ADJUST
SET TIME
TEMP./DAY
FAN
CONTROL
MASTER
CONTROL
DAY OFF
ENERGY SAVE
°F
AM
CLOCK
PM TIMER
WEEKLY
OFF
1
COOL
1
2
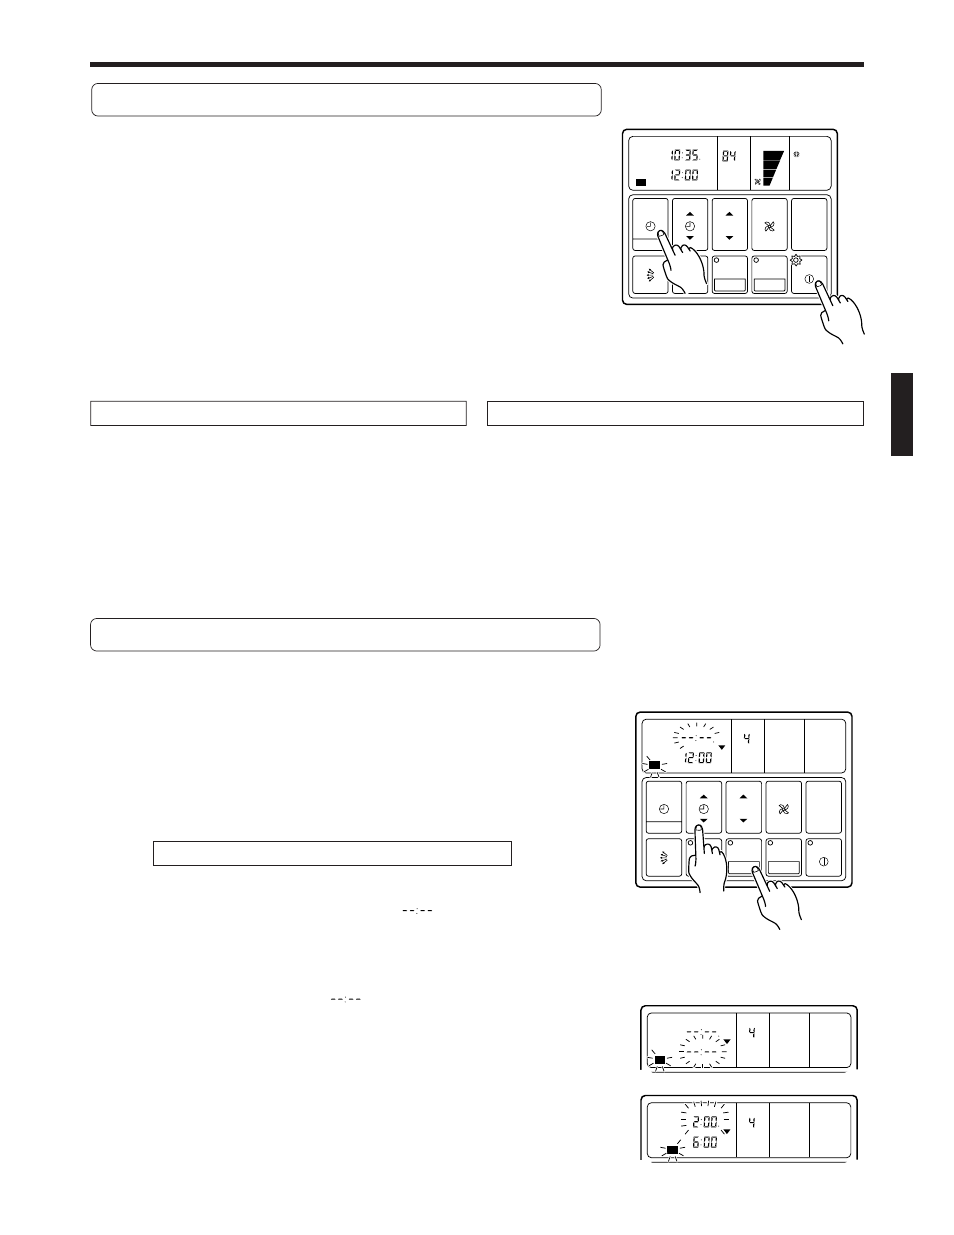
Starting Weekly Timer Operation
1
Press the TIMER MODE button so that “WEEKLY” ap-
pears on the display.
2
Press the START/STOP button to start operation.
(This step is not necessary if the air conditioner is already running.)
Weekly timer operation starts, and the operation lamp comes on.
(If the current time is between the first or second ON and OFF time set-
tings for the current day, the air conditioner will start. Otherwise the air
conditioner will remain off.)
The day display is replaced by the temperature display.
The upper time display now shows the current time, and the lower time
display shows the next scheduled ON or OFF time.
To Stop Weekly Timer Operation
● To stop weekly timer while leaving the air conditioner run-
ning:
Press the TIMER MODE button to select NONSTOP, OFF
TIMER, or ON TIMER.
● To stop weekly timer operation and the air conditioner also:
Press the START/STOP button.
Reviewing the Time Settings
Press the START/STOP button to stop the air conditioner, and
then proceed as follows.
1 Press the TIMER MODE button so that “WEEKLY” appears
on the display.
2 Press the TEMP./DAY button to select the day that you want
to check.
3 Press the SET TIME button (
▲ or ▼) to switch between the
“WEEKLY 1” or “WEEKLY 2” time displays.
Cancelling Selected Time Settings
Press the START/STOP button to stop the air conditioner, and then proceed as fol-
lows.
1
Carry out steps 1 to 3 of the “Setting Up the Weekly
Timer Operation” procedure to select the day you want
to edit.
2
Press the SET button to select the ON time that you
want to cancel.
Be sure to select an ON time (the upper time display).
3
Hold down the
▼ side of the SET TIME button until the
time display becomes blank “
”.
4
Press the SET button.
The first OFF time setting (“WEEKLY 1” OFF time) is deleted and replaced
by a flashing blank pattern “
”.
5
Press the SET button again.
This completes deletion of the “WEEKLY 1” ON/OFF settings.
The second ON time setting (“WEEKLY 2” ON time) appears and flashes.
If you wish to delete other time settings, repeat steps 2 through 5.
6
Once the setting has been canceled, hold down the
SET button for 3 seconds.
The WEEKLY display flashes briefly, and then the clock display appears.
Example: Clearing the “WEEKLY 1” ON/
OFF times for day 4 (Thurs-
day)