Other applications – Godox VING V860IIC TTL Li-Ion Flash Kit for Cameras User Manual
Page 18
Setting the number of flash
2
groups.
●
When <
> is
displayed, press the
Function Button 2
<
> to set the
groups to fire.
●
The setting changes as
follows each time you
press the button:
ALL(RATIO OFF)→
A/B(RATIO A
:
B)→
A/B/C(RATIO A
:
B
:
C)
RATIO
Setting flash output.
3
●
Press Function Button 3
<
>. Turn the Select
Dial to set the flash output
of the groups. Press
<
SET
> button to confirm.
Taking the picture.
4
●
Each group fires at the set
flash ratio.
●
When ALL <
RATIO OFF
> is set, set A, B or C as the firing
group for the slave units.
●
To fire multiple slave units with the same flash output,
select ALL <
RATIO OFF
> in step 2.
Setting
You can directly operate the slave unit to manually set the manual
flash or stroboscopic flash.
Setting the slave unit.
1
Setting flash mode to
2
●
Press <
MODE
> button so
that <
M
> is displayed.
●
Set the manual flash
output. (Page 54)
MENU1
Gr
7
.
Multi: Wireless Flash Shooting with Manual Flash
Setting
flash.
●
Press <
MODE
> button so that
<
MULTI
> is displayed.
●
Setting the stroboscopic flash.
(Page 55)
Other Applications
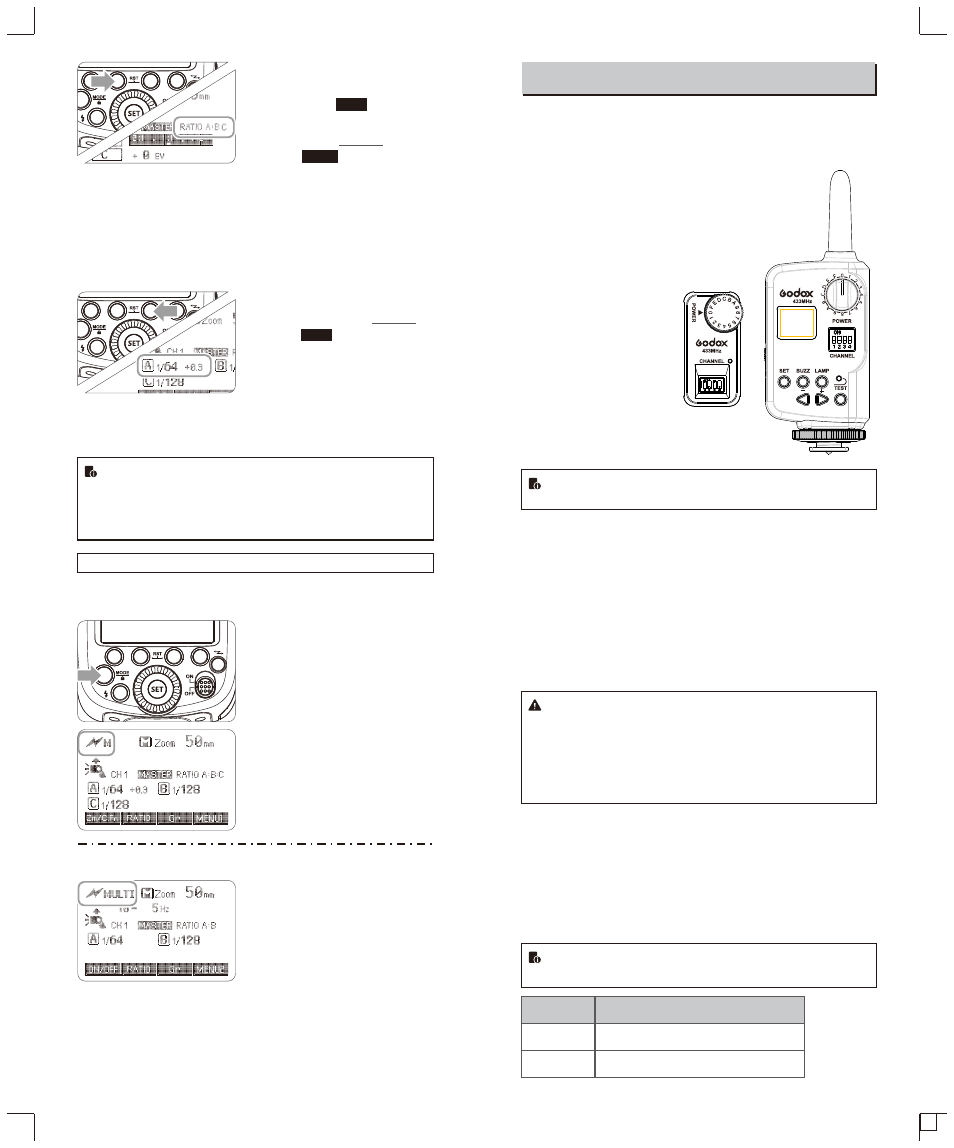
Wireless Control Function
The flash unit is built in with a Wireless Control Port so that you can
wirelessly adjust the power level of the flash and the flash triggering.
To control the flash wirelessly, you need a FT-16S
remote control set (on-camera and on-flash).
Insert its receive end into the Wireless Control
Port on the flash and insert the transmit end into
the camera hot shoe. Settings made on the
hotshoe-mounted transmit and receive ends
will be wirelessly communicated
to the flash. Then you can
press the camera shutter
release button to trigger
the flash. You can also hold
the transmit end at hand to
control your off-camera flash.
For full instructions on the use of FT series remote control, see its user
manual.
Sync Triggering
The Sync Cord Jack is a Φ2.5mm plug. Insert a trigger plug here
and the flash will be fired synchronously with the camera shutter.
Modeling Flash
If the camera has a depth-of-field preview button, pressing it will fire
the flash continuously for 1 second. This is called modeling flash.
It enables you to see the shadow effects on the subject and the
lighting balance. You can fire the modeling flash during wireless or
normal flash shooting.
●
To avoid overheating and deteriorating the flash head, do
not fire the modeling flash for more than 10 consecutive
times. If you fire the modeling flash 10 consecutive times,
allow at least 10 minutes’ break for the camera flash.
●
The modeling flash cannot be fired with the EOS 300 and
Type-B cameras.
Auto Focus Assist Beam
In poorly-lit or low-contrast shooting environments, the built-in auto
focus assist beam will automatically light on to make it easier for
autofocus. The beam will light up only when autofocus is difficult
and get out as soon as the autofocus becomes correct.
If you want to turn off the auto focus assist beam, set the “AF” to
“OFF” on the C.Fn settings.
●
If you find the auto focus assist beam does not light up, this
is because the camera has got a correct autofocus.
Position
Center
Periphery
Effective Range
0.6~10m / 2.0~32.8 feet
0.6~5m / 2.0~16.4 feet
- 73 -
- 74 -