Step 4: connect to phone/fxs interface, Step 5: connect to line/fxo interface – Quintum Technologies Tenor AS Quick Start User Manual
Page 3
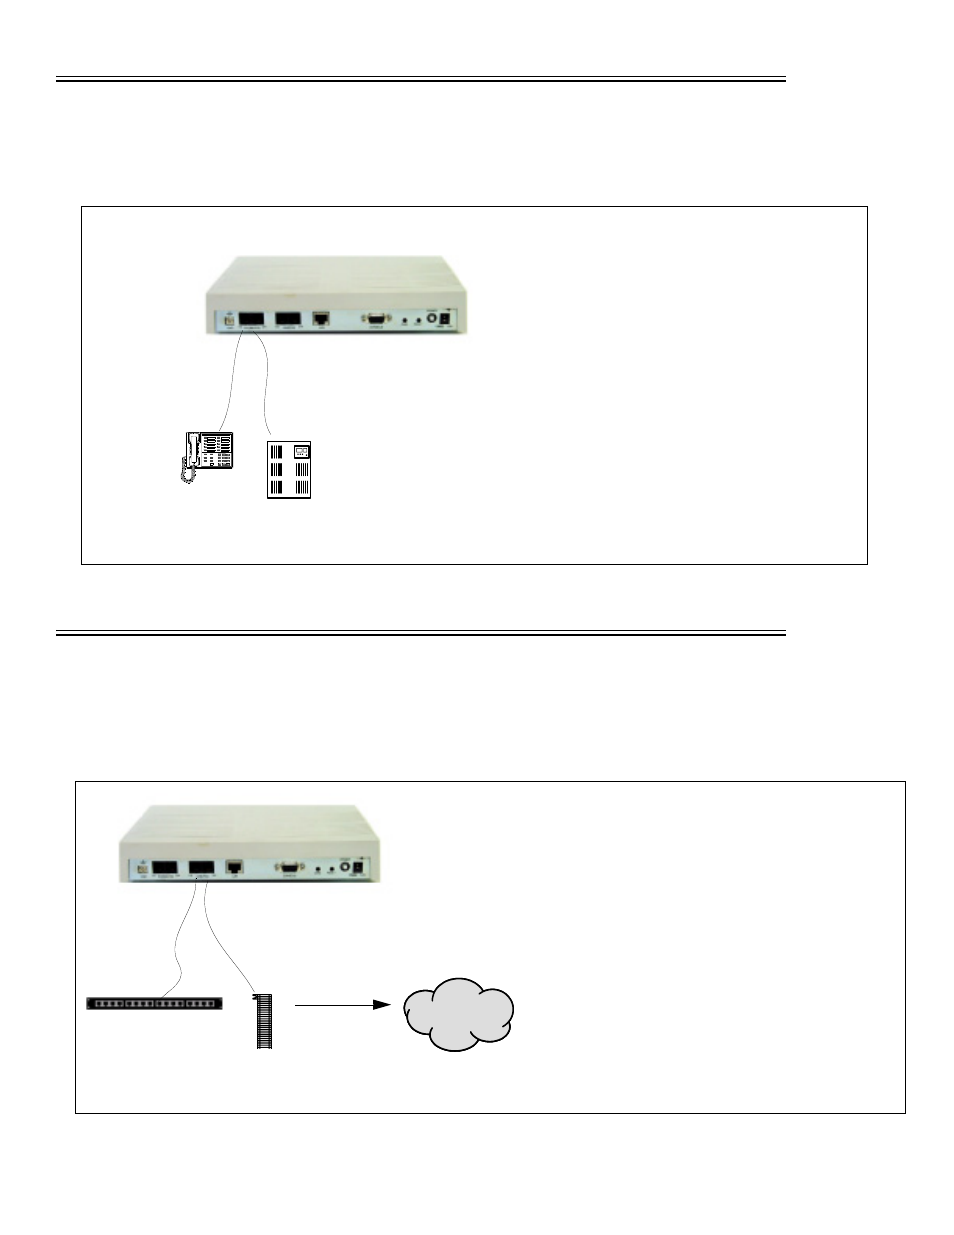
STEP 4: Connect to Phone/FXS Interface
Depending on your order, you will have received either a double-ended or a single-ended 50-pin Telco cable. See the
Tenor AS User’s Guide (included on your CD ROM) for details for preparing the cables for connection (i.e., if you
ordered a single-ended cable, you must prepare it for use with your application).
Figure 3: Connect to Phone/FXS Interface
STEP 5: Connect to Line/FXO Interface
To connect to the Line/FXO port, you must first connect the analog phone lines to another piece of equipment that
houses your telephone lines running to the PSTN, such as the patch panel, punch down block or wire wrap blocks. If
you are unsure of the installation procedures, contact the network administrator or review the documentation you
received with the PBX.
1. Plug one end of the RJ-11 cable into one of the two ports
on the front of the unit labeled Phone/FXS.
2. Insert the other end of the RJ-11 cable into the appropri-
ate analog port on the PBX or key system, or into the
jack on the back or underside of the phone or fax
machine. For the PBX connection, see the PBX docu-
mentation port requirements for connection specifics.
RJ-11
PBX
Phone
See the Tenor AS Product guide for detailed caution information for
connecting the Phone/FXS port.
Punchdown block
RJ-11
PSTN
Patch Panel
Punchdown
Block
1. Plug one end of the RJ-11 cable into one of the ports
labeled Line/FXO.
2. Connect the other end of the RJ-45 straight cable to the
patch panel (or other external device) which houses
your telephone lines.