Drive roll installation/removal, Idler roll installation and removal – MK Products Prince SG User Manual
Page 11
Prince
®
SG Spool Gun Owner's Manual - Page 3
Drive roll tension is accomplished by means of a pressure adjusting allen
screw located on the left hand side of the gun. Proper tension is achieved
when wire does not slip if a small amount of pressure is added to the wire as
it exits the tip.
Note:
over-tightening of the drive rolls will cause excessive
knurling and/or deformation of the wire.
Drive Roll Installation/Removal
Note:
Neither of the handles needs to be removed to access the
Drive or Idler Rolls
1. Loosen the idler roll. This will relieve the pressure against the
drive roll.
2. Align the Drive Roll Removal Tool (P/N 931-0100) over the flats
of the drive roll. Hold the gun with one hand or on a table
top, with the other hand give the Removal Tool a quick snap-turn
in the CLOCKWISE DIRECTION.
3. Once the drive roll is loose, continue to spin drive roll in the
clockwise direction to remove the drive roll from the gun.
4. Install a new drive roll on the left-hand threaded shaft. The drive
roll will self-tighten when it is feeding wire.
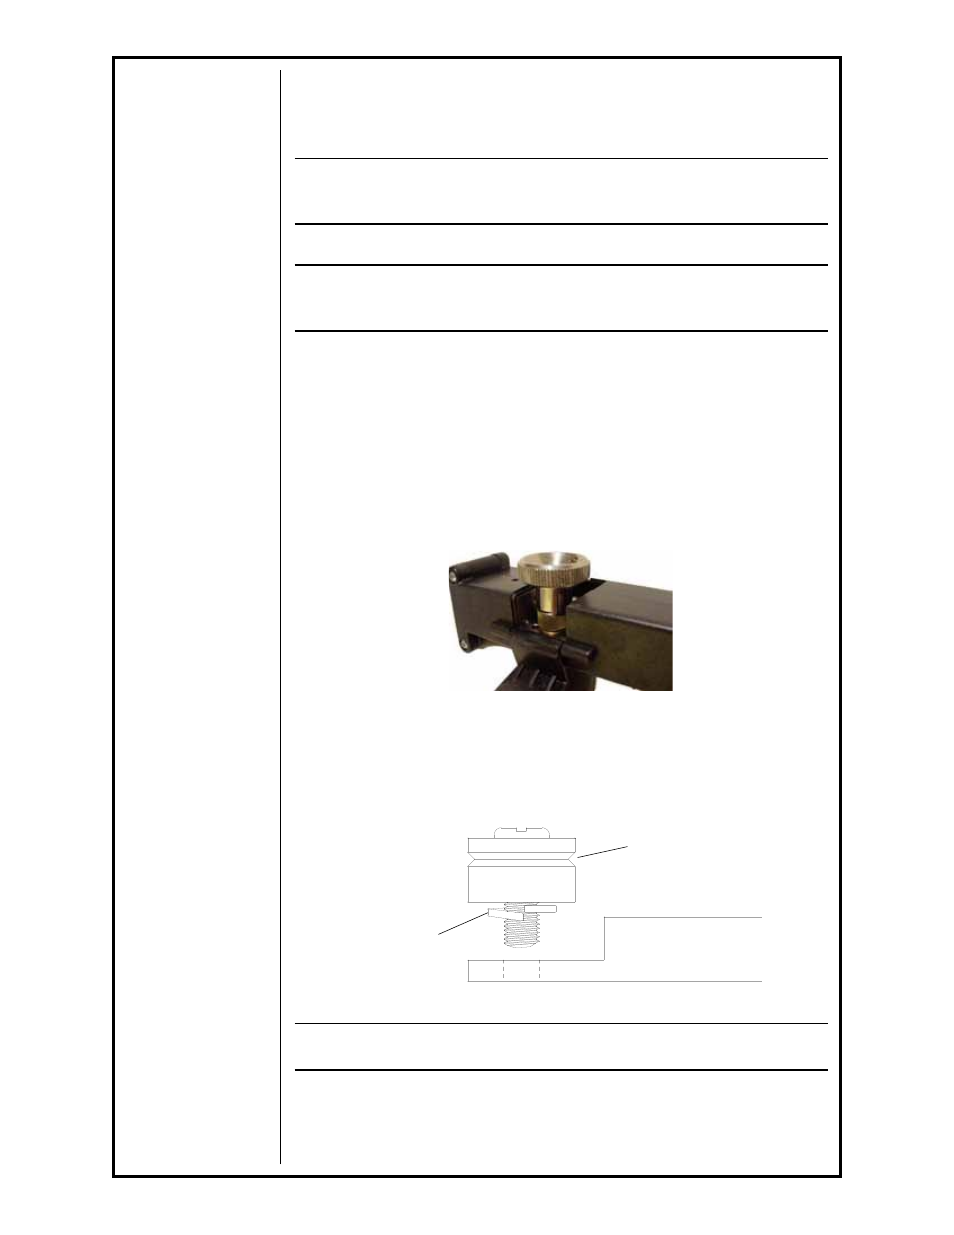
Idler Roll Installation and Removal
1. Using a slot type screwdriver, loosen idler screw, taking care not
to lose lock washer under idler roll.
2. Insert new idler roll and lock washer onto screw, insuring that
idler groove is toward top and lock washer is beneath.
3. Tighten.
Note:
Lock washer must be under idler roll or it will not turn freely.
Lock Washer
Groove Towards Top
Idler Arm