Self-diagnosis, Removing the monitor stand (all models), Attaching the monitor stand – Interlogix TVM-4200 User Manual
Page 12
10
User Manual
8. Memory Recall
Reset the screen to the factory preset
display settings.
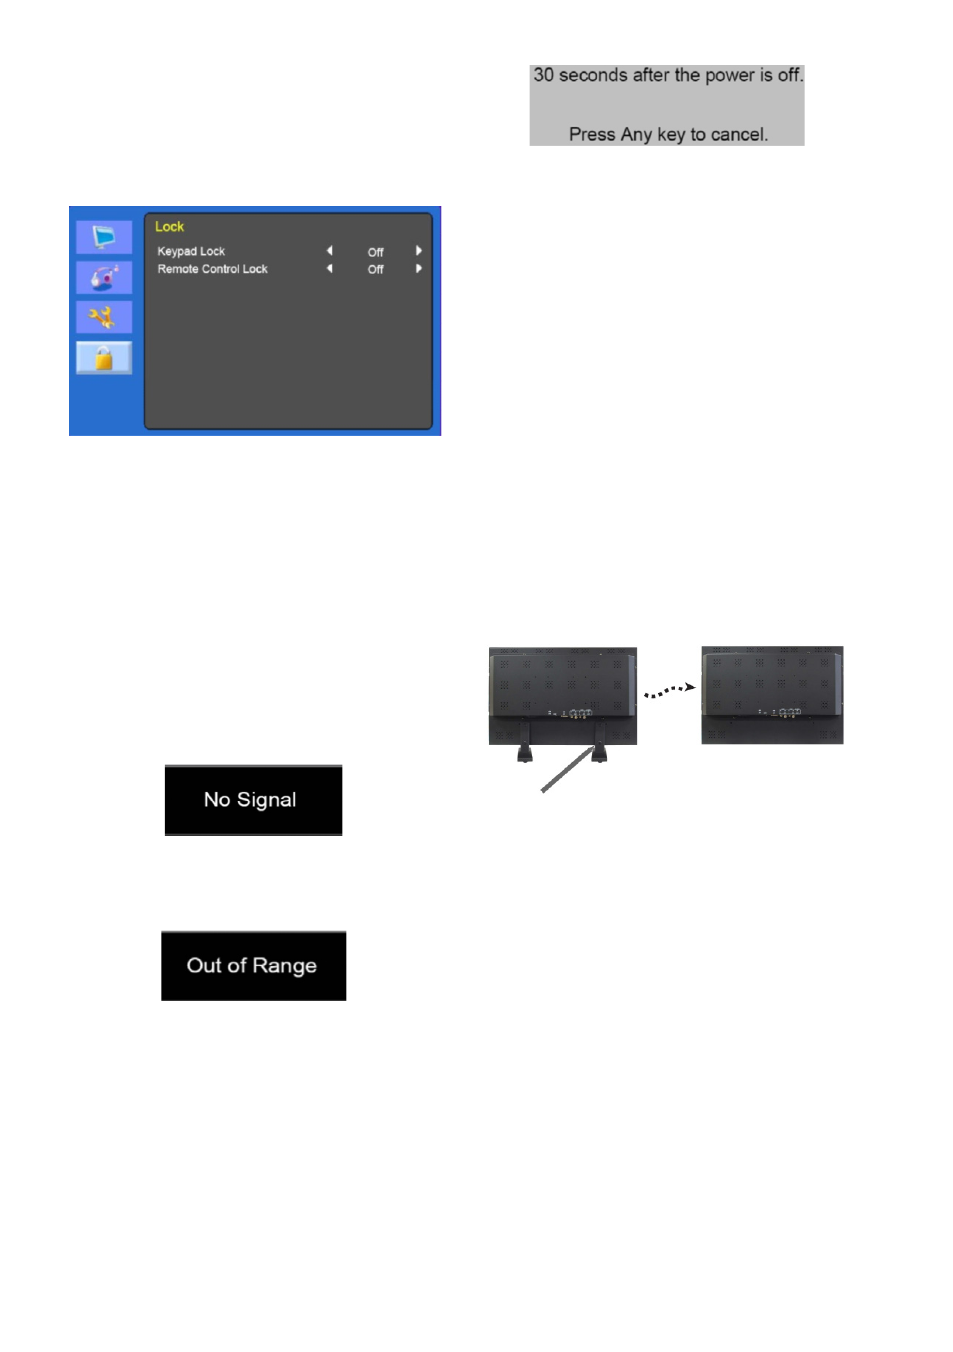
Lock
1. Keypad Lock
Turn the keypad lock on or off.
2. Remote Control Lock (optional)
Turn the remote control lock on or off.
Self-diagnosis
If there is no image, the Self-Diagnosis screen
will be displayed. The self-diagnosis function
checks if the status of the monitor screen is
No Signal, Out of Range, or None Supported.
The
No Signal screen is displayed when the
D-Sub signal connector is connected but the
status of the monitor is on DPMS mode.
The
Out of Range screen is displayed when
the applied frequency is under or over normal
range.
Normal range (Non-interlaced mode only):
H: 30 to 80 kHz
V: 56 to 77 Hz
Press any key to cancel.
Monitor is turned off when it does not receive
any signal from the remote control or any
button within the time that set up.
Removing the monitor
stand (All models)
1. Turn off the monitor and unplug the
power cable.
2. Place a cushion or a soft cloth on the
floor and put the monitor on it with the
front of the monitor facing the floor.
3. Detach the rear cover of the monitor
stand with a screwdriver.
4. Remove the four screws connecting the
stand and monitor body.
Screws (x4)
Attaching the monitor
stand
Tighten the screws of the monitor stand at the
locations shown in the figure above.
To attach the stand, see the figure below: