Final checks/sealing (continued…), Console installation – Karcepts KSM03 User Manual
Page 16
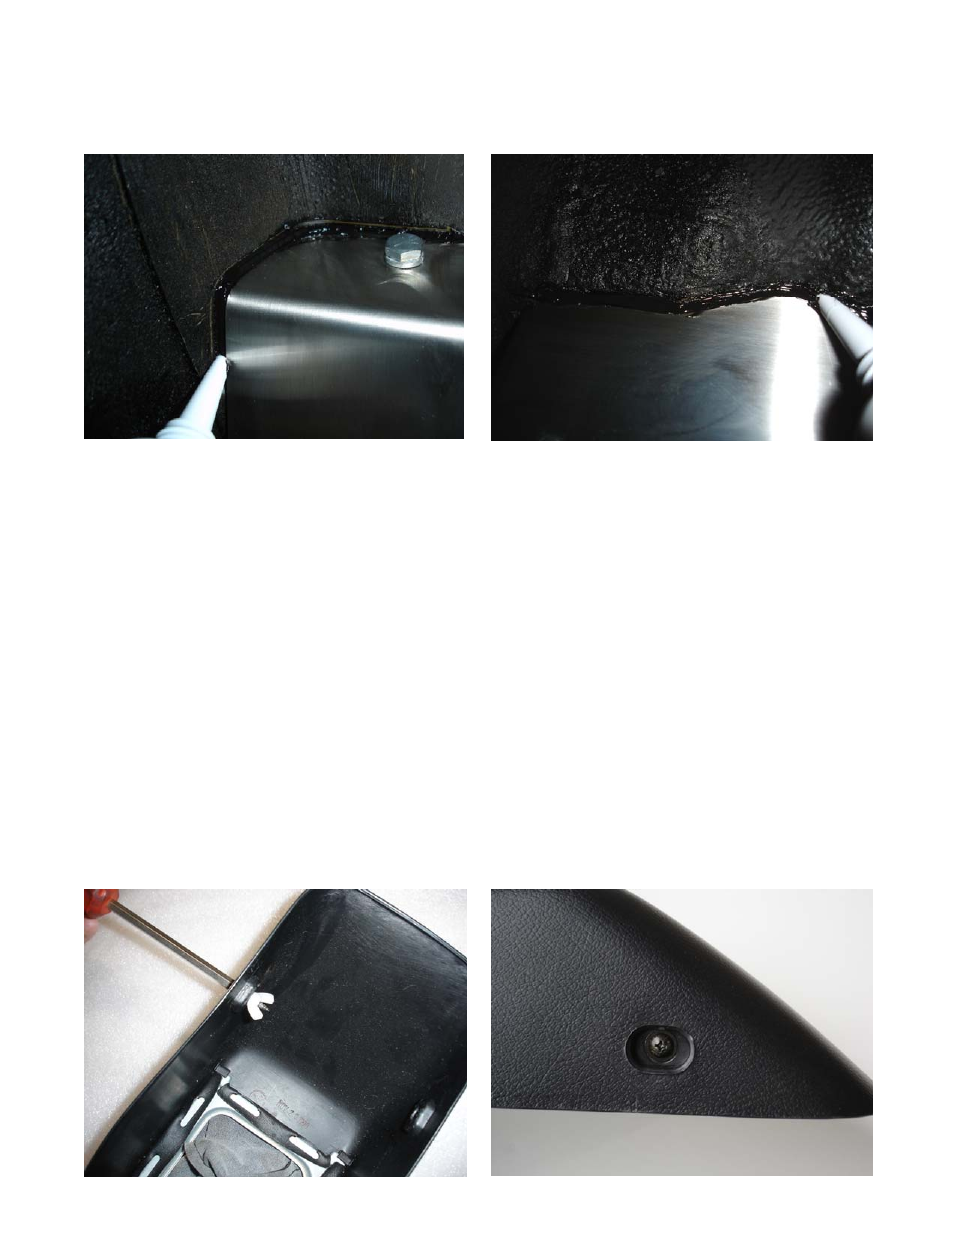
5. FINAL CHECKS/SEALING (continued…)
2. If all motion is smooth, apply the silicone sealant underneath the vehicle to all
edges of the shifter mount assembly for a completely sealed enclosure.
Exhaust Note: The Karcepts Shifter Mounting Kit avoids any exhaust
interferences when the factory exhaust height is maintained. Clearances
between the bottom of the shifter mount and the top of most exhaust
systems have been observed to be around 1.5 inches. If this dimension
is less than 1.0 inch, the use of exhaust wrap under this area is required.
6. CONSOLE INSTALLATION
To provide the physical space needed locate the DC5 shifter box in the proper
location, the front EF console mounting bracket can no longer be utilized. This
piece was removed on step 3, from
MODIFYING YOUR CHASSIS
. The deletion of
this bracket does not pose much of an issue as there are other screw connections
supporting the light plastic console in place. If extra console support is needed,
an adhesive may be utilized (we recommend ShoeGoo as it can be easily
removed in the future). Regardless of the support of the console, two plastic wing
nuts have been provided in this kit. You may use them to secure the old console
mounting screws in place as shown below. This is done to give the perception
that the console area has been unmodified, thus retaining the stock factory
appearance. Re-install the factory center console, shift knob, seats, and exhaust.