Connecting to a computer, System requirements, Connecting the scanner – I.R.I.S. RISCard Anywhere User Manual
Page 15
Connecting to a computer
12
Connecting to a computer
By connecting the scanner to a computer, you can access the
scanned images on the memory card or use the scanner as a memory
card reader, so that you can freely copy, paste or delete files using
the computer.
System requirements
• Operating system: any operating system that supports USB mass
storage (e.g. Windows, Mac, Linux, Unix, ...)
• USB port supported: USB 1.1 and 2.0
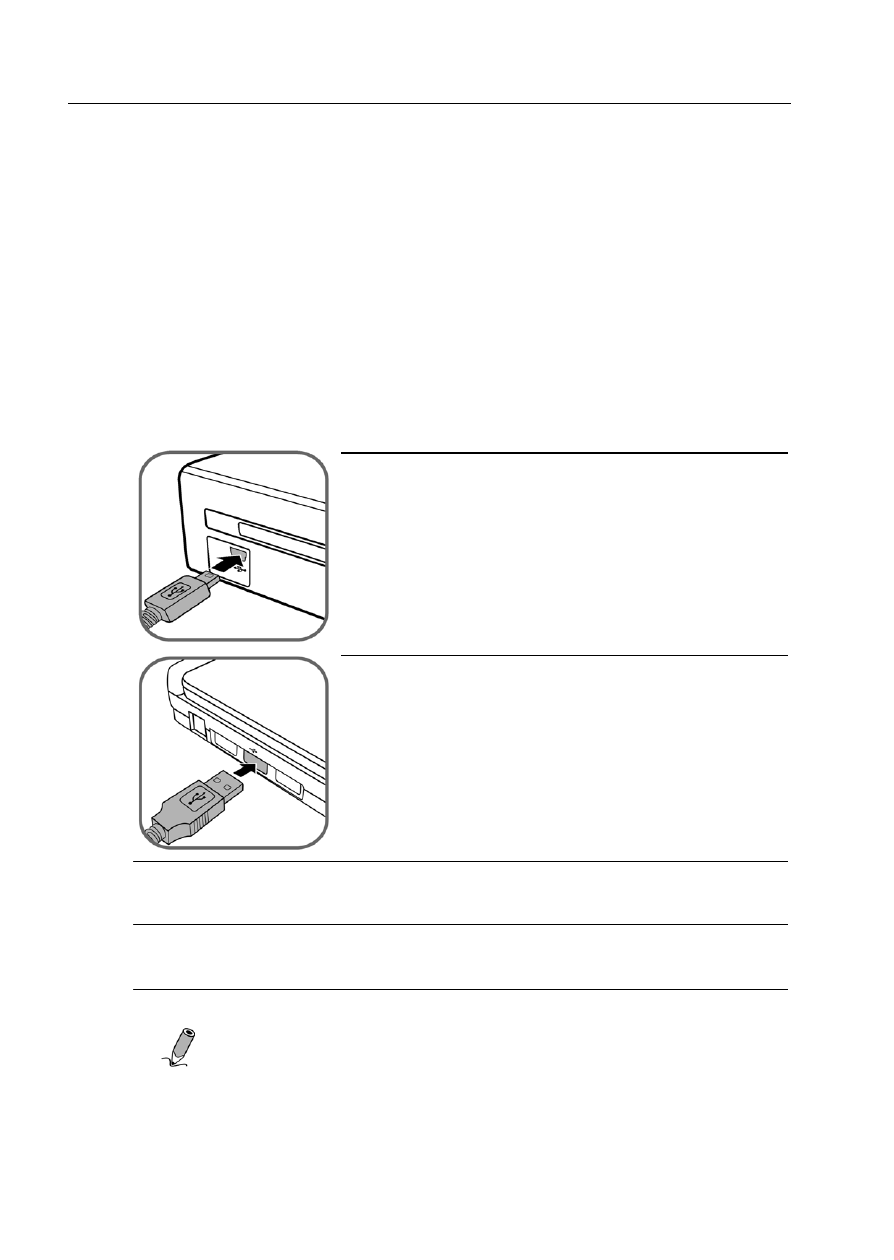
Connecting the scanner
1. Connect the mini end of the USB cable to
the Mini USB socket on the scanner.
2. Turn on the computer, and connect the large
end of the USB cable to the USB port of
the computer.
3. Refer to Step 4: Turning the scanner on on page 9 to turn on the
scanner.
4. After a few seconds, the scanner will be recognized by the
computer as a removable disk drive in My Computer.
5. Now you are ready to view or edit the files on the memory card.
NOTE:
Do not remove the memory card or disconnect the
scanner while the computer is accessing files on the card.