Installation instruc tio ns – Poison Spyder JK 07-10 BOLT-TOGETHER TRAIL CAGE User Manual
Page 11
INSTALLATION INSTRUC
TIO
NS
©2010 POISON SPYDER CUSTOMS, INC. • 951-849-5911 • WWW.POISONSPYDER.COM
Poison Spyder Customs • JK BOLT-TOGETHER TRAIL CAGE KIT
Page 11
FIGURE 42
52. Once all of the covers, top and doors are in
place, check for fitment anywhere the newly
installed cage is near to any OEM component.
If any further adjustments are needed, make
them at this time.
53. Remove the top, covers, and all of the cage
components in order to paint or powder coat.
54. Paint or powder coat the components of
the kit in the color of your choice. If painting
yourself, careful preparation will make a big
difference in the quality and longevity of your
paint job, even using “rattle can” aerosol
paints. Begin by thoroughly cleaning the
components with solvent or de-greaser, then
make sure all residue is removed. Even if
you use cheap paint, try to use a good quality
primer. “Etching” primers are best to use on
bare, unpainted metal. Allow it to properly dry
before painting, and between paint coats.
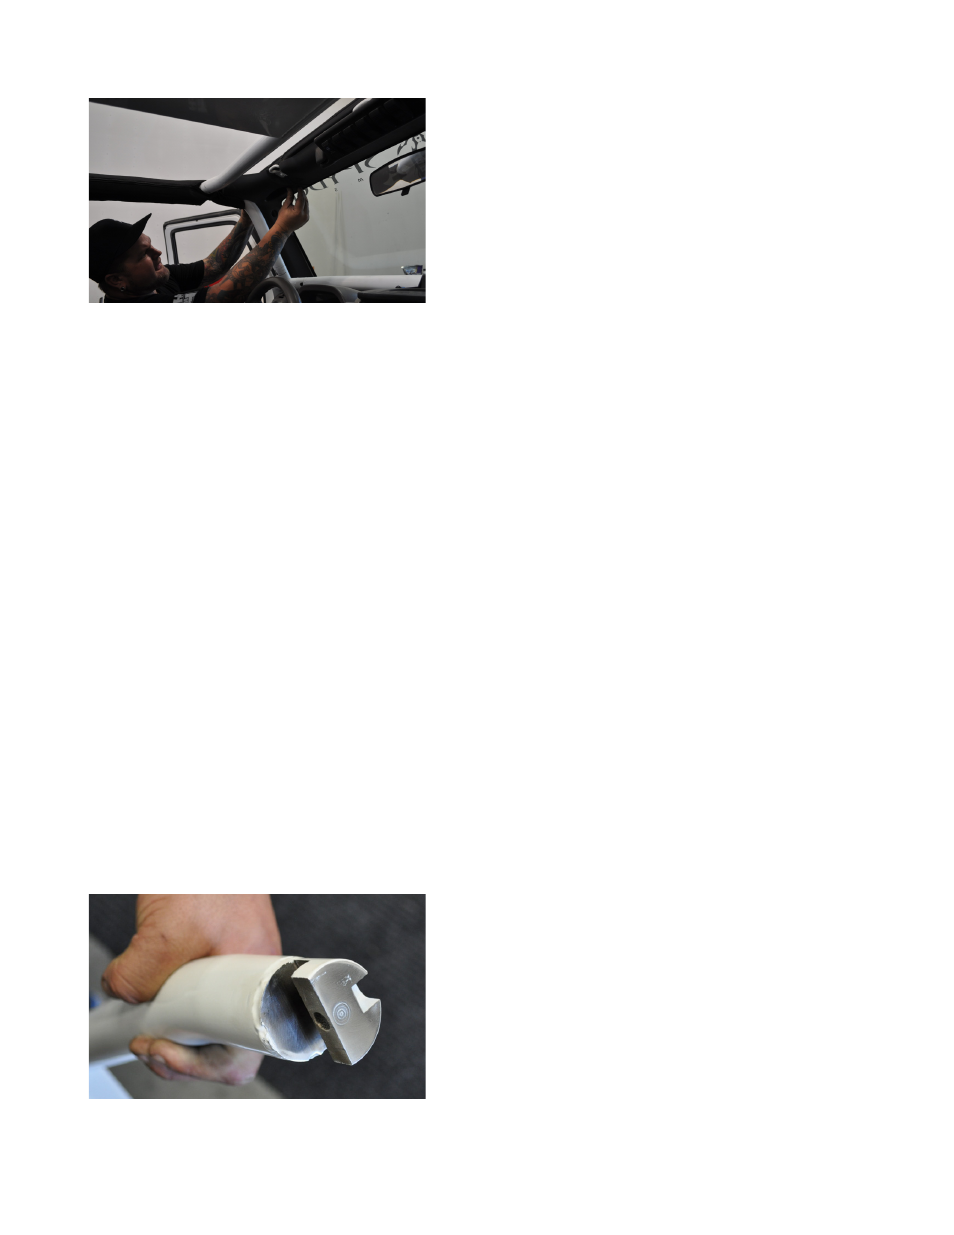
IMPORTANT: DO NOT POWDER COAT the
mating surfaces of the interlocking tube clamps!
The thickness of the powder coat on these
surfaces will make the components much more
difficult to install. If powder coating, mask these
surfaces off prior to coating, then use a color-
matched paint to protect them prior to installation.
FIGURE 43
55. Re-Install the Cage Kit by repeating the
previous installation steps. You may wish
to tape or cover the finished surfaces of the
cage components to protect the finish during
installation.
Congratulations, you have completed installation
of your JK Bolt-Together Trail Cage!