Approach Tech Appro IP Camera LC-7314 User Manual
Page 80
78
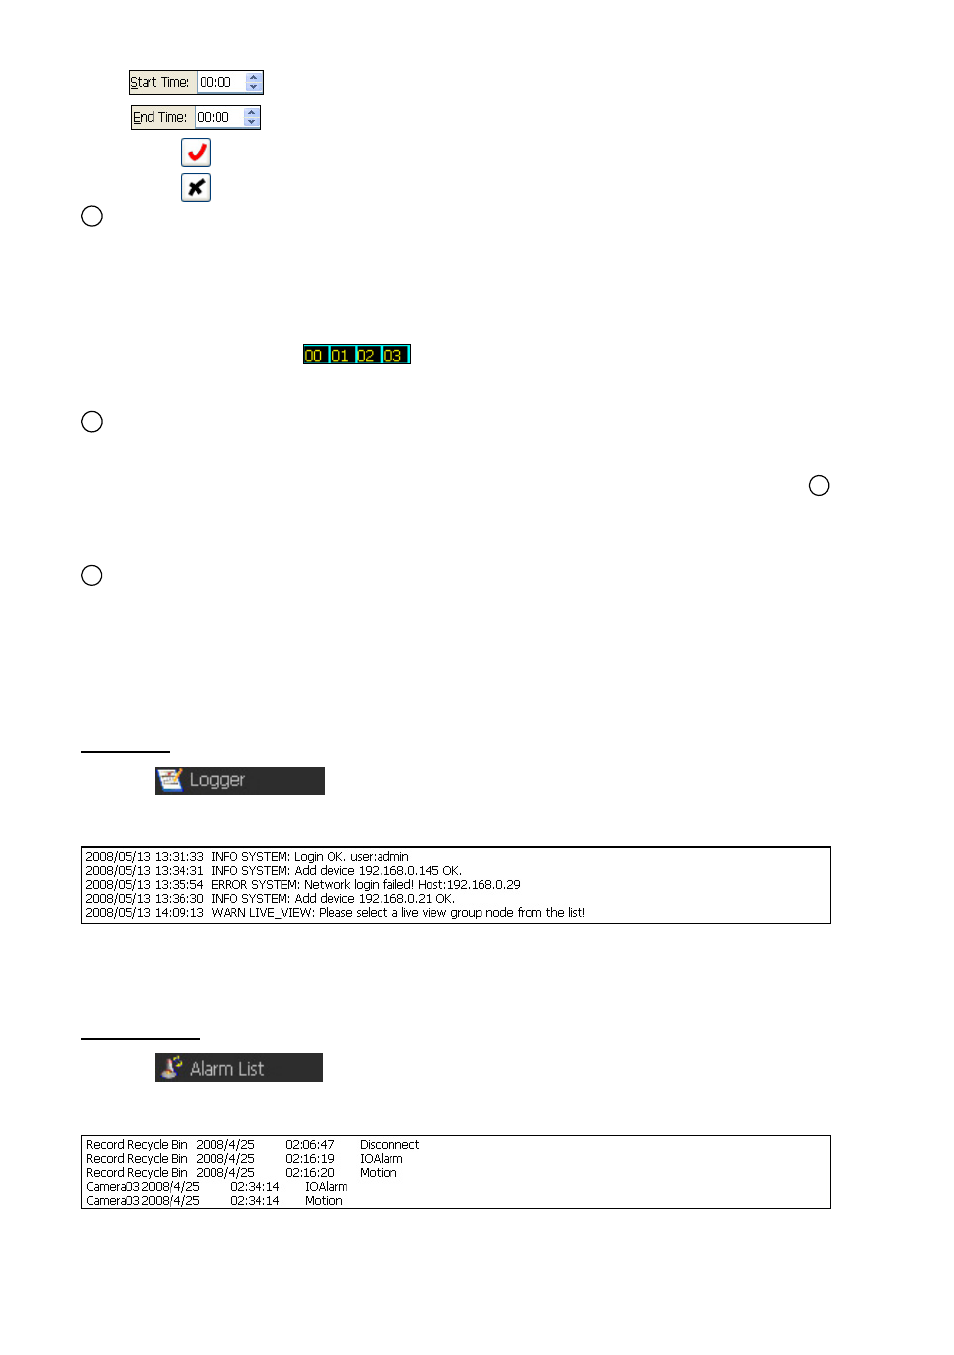
Sets the starting time of recording from the drop-down list.
Sets the ending time of recording from the drop-down list.
Clicks the icon to enable the just added schedule.
Clicks the icon to disable the selected schedule.
2
The working area:
(1) Click the working area directly to add a new schedule as you wish.
(2) The functioning schedule bar is colored orange and the non-functioning schedule
bar(s) is colored pink. You can just click the right button of the mouse on the functioning
schedule bar ( in orange color) to cancel it.
(3) To enlarge the display size of the working area, please click the left button of the mouse
on the numeral bar (
…) ; on the other hand, please click the right button
to narrow it.
Note: The largest column length is 4 times the default size of the working area..
3
The schedule bar:
(1) Click and drag the left and right edges of the schedule bar to adjust the starting and
ending time of the schedule.
Note: For the exact schedule period setting, please set the day and time in the
1
setting area directly.
(2) Click and drag the middle of the schedule bar to move it. The moved bar is in the same
length but the starting and ending times are changed.
4
Save: Apply the changes.
Undo: Undo the latest changes.
Clear All: Clear all the schedule markers in the current editing area.
(7) Logger
Click the
icon to enter the Logger listing page.
Example:
(8) Alarm List
Click the
icon to enter the Alarm listing page.
Example: