Phase One H 5 User Manual
Page 22

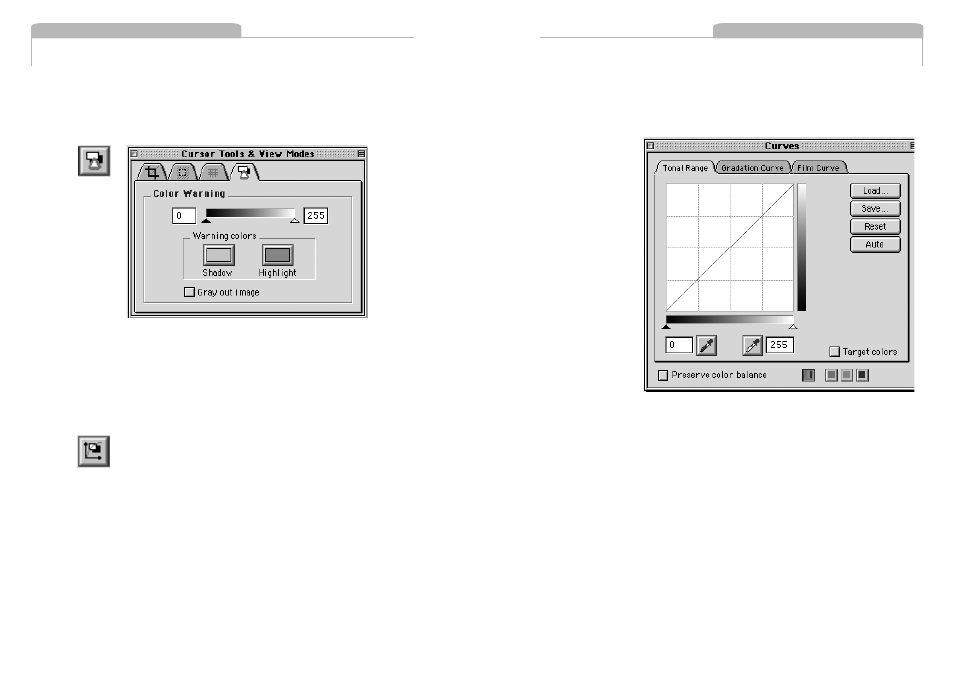
Further control of the tonal range is possible by unchecking the
”Preserve Color Balance” box. Each color channel can then be
adjusted individually.
A particular
color is defined
for the lightest,
or darkest, part
of the image by
checking the
”Target Colors”
box.
This reveals
a sliding scale
and two color
selection
buttons.
A single click on
the light,
or dark, color
selection buttons
enables selection of a target color. The sliding scale enables adjustment
of color saturation.
The Gradation Curves pane allows the control of an infinite number of
points along the curve of an image (compared to the two points of the
Tonal Range pane). The curve starts out as a linear curve. By clicking on
the curve a point can be added that can be adjusted to control the image
tone. To observe the effect of this tool, place a point on the middle of the
curve and pull it up slightly. The midtones of the image become lighter.
Other areas of the image are also lightened to some extent, so it may
be necessary to place other point on the curve to control this. There are
also easy to use up/down buttons to adjust brightness and contrast.
Experiment with the buttons to quickly control the image curve.
In general, if the exposure warning is shown over a large area of the
selected image, it indicates that the exposure level may need to be
adjusted. Highlight areas are more critical than the shadows.
Preserve highlight detail by not allowing values greater than 240.
Tonal Range/Gradation Curves/Film Curve
Clicking on the Tonal Range/Gradation/Film Curve button opens
the window to the Tonal Range tool. Switch back and forth between Tonal
Range, Gradation and Film Curve by using the tabs at the top of the win-
dow.
The Tonal Range and Gradation tools act much like the Levels and Curves
tools in Photoshop. The Tonal Range pane of the window shows a
Histogram, a graphical representation of the brightness of the pixels in
the image. The darker areas of an image are made darker by sliding the
dark triangle to the right. The lighter parts of an image are made lighter
by sliding the white triangle to the left. This compresses the tonal range of
an image, and either lightens or darkens the highlights and shadows.
5.4
Tools
5.5
Tools
