Lexicon PCM 80 User Manual
Page 55
2-37
Basic Operation
Let’s modify the patch further by adjusting the Destination values to a more
useful range.
Press Load/
✱
repeatedly until the Patch 1 Values screen is displayed.
Changing the default
destination values
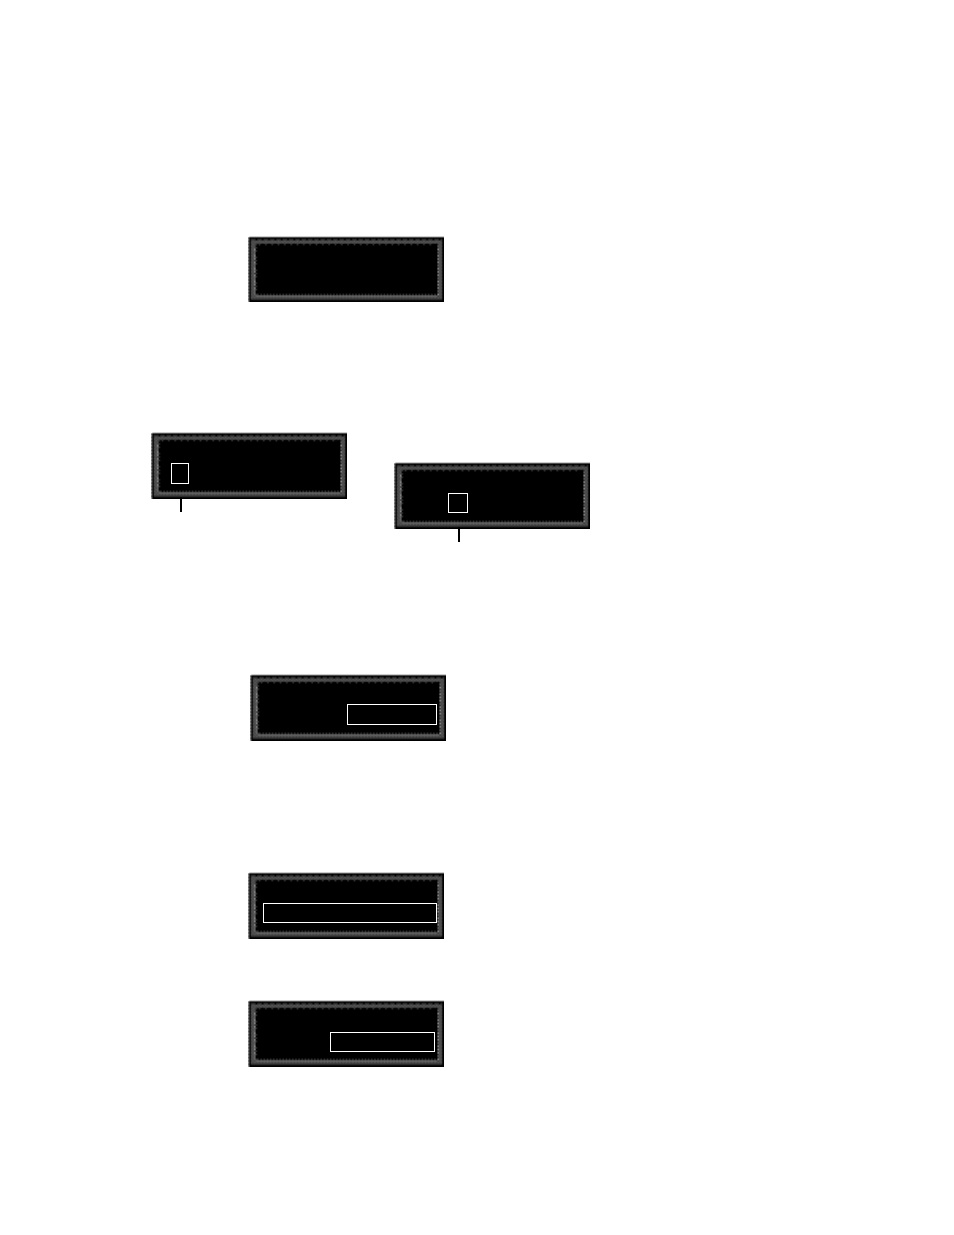
Patch 1 Values
✱
000
–360 MONO
Notice that the
✱
is to the left of the Source value. This indicates that the Source
value is selected and its value will be changed when you turn ADJUST.
Press Load/
✱
once to move the
✱
to the right of the Source value. When the
✱
is in this position, ADJUST will change the Destination value.
Patch 1 Values
000 :
✱
–360 MONO
Patch 1 Values
✱
000
–360 MONO
Press Load /
✱
to move the asterisk to this position,
where it indicates that Destination values will be
altered when you turn ADJUST.
The asterisk (
✱
) indicates that the Source value
will be altered when you turn ADJUST.
With the Destination value selected, turn ADJUST clockwise to set the value to
+0.
Patch 1 Values
000 :
✱
+0 MONO
Next, we’ll want to adjust the Destination value when the LFO is at its maximum
value. One way to do this is to press Load/
✱
three times to cycle the
✱
to the
display of the Source value, and continue on from there — but we’ve provided
a short cut! Press Edit to jump to the next assigned value ( in our example, the
LFO maximum value).
Patch 1 Values
127 :
✱
+360 MONO
Now our example has been modified so that the LFO sweeps the FX Width Value
from 0 to 90. This creates a dynamic alteration of the effect’s spatial character-
istics. Its stereo image changes smoothly from mono to stereo, to surround, and
back again.
Note that the
✱
remains in the same position, so you can just turn ADJUST to
set the new Destination value. Set the value to +90.
Patch 1 Values
127 :
✱
+90 L-R, R-L