Hawking Technology HWPS1UG User Manual
Page 64
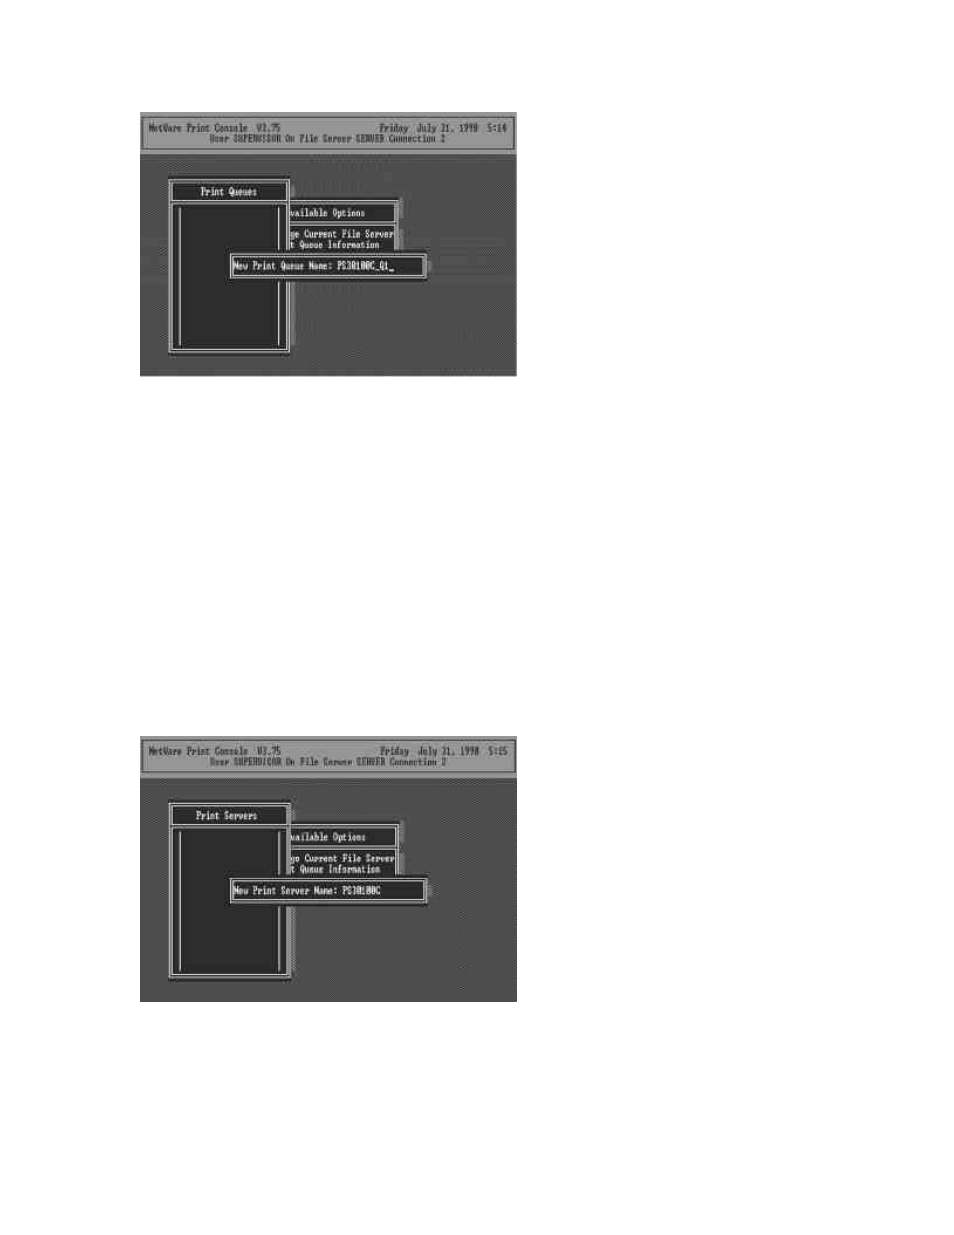
14. You have now successfully created the print queue that
your print server will serve. Press the Es cape key until the
Available Options main menu is displayed.
15. Select “Print Server Information.”
16. Press the Insert key to add a new NetWare print server
object. The print server name can be identical to the PSxxxxxx
name printed on the label of the print server, or you can use an
alias name you have assigned using PSETUP.
17. Press Enter to select the newly created print server.
18. Select “Print Server Configuration.”