Step 6: lubrication, Canopy installation, Step 7: fan blade assembly and installation – Hunter 25602 52 Outdoor Original User Manual
Page 5
5
41556-01 8/08/03
© 2003 HUNTER FAN CO.
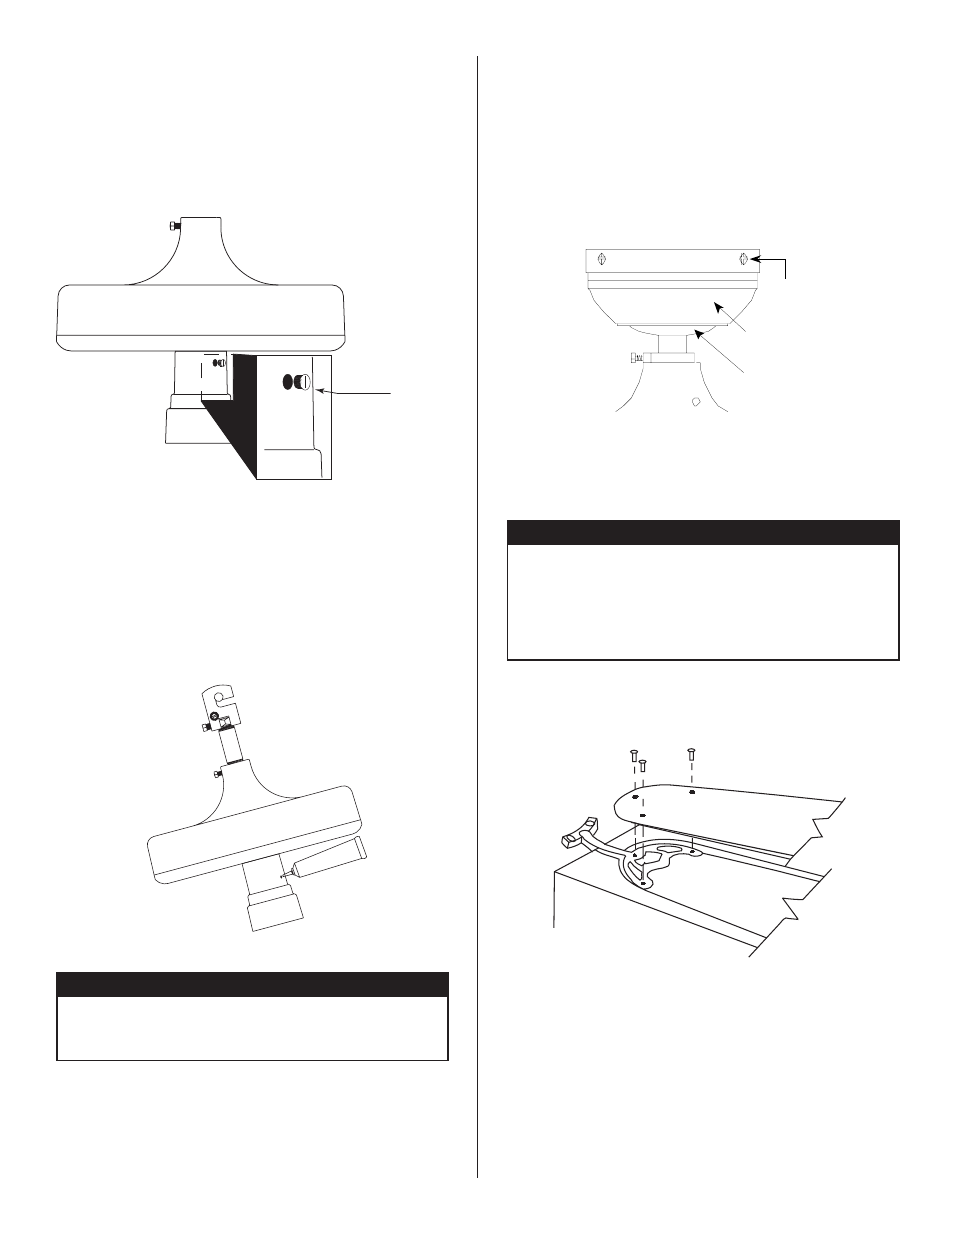
Step 6: Lubrication
1. Your fan has been shipped without oil in the
motor. A tube of high grade SAE 10 non-detergent
oil is packed in the sack parts. All of the oil in the
tube must be put into the fan.
2. Unscrew the oil hole screw on the side of
the switch housing. See Figure 9.
Canopy
Screws
Figure 11
Canopy Installation
1. Lift the canopy off the neck of the motor.
2. Slide the canopy and canopy insert up until
the three holes in the side of the canopy can be
aligned with the three threaded holes in the canopy
plate.
3. Insert and tighten the three screws that hold
the canopy in place. See Figure 11.
Oil Hole Screw
Figure 9
Figure 10
Step 7: Fan Blade Assembly and
Installation
3. Cut the tip off the tube, tilt the fan motor as
shown and place the tube into the oil hole of the
switch housing. See Figure 10.
4. Slowly put oil into the fan. All of the oil in the
tube must be put into the fan.
5. Reinstall the oil hole screw securely before
moving the fan from the current (tilited) position to
prevent oil from spilling from the oil hole..
This Lubrication System does not normally “use
up” or require the addition of extra oil once the oil
reservoir has been filled to the correct level. This
unique lubrication system is one reason your Original
Hunter Ceiling Fan will last a lifetime.
1. Attach the wood blades to the blade brackets
using three screws for each blade. See Figure 12.
!CAUTION!
• Do not turn the fan on until lubrication has been
added. To operate the fan without oil or with
low oil will void your warranty.
!WARNINGS!
• To reduce the rist of personal injury, do not bend
the blade brackets when installing the blade
brackets, balancing the blades, or cleaning the
fan.
• Do not insert foreign objects in between rotat-
ing fan blades.
Figure 12
2. If your blades have large holes, you must first
insert the rubber grommets into the holes. See Figure
13.
3. Make sure that all screws are tight to pre-
vent vibration or wobbling. A cavity in the
styrofoam packaging has been provided to nest the
parts in during assembly to assure correct alignment
of parts.
Canopy
Canopy
Insert