Harbor Freight Tools 44923 User Manual
Page 7
SKU 44923
Page 7
For technical questions, please call 1-800-444-3353.
Operating the Nailer
1.
Attach the Nailer to the air supply at the Air Inlet (122). Start your compressor and check
the pressure making sure it is set at the recommended 60-100 PSI and not to go over the
maximum 100 PSI.
2.
To fire, place the nose of the Nailer on the workpiece. The Nailer should not fire if the
Safety Trigger (123) is not depressed. Once depressed, gently and briefly squeeze the
Trigger (125) once. Do not fire repeatedly. Nails could bounce off of one another,
damaging the work piece or causing PERSONAL INJURY.
Note: When using Brad Nails, the Driver Guide (206) might leave a slight
mark on the surface of the workpiece which is larger than the nail
brad. It occurs normally because the Driver Guide (206) tip is
slightly wider to accomodate staples.
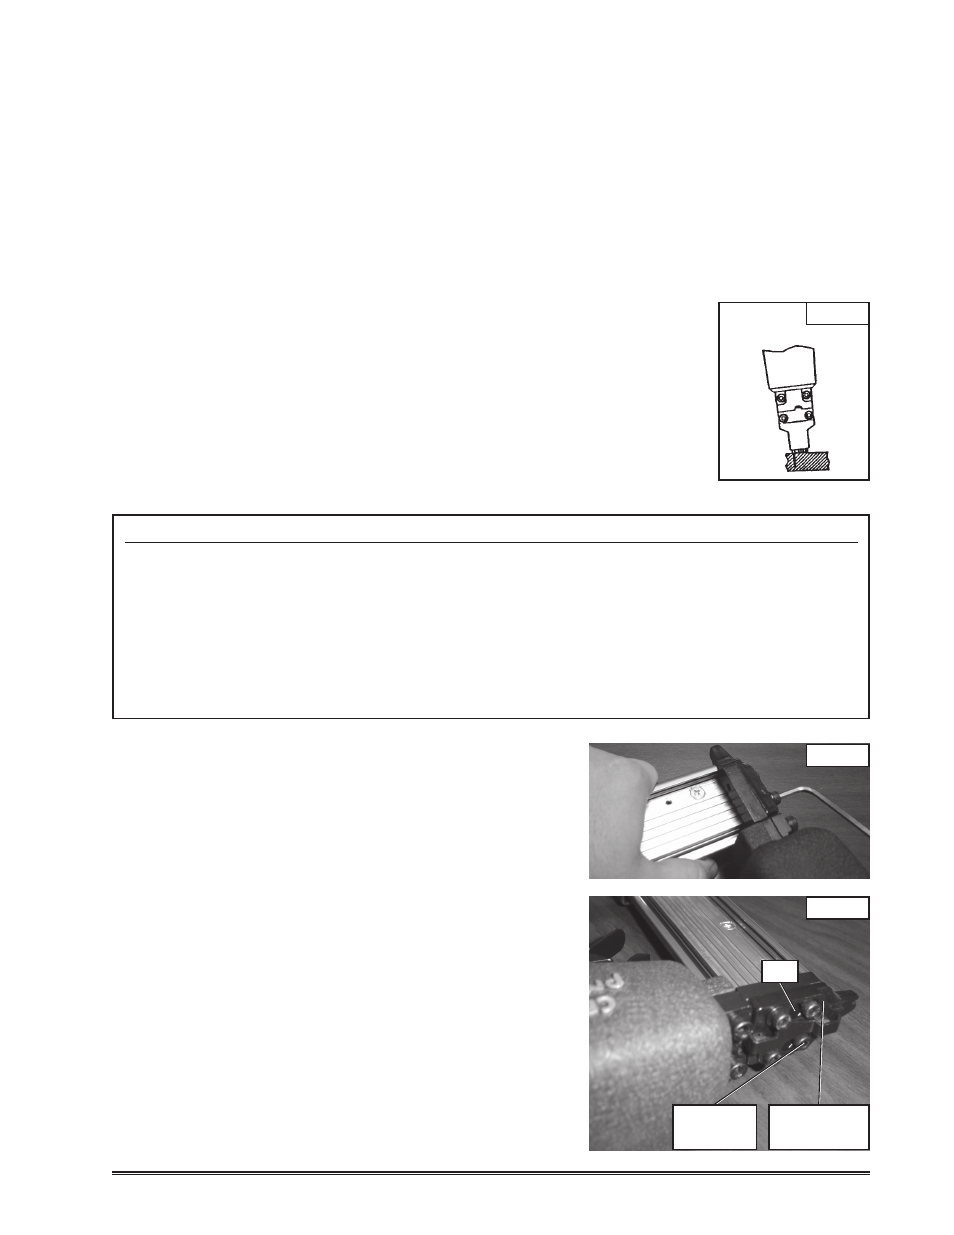
To help avoid this, angle the tool slightly as shown in Figure 7.
Anytime
any maintenance or repairs are done (including clearing jams), FIRST:
1.
Disconnect the Nailer from the air hose.
2.
Empty the Magazine (205) completely.
3.
Attempt to fire the Nailer into a piece of scrap wood to ensure that it is disconnected
and is incapable of firing any brads.
4.
Always leave the Magazine Cover (227) open during maintenance. The Magazine
is spring-loaded and may cause parts or a nail to fly out of the Nailer.
Clearing Jams
1.
Disconnect tool from air hose, empty the Magazine
(205) of nails, release any built-up air pressure, and
leave the magazine open, as explained above.
2.
While doing this step and the next, hold the Nailer
pointed away from you and any other people or
fragile objects - see Figure 8. Loosen both Cover
Hex Bolts (234) on Driver Guide Cover C (233) 3/4
of a turn each - see Figure 9.
3.
Slide Driver Guide Cover C (233) toward the nose
of the Nailer slightly until the holes (See Figure 9.)
in Driver Guide Cover C (233) line up with the heads
of both Cover Hex Bolts (234).
4.
Carefully remove Driver Guide Cover C (233) and
remove the jammed nail. Pliers may be necessary
to remove a stuck nail.
Figure 7
Figure 8
Figure 9
Cover Hex
Bolt (234)
Driver Guide
Cover C (234)
hole