Warning, Maintenance – Harbor Freight Tools 31877 User Manual
Page 8
Page 8
SKU 31877
For technical questions, please call 1-800-444-3353.
MAINTENANCE
Risk of serious personal injury from accidental starting or electric
shock. Turn the Power Switch of the tool to its “OFF” position and
unplug the tool from its electrical outlet before performing any
inspection, maintenance, or cleaning procedures.
damaged equipment can fail, causing serious personal injury.
do not use damaged equipment. If abnormal noise or vibration
occurs, have the problem corrected before further use.
BEFORE EACH uSE, inspect the general condition of the tool. Check for loose screws,
misalignment or binding of moving parts, cracked or broken parts, damaged electrical
wiring, and any other condition that may affect its safe operation.
AFTER uSE, clean external surfaces of the tool with clean, moist cloth.
WARNINg! If the supply cord of this power tool is damaged, it must be replaced
only by a qualified service technician.
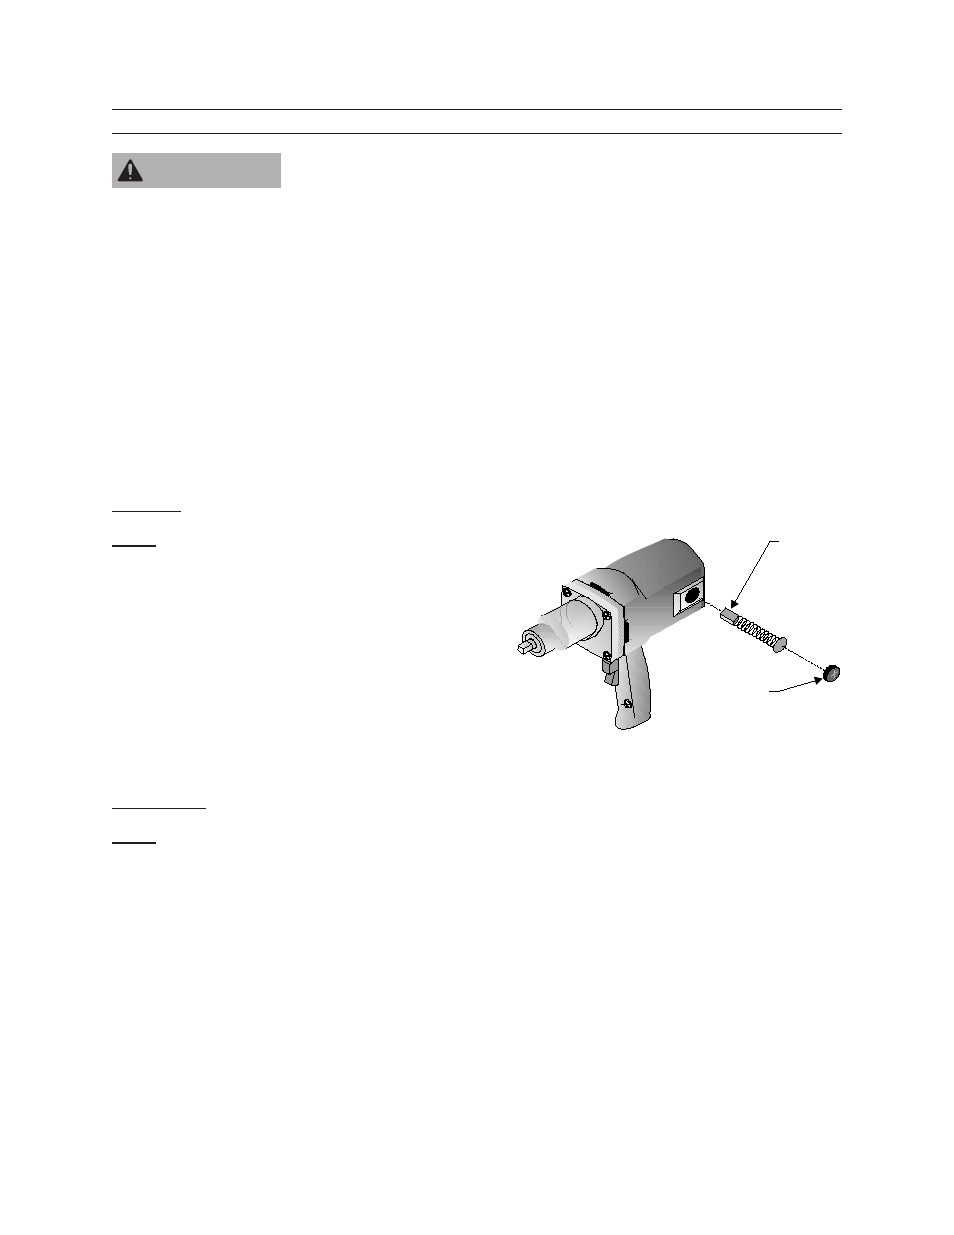
Brushes
Note: Both BRUSHES (3) must be replaced at the
same time.
The BRUSHES must be changed when
less than 3/8” remains or when perfor-
mance noticeably degrades.
Remove the BRUSH CAP () using a large,
flat-head screwdriver.
Remove the BRUSH and replace.
Replace the BRUSH CAP.
Lubrication
Note: The following procedures should only be attempted by a qualified technician. The in-
structions are only provided for their reference. Refer to the Parts Diagram for num-
bered call-outs.
The gears must be lubricated after every 30 hours of continuous use or 0 hours of inter-
mittent use.
Open the GEAR CASE (13) by removing the four SCREWS (1).
Liberally apply a high temperature grease (standard automotive wheel grease is suf-
ficient). to the THRUST WASHER (14), the back of the ANVIL (16), IMPACTOR (19),
SPRING (21), and GEARS (22 & #27).
Replace the ANVIL and GEAR CASE.
1.
.
3.
1.
.
3.
4.
1.
.
3.
4.
WARNINg
WARNINg
Brush
(# 3)
Brush Cap
(# )
Figure 2 -- Brush Replacement
Brush
(# 3)
Brush Cap
(# )
Figure 2 -- Brush Replacement