Notice, Spray gun setup adjustment – Harbor Freight Tools HVLP DETAIL SPRAY GUN 46719 User Manual
Page 10
Page 10
For technical questions, please call 1-800-444-3353.
Item 46719
NOTICE
Clean the Spray Gun IMMEDIATELY after use.
Delayed or inadequate cleaning will permanently clog the Spray Gun.
SAFETY
Op
ERA
TION
M
AINTENANCE
SETU
p
Spray Gun Setup Adjustment
TO pREVENT SERIOUS INJURY:
Do not adjust or tamper with any control or component in a way not specifically explained
within this manual. Improper adjustment can result in tool failure or other serious hazards.
CAUTION! Keep hands away from Trigger while making adjustments.
1. Thread the Cup to the top of the Gun Body
and tighten until the Cup is securely in place.
2. Thread the Air Regulator (44)
into the Air Connector (43).
Note: This Spray Gun is meant for spraying
oil-based paints. It is not recommended for
regular wall paint or thin coatings of any type.
While these products can be used with
this Spray Gun, coverage will not be even.
paint preparation and Filling
Note: Proper paint mixture is essential.
Follow the manufacturer’s directions.
Most paints will spray easily if
they are thinned properly.
3. Thin the paint according to manufacturer’s
directions and mix thoroughly.
4. Carefully strain the paint through
a paint strainer or a piece of cheesecloth.
5. Fill the Cup to 3/4 full. Close Cup.
6. Start the air compressor and set
the regulator to needed pressure.
Do not exceed maximum air pressure.
7. Test the consistency by spraying
on a piece of scrap material.
If it still appears too thick, add a very
small amount of thinner (not included)
and mix thoroughly. Use the proper
thinner for the type of paint.
Thin CAUTIOUSLY. Proceed slowly,
adding minimal amounts at a time.
DO NOT exceed the manufacturer’s
thinning recommendations.
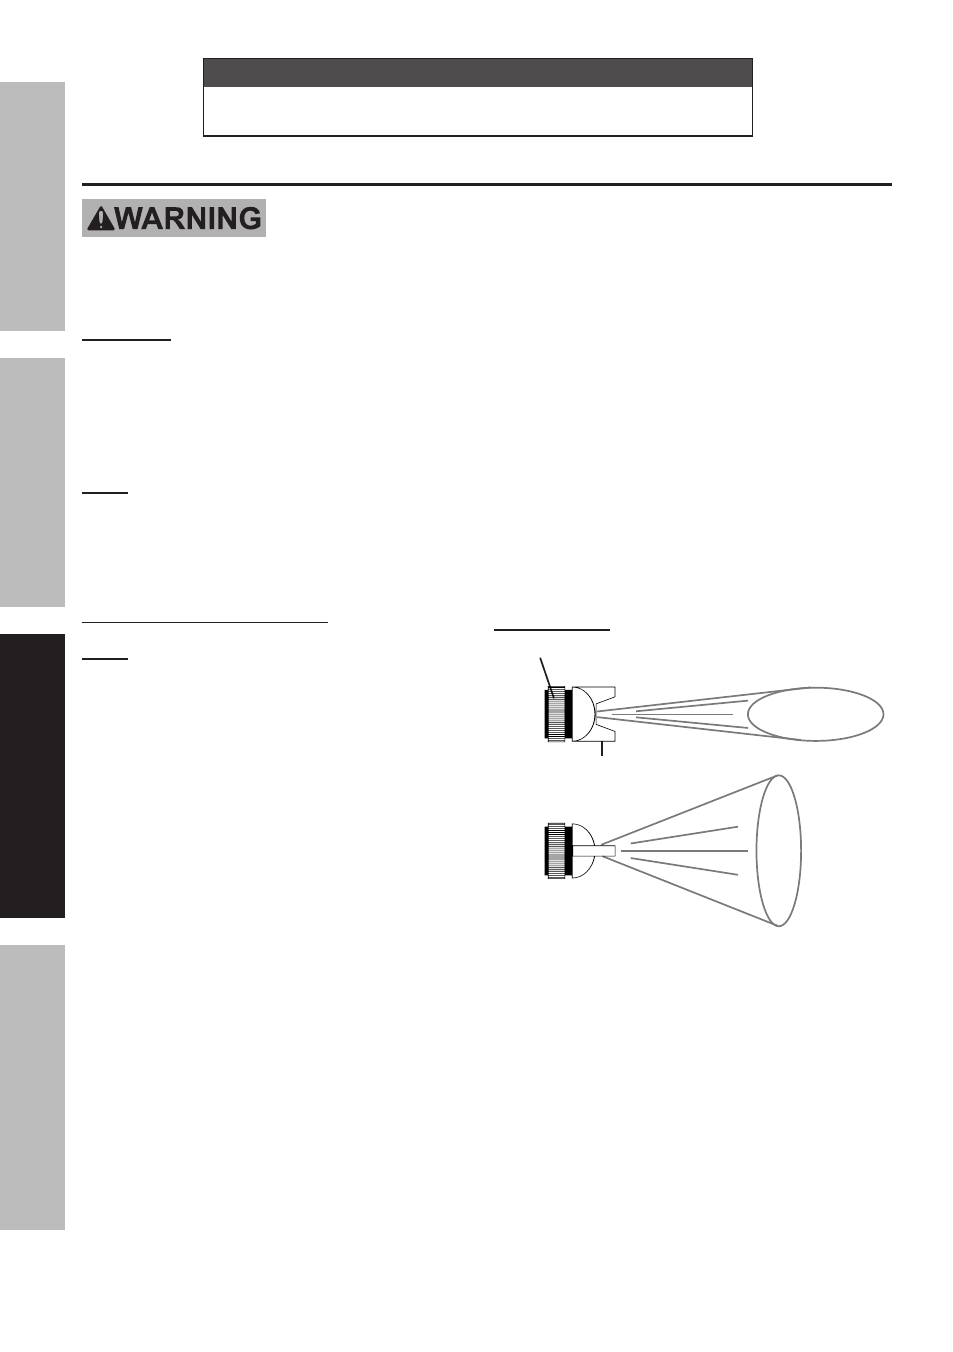
Fan Direction
Horizontal Fan
Vertical
Fan
Nozzle
Lock Ring
Figure D: Fan Direction
8. To change the direction of the fan
from horizontal to vertical,
loosen the Lock Ring and turn
the Nozzle 90°.
9. After the adjustment,
tighten the Lock Ring by hand.