Step 1 step 2, Electricity supply, Level – Hotpoint FEW10 User Manual
Page 3: Technical details
Electricity Supply
WARNING:
The appliance must be earthed.
CE marking certifies that this appliance conforms to the following
EEC directives:
Low Voltage Equipment - 72/23/EEC & 93/68/EEC
Electromagnetic Compatibility - 89/336/EEC, 92/31/EEC & 93/68/EEC
Fuses
Your appliance comes fitted with a plug and a 13 amp (13A) fuse. If
you need to replace the fuse, use only those rated at 13 amp (13A)
and ASTA approved to BS1362. To change the fuse lift the holder to
vertical position and lift the fuse out. To replace the fuse, insert the
fuse and push fuse holder down into the locked position. Correct
replacement is identified by colour coding or the marking on base of
plug.
WARNING: Do not use the plug unless the fuse holder is in the locked
position and the top cover firmly replaced.
Changing the Mains Lead
If you have damaged the existing lead and need a new one, contact
Hotpoint Service UK on: 08709 066 066 or
www.theservicecentre.co.uk (or in the Republic of Ireland on: 1850
302 200). A charge will be made.
We strongly advise that fitting a new lead is carried out by a qualified
electrician.
Seek professional advice if you need to use an extension lead.
Changing the Plug
If you need to change your plug, if it does not fit your socket: isolate
the machine from the mains supply. Cut off the supplied plug and
safely dispose of the discarded plug. DO NOT plug into any other
socket.
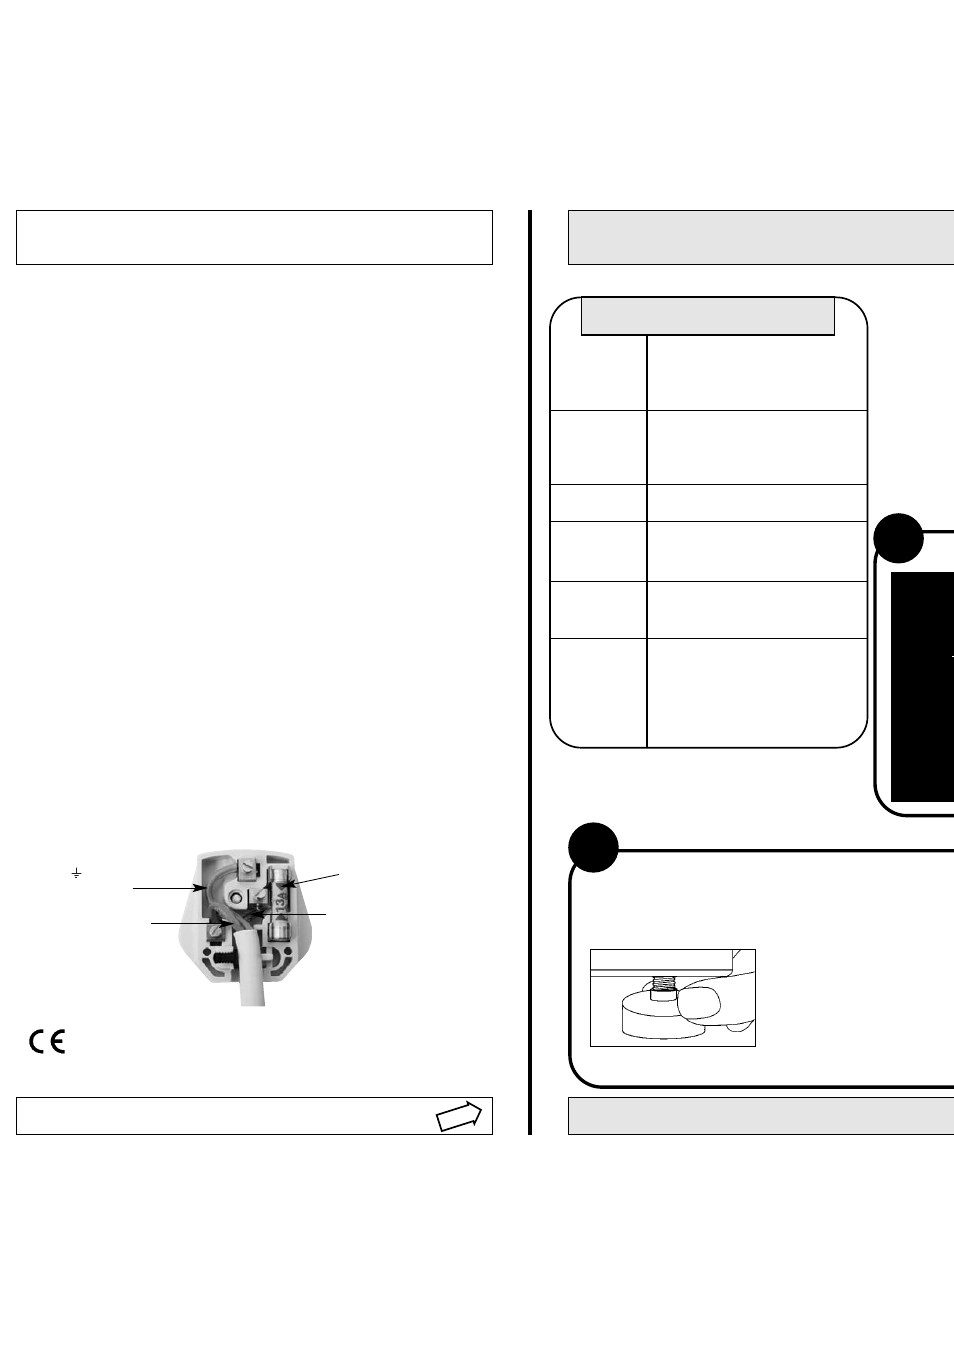
NOTE: If you change the plug, the colour of wires in the mains lead
may not match the colour of the markings which show the different
terminals in the plug. You must wire it as shown below:
Green and yellow (Earth)
wire to terminal marked ‘E’,
symbol , or coloured
green and yellow.
Blue (Neutral) wire to
terminal marked ‘N’ or
coloured black.
13A ASTA approved fuse to
BS1362.
Brown (Live) wire to terminal
marked ‘L’ or coloured red.
3
DR
4
LEVEL?...
NOTE: AL
MOVE T
ALONG T
D
WHICH
YOU U
HOOKE
LEVEL TO
(*see Ge
YOUR MACHINE WILL BE NOISY IF THE TWO FRONT F
ADJUSTED SO THE MACHINE STANDS FIRM AND LEV
STEP 1
STEP 2
TECHNICAL DETAILS
Models
Dimensions
Capacity
Electric
Connections
Spin Speed
Control
programmes
according to
IEC456
directive
FEW14
FEW12
FEW10
59.5cm wide
85cm high
60cm deep
from 1 to 5.5kg
voltage 220/240 Volts 50Hz
maximum absorbed power:
1700W-2100W
up to 1400rpm - FEW14
up to 1200rpm - FEW12
up to 1000rpm - FEW10
programme D
temperature 60˚C
run with a 5.5kg load
When adjusting the feet, use a spirit level to check the machin
side to side and from front to back.
- Move your machine into its f
(take care not to trap or kink
- Turn one or both front feet a
hand, until the feet cannot be
- The spring on each foot will s
loose.
If it is placed on a fitted carpet, adjust the feet to ensure th
ventilation beneath the washing machine.