Installation instructions, Towing vehicle installation, Trailer installation – Harbor Freight Tools 94137 User Manual
Page 4
Page 4
For technical questions, please call 1-800-444-3353.
Trailer Lights
installation instructions
Read the EntiRE imPoRtant SaFEty inFoRmation section at the
beginning of this document including all text under subheadings therein
before set up or use of this product.
towing Vehicle installation
note: Use the BLUE Splice Connectors to make the connections in steps 1-3.
1. Connect the BROWN wire of the
Trunk Harness (5) to the towing
vehicle’s Running Lights wire.
2. Connect the YELLOW wire of the
Trunk Harness to the vehicle’s
Left Stop & Turn light.
3. Connect the GREEN wire of the
Trunk Harness to the vehicle’s
Right Stop & Turn light.
4. Attach the WHITE GROUND wire
to the towing vehicle’s frame.
trailer installation
notE: inStall thE tRailER lightS only aFtER
thE tRailER iS Fully aSSEmblEd.
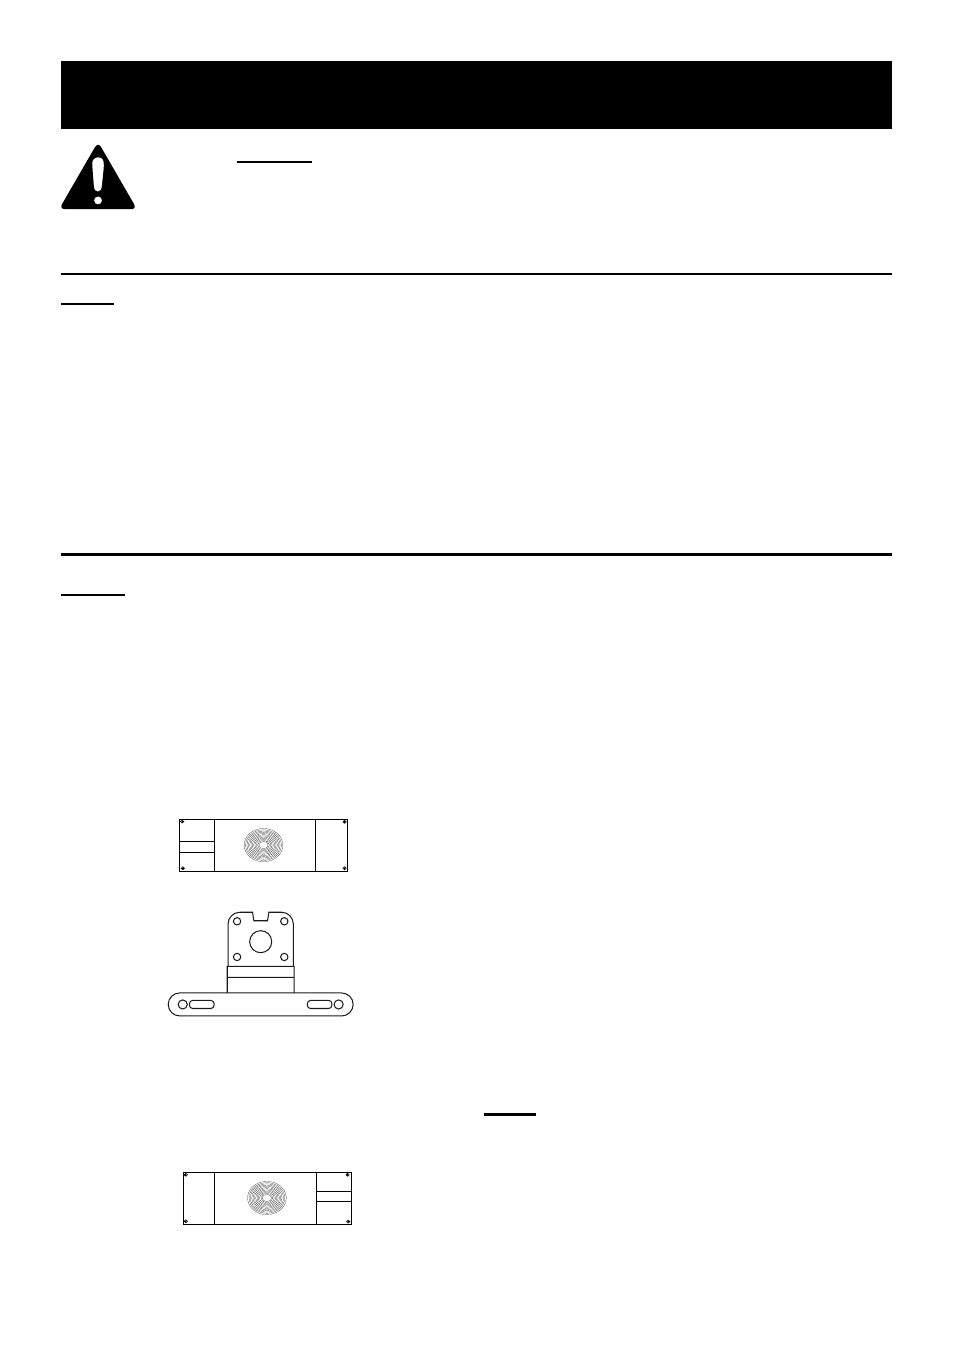
1. Mount the Tail Light (1b), marked “LH”
(with the License Window on bottom),
on the left rear of the trailer with its side
marker to the outside of the trailer.
Then, mount the License Plate
Bracket (2) underneath it.
2. Mount the Tail Light (1a), marked “RH”
(without the License Window), on the
right rear of the trailer with its side
marker to the outside of the trailer.
3. Use the included Metal Frame Clips to
mount each half of the Y-Harness (3)
down each side of the trailer.
Run one YELLOW wire and
one BROWN wire down the left side
and one GREEN wire and one BROWN
wire down the right side of the trailer.
4. Connect the YELLOW and BROWN
wires to the Left Tail Light (1b) with
the included Wire Nut Connectors.
5. Connect the GREEN and BROWN
wires to the Right Tail Light (1a) with
the included Wire Nut Connectors.
6. Attach the WHITE GROUND wire
to the trailer tongue or frame.
note: These Trailer Lights depend
on a metal, grounded trailer frame.