Replacing ink cartridges, Checking the ink supply, Removing and installing ink cartridges – Epson Stylus CX5000 User Manual
Page 13: Epson stylus cx5000 series
Epson Stylus CX5000 Series
6/06
13
Note:
Print head cleaning uses ink, so clean it only if quality declines and the
nozzle check indicates that the print head needs to be cleaned.
If the red
B
ink light comes on or flashes, you cannot clean the print
head. In this case, replace the appropriate ink cartridge first (see the
next section).
1. Make sure the CX5000 Series is on and the B ink light is
off.
2. Hold down the B ink button for 3 seconds until the
On
light starts flashing. The CX5000 Series runs a head
cleaning cycle and the
On
light flashes.
Caution:
Never turn off the CX5000 Series while head cleaning is in
progress. You may damage it.
3. When the
On
light stops flashing, run a nozzle check to
verify that the print head is clean.
4. If there are still gaps or lines, or the test patterns are faint,
run another cleaning cycle and check the nozzles again.
Note:
If you don’t see any improvement after cleaning the print head
three times, turn off the CX5000 Series and wait overnight. This
lets any dried ink soften. Then try cleaning the print head again. If
quality still does not improve, one of the ink cartridges may be
old or damaged and needs to be replaced (see the next section).
Tip:
If you do not use your CX5000 Series often, it is a good idea
to print a few pages at least once a month to maintain good
print quality.
Replacing Ink Cartridges
❏ When the red B ink light flashes, one or more ink cartridges
are low on ink.
❏ When the red B ink light stays on, you need to replace the
cartridge(s).
You’ll also see a message on your screen when you print telling
you which cartridge is low or expended. (You cannot print
when a cartridge is expended.)
When a cartridge is more than six months old, you may need
to replace it if printouts don’t look their best. If the quality
doesn’t improve after cleaning and aligning the print head,
you can replace the cartridge even if it is not low.
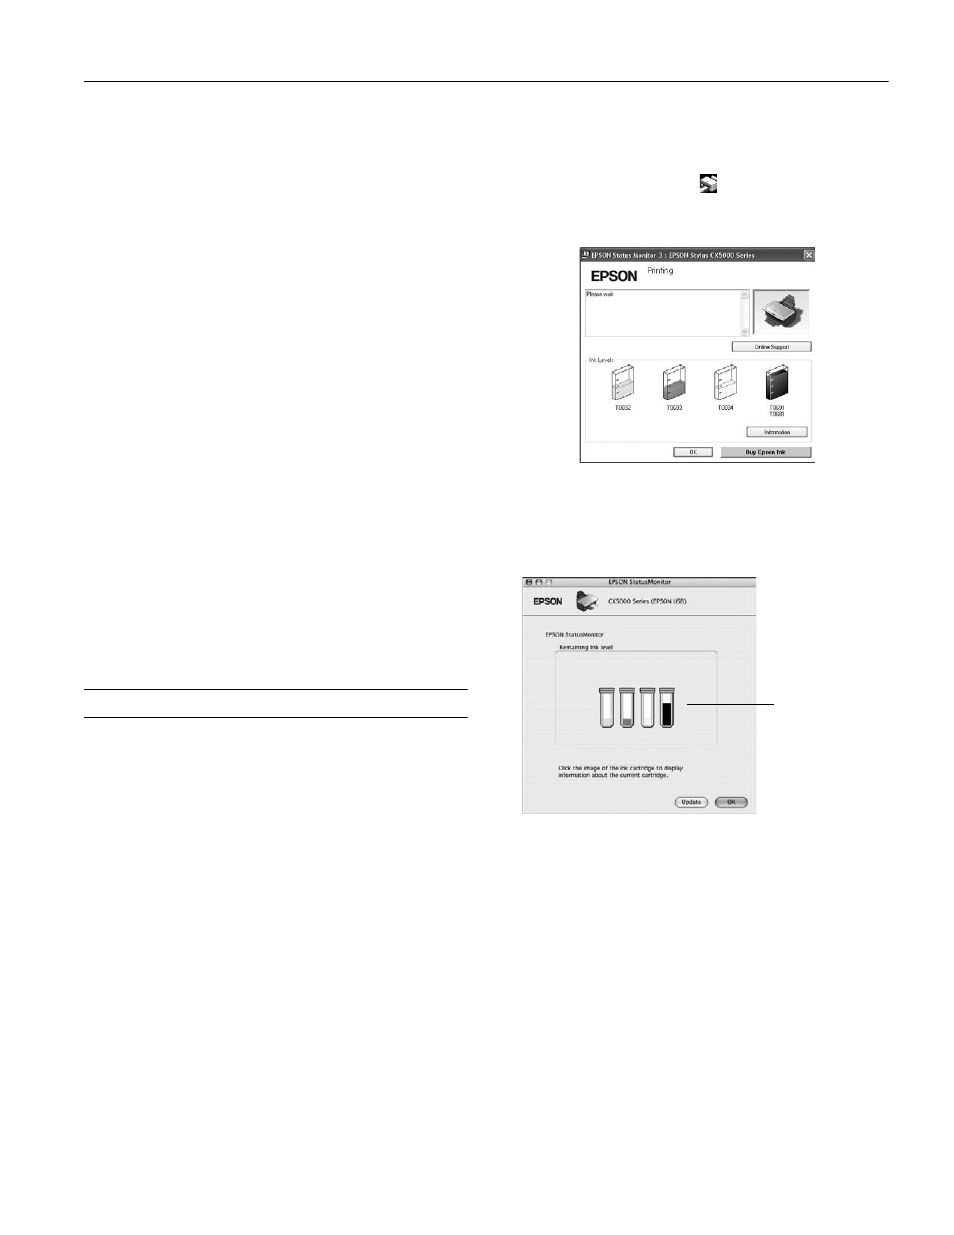
Checking the Ink Supply
To check your ink supply, do the following:
❏ Windows: Double-click the
icon on your taskbar (in the
lower right corner of your screen). You see a window like
the following:
❏ Macintosh OS X: Open the
Applications
folder and select
EPSON Printer Utility
. Select
CX5000 Series
in the
printer list, click
OK
, and select
EPSON Status Monitor
.
You see a window like this:
Removing and Installing Ink Cartridges
Make sure you have a new ink cartridge before you begin.
Once you start replacing a cartridge, you must complete all
the steps in one session.
Warning:
Keep ink cartridges out of the reach of children.
Be careful when you handle used ink cartridges; there may be ink
remaining around the ink supply port. If ink gets on your skin, wash
it off with soap and water. If it gets in your eyes, flush them
immediately with water.
Do not put your hand inside the CX5000 Series or touch any
cartridges during printing.
Click a cartridge
image to display
information
about it.