Option – Philips Q-Line 32BDL3510Q 32" Full HD Digital Signage Display User Manual
Page 28
32BDL3510Q
19
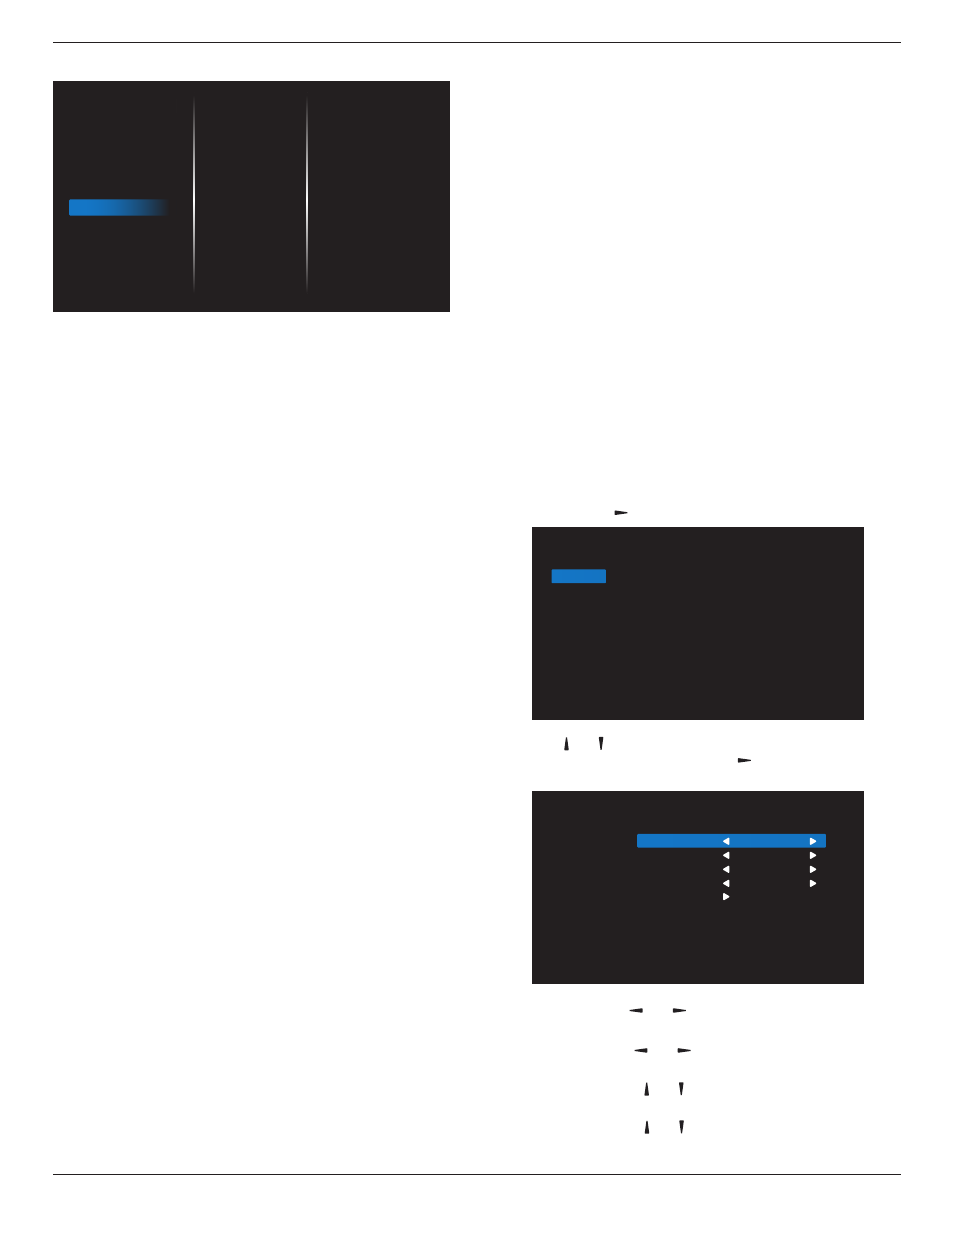
5.2.7. Option
English
2.0
Off
Off
PICTURE
SCREEN
AUDIO
TILING
NETWORK
CONFIG
OPTION
Language
Auto signal detection
Date and Time
Schedule
HDMI EDID
HDMI with One Wire
Input resolution
IR Control
Keypad Control
Power Save
Pixel Shift
Off Timer
Language
Set OSD menu language.
Auto signal detection
Choose to let the display detect and display available signal
sources automatically.
• {
Off
} - Once an input is connected, it can only be
selected manually.
If the selected input has signal, set the system to display the
image automatically according to the search order of each
option.
The options are: {
Auto
}
/
{
Failover
}
• {
Auto
}: VGA->DVI->HDMI1->HDMI2->USB
• {
Failover
}
-
Failover 1: User-defined setting. Default:HDMI 1.
-
Failover 2: User-defined setting. Default:HDMI 1.
-
Failover 3: User-defined setting. Default:HDMI 1.
-
Failover 4: User-defined setting. Default:HDMI 1.
-
Failover 5: User-defined setting. Default:HDMI 1.
-
Failover 6: User-defined setting. Default:HDMI 1.
-
Failover 7: User-defined setting. Default:HDMI 1.
Date and time
Set the current date and time for the display’s internal clock.
NOTES:
The definition and behavior of the Daylight saving time:
The current implementation of daylight saving is a reminder
tool for the user who doesn’t know how to adjust the clock
of daylight saving.
It does not adjust the real time clock automatically. The
problem is that there are no standard rules on when to
adjust the clock defined by region or country. To solve this
problem, the user must be able to set the daylight saving
start/end date. When daylight saving correction is on (user
selectable) then the real time clock should be adjusted at
the time set of the daylight saving on/off date. At the start
date of daylight saving, the clock should be adjusted 1 hour
forward at 2 o’clock. At the end date of daylight saving, the
clock should be adjusted 1 hour backward at 2 o’clock.
The existing daylight on/off menu should be replaced by
the following menu structure:
The menu item {
Daylight saving
} opens the submenu that
contains the following items:
• Menu item {
Daylight saving start date
} Selection item {
1st,
2nd, 3rd, 4th, last
} Sunday of selection item {
1-12 month
}
• Menu item {
Daylight saving stop date
} Selection item {
1st,
2nd, 3rd, 4th, last
} Sunday of selection item {
1-12 month
}
• Menu item {
Correction time
} Selection item {
0.5, 1.0, 1.5,
2.0
} hour
• Menu item {
Daylight saving
} Selection item {
on, off
}
When “daylight saving” is “on”, the real time clock will be
adjusted automatically at the daylight saving time (e.g.
April 5, 2015, 02.00 o’clock: time will be set 1 hour later
or October 25, 2015, 02.00 o’clock: time will be set 1 hour
earlier).
Schedule
This function allows you to program up to 7 (seven) different
scheduled time intervals for the display to activate.
You can select:
• The time for the display to turn On and Off.
• The days in a week for the display to activate.
• Which input source the display will use for each
scheduled activation period.
NOTE: It is recommended that you set up the current date
and time in the {
Date and time
} menu before using
this function.
1. Press [
OK
] or
[ ]
button to enter the submenu.
Schedule 1
Schedule 2
Schedule 3
Schedule 4
Schedule 5
Schedule 6
Schedule 7
Schedule
2. Press
[ ]
or
[ ]
button to select a schedule item (item
number 1 - 7), and press [OK] or
[ ]
button to enter the
submenu.
Schedule 1
Schedule 2
Schedule 3
Schedule 4
Schedule 5
Schedule 6
Schedule 7
Schedule
Status
Source
On Time
Off Time
Repeat modes
On
HDMI1
-- : --
-- : --
• {
Status
}
- Press
[ ]
or
[ ]
button to select the status On
or Off.
• {
Source
}
- Press
[ ]
or
[ ]
button to select the input
source.
• {
On Time
}
- Press
[ ]
or
[ ]
button to adjust and the
display will turn on at the specified time.
• {
Off Time
}
- Press
[ ]
or
[ ]
button to adjust and the
display will turn off at the specified time.