Exido Toaster User Manual
Page 11
11
11
by 15 seconds each time you press; the minimum
setting is 15 seconds.
o If you hold the buttons down, the numbers will
change more rapidly.
5. Press the ON button (9) to commence toasting.
The display shows how much toasting time is left in
minutes and seconds.
o To interrupt toasting before the time is up, press the
OFF button (10). The display will then return to the
most recent browning time setting.
6. You will hear 5 beeps when the bread is toasted.
The appliance shuts off, and the display returns to
the standard setting.
IMPORTANT!
• Remember to turn the appliance off at the socket
and remove the plug when you are finished using it.
• The crumb tray must be emptied and cleaned
regularly to avoid the risk of fire.
Defrosting
1. Press the defrost button (8). The defrost symbol
appears on the display along with the preset defrost
time (1:30 minutes). The defrost time cannot be
adjusted.
2. Press the ON button to commence defrosting. The
display shows how much defrosting time is left in
minutes and seconds.
3. You will hear 5 beeps when the bread is defrosted.
The appliance shuts off, and the display returns to
the standard setting.
o To interrupt defrosting before the time is up, press
the OFF button .
NB! You may experience a small amount of smoke or
odour the first few times the appliance is used. This is
due to excess material from the manufacturing process
being burnt off. This is completely normal, and the
smoke/smell will soon disappear.
Toasting tips
The appliance can be used to toast many different
types of bread. It is not possible to recommend a
browning level for all types of bread as it very much
depends on the composition of the bread and personal
taste. Proceed by trial and error. Thick slices of bread,
buns and coarse bread need to be toasted longer than
thin slices of bread and light bread.
CLEANING
When cleaning the appliance, you should pay attention
to the following points:
• Remove the plug from the wall socket and allow the
appliance to cool down before cleaning.
• Empty the appliance of crumbs regularly. Remove
the crumb tray and wash it in plain soapy water.
Remember to replace the crumb tray, and make
sure that it is completely dry before doing so.
• Never use scouring powder, steel scourers or
other strong cleaning agents to clean the interior
or exterior surfaces of the appliance, as they may
scratch the surfaces. Instead use a cloth dampened
with hot water, and add washing-up liquid if the
appliance is very dirty.
• The appliance must never be immersed in water.
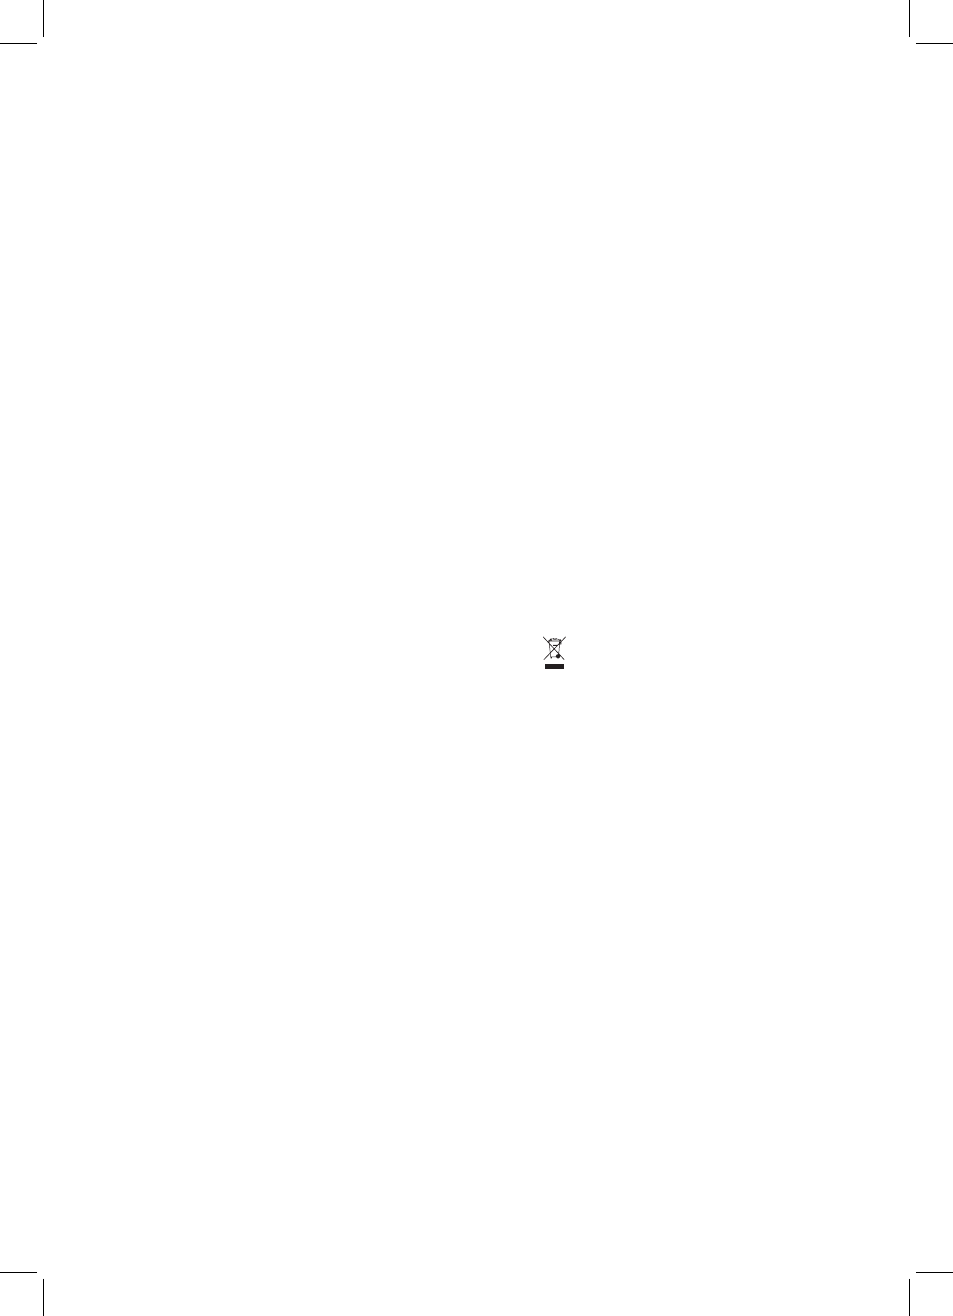
INFORMATION ON DISPOSAL AND RECYCLING OF
THIS PRODUCT
Please note that this Adexi product is marked with this
symbol:
This means that this product must not be disposed of
together with ordinary household waste, as electrical
and electronic waste must be disposed of separately.
In accordance with the WEEE directive, every member
state must ensure correct collection, recovery, handling
and recycling of electrical and electronic waste. Private
households in the EU can take used equipment to
special recycling stations free of charge. In some
member states you can, in certain cases, return
the used equipment to the retailer from whom you
purchased it, if you are purchasing new equipment.
Contact your retailer, distributor or the municipal
authorities for further information on what you should
do with electrical and electronic waste.
GUARANTEE TERMS
The guarantee does not apply:
• if the above instructions are not followed
• if the appliance has been interfered with
• if the appliance has been mishandled, subjected to
rough treatment, or has suffered any other form of
damage
• if faults have arisen as a result of faults in your
electricity supply.
Due to the constant development of our products in
terms of function and design, we reserve the right to
make changes to the product without prior warning.
IMPORTER
Adexi Group
www.adexi.eu
We cannot be held responsible for any printing errors.
FOR UNITED KINGDOM ONLY
Plug wiring:
This product is fitted with a BS 1363 13-amp plug. If you
have to replace the fuse, only those that are ASTA or BSI
approved to BS1362 and with a rated current of 13 amps
should be used. If there is a fuse cover fitted,
this cover must be refitted after changing the fuse. If the
fuse cover is lost or damaged, the plug must not be used.
You must also check if the socket outlets in your home fit
with the plug of the appliance. If the socket outlet in your
home does not fit with the plug, the plug must be removed
and disposed of safely as insertion of the plug into the
socket is likely to cause electric hazard. A replacement
plug should be wired according to following description.
Important
This appliance must be earthed. The wires in the cord set
are coloured thus:
BLUE- Neutral, Brown-Live, Green& Yellow-earth
(For detachable plug only)
As the colours of the wires in the mains lead of this
appliance may not correspond with the coloured markings
identifying the terminals in your plug, proceed as follows:
The wire that is coloured Green& Yellow must be
connected to the terminal in the plug that is marked with
the letter E or by the earth symbol, or coloured green&
yellow.
The wire that is coloured blue must be connected to the
terminal that is marked with the letter N or coloured black.
The wire that is couloured brown must be connected to the
terminal that is marked with the letter L or coloured red.