Troubleshooting – Powerfix Z22855 User Manual
Page 32

GB/MT
34
Comparison of plug and socket (see fig. C):
First measure the dimensions of the plug.
You may wish to make a note of the measurement.
Then measure the socket.
Deviation from a reference value (see fig. D):
Measure a reference object (in this case A).
Leave the measuring jaws
2
/
11
in this position
and press the key to obtain the zero setting (ZERO)
9
.
Then measure the second object.
The LCD display
5
now shows the deviation of the measure-
ment of the second object to that of the reference object (A).
Measuring the thickness of the floor of an object
(see fig. E):
First measure the depth of the object.
Leave the depth blade
6
in this position and press the key
to obtain the zero position (ZERO)
9
.
Now measure the entire object.
The LCD display
5
now shows the thickness of the floor of
the object.
Measuring the distance between two identical
holes (see fig. F):
First measure one of the two, equally sized holes.
Leave the measuring jaws
2
/
11
in this position and press
the key to obtain the zero position (ZERO)
9
.
Now measure the total dimension.
The LCD display
5
now shows the average distance.
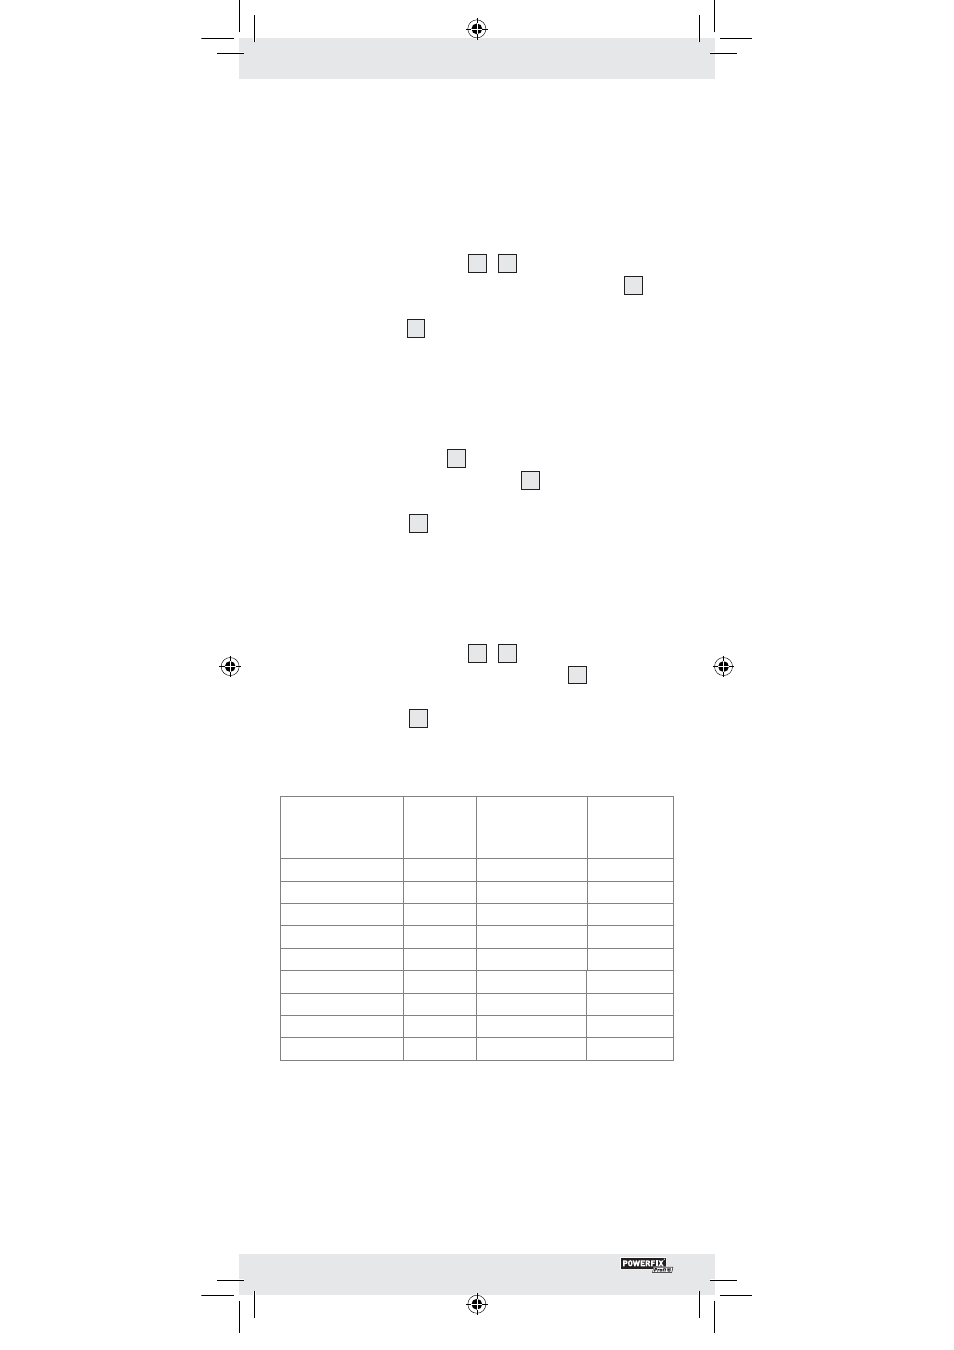
Characteristics of metric ISO screw threads:
Nominal diameter:
[mm]
Increase:
[mm
-1
]
Core diameter:
[mm]
Drill
diameter:
[mm]
3
0.5
2.46
2.5
4
0.7
3.24
3.3
5
0.8
4.13
4.2
6
1
4.92
5
8
1.25
6.65
6.8
10
1.5
8.38
8.5
12
1.75
10.11
10.2
16
2
13.84
14
20
2.5
17.29
17.5
Troubleshooting
The device contains sensitive electronic components. That is why
it experiences interference when in close proximity to radio trans-
mission devices. These include, for example, mobile phones, two-
way radios, CB radios, radio controls or other remote controls
56288_pow_Messschieber_Content_LB5.indd 34
21.09.10 12:22
