Elation Professional Aquarius II User Manual
Page 2
©
Elation Professional
®
- www.
elationlighting.com - Aquarius II™ Instruction Manual Page 4
©
Elation Professional
®
- www.
elationlighting.com - Aquarius II™ Instruction Manual Page 3
AQUARIUS
II™
Precautions
Safety Issues: This unit may blow a fuse if the maximum allotted
load of 5 amps is reached. If the fuse needs replacement, always
replace the fuse with same exact type that was remove, unless other-
wise instructed by an authorized
Elation
®
service technician. Use
of a different type fuse from that which is recommended may cause fire
or electric shock and will void the manufactures warranty.
•
To reduce the risk of electrical shock or fi re, do not expose this unit
rain or moisture
•
Do not spill water or other liquids into or on to your unit
•
Do not attempt to operate this unit if the power cord has been frayed
or broken
•
Do not attempt to remove or break off the ground prong from
the electrical cord. This prong is used to reduce the risk of electrical
shock and fi re in case of an internal short
•
Disconnect from main power before making any type of connection
• Do not remove the cover under any conditions. There are no user
serviceable parts inside
•
Never plug this unit in to a dimmer pack
•
Always be sure to mount this unit in an area that will allow proper
ventilation. Allow about 6” (15cm) between this device and a wall
•
Do not attempt to operate this unit, if it becomes damaged
•
This unit is intended for indoor use only, use of this product outdoors
voids all warranties
•
During long periods of non-use, disconnect the unit’s main power
•
Always mount this unit in safe and stable matter
•
Power cords should be routed so they are not likely to be walked on,
pinched by items placed upon or against them.
• Cleaning -The fixture should be cleaned only as recommended by
the manufacturer. See page 7 for cleaning details
•
Heat -The appliance should be situated away from heat sources
such as radiators, heat registers, stoves, or other appliances
(including amplifiers) that produce heat.
•
The fixture should be serviced by qualified service personnel when:
A. The power-supply cord or the plug has been damaged.
B. Objects have fallen, or liquid has been spilled into the appliance.
C. The appliance has been exposed to rain or water.
D. The fixture does not appear to operate normally or exhibits a
marked change in performance.
Aquarius II™
Operation
General Operation:
Simplicity! Just plug this light in, and watch it
go. This fixture is designed to operate as a stand alone unit. It has
been tested and the lamp has been installed at the factory there is no
assembly necessary. The unit has no power switch, after plugging the
unit in, the unit will light up and rotate in a single direction. To control
the unit’s power remotely plug the unit into some type of power-pack.
Use the “Effect” and “Color” knobs on the rear of the unit to control
the speed and rotation of the color wheel and the effect output. The
color wheel can be adjusted from a static fade or a variable rotation.
Use the “Effect” and “Color” knobs in conjunction with each other to
create different effects.
• Quality Stepper Motors for Smooth Movements
• Easy Lamp Replacement
• Light Weight, Compact Case Design
• Built-In Hanging Yoke
• ZB-JCR Lamp (15v/150w) Long Life
• Adjustable Color Change and Effect Controls
• Quality 50mm Camera Lens
• Enhanced Focusing
Aquarius II™
Features
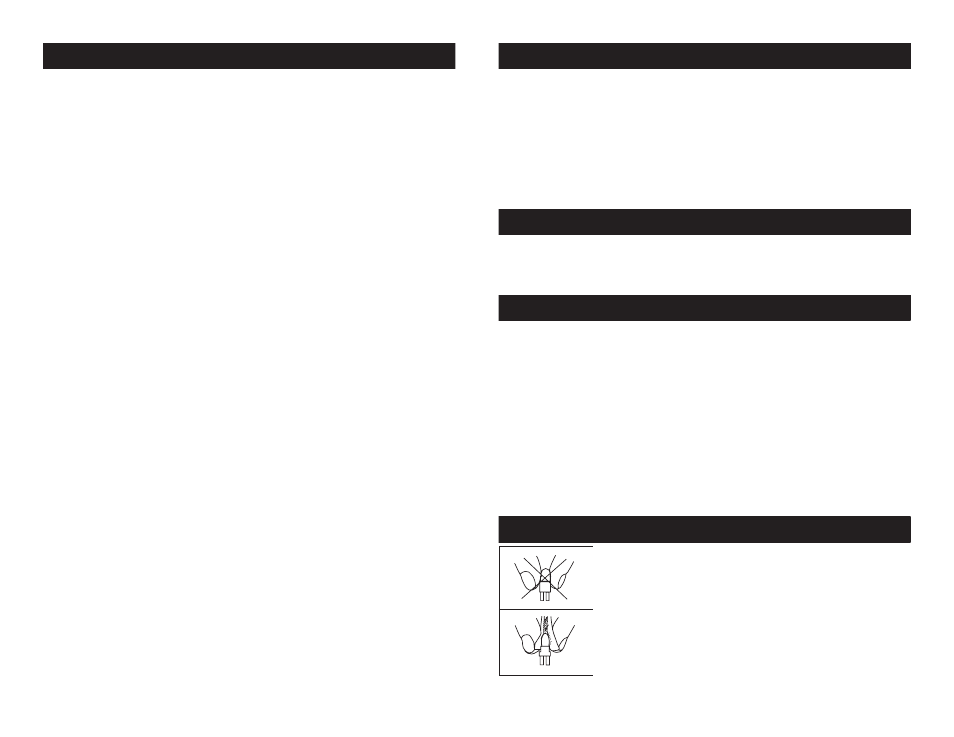
Aquarius II™
Halogen Lamp Warning
Halogen Lamp Warning! This fixture is fitted with
halogen lamps which are highly susceptible to
damage if improperly handled. Never touch the
lamps with your bare fingers as the oil from your
hands will shorten lamp life. Also, never move the
fixture until the lamps have had ample time to cool.
Remember, lamps are not covered under warranty
conditions.
Power :
Before plugging your unit in, be sure the source voltage in
your area matches the required voltage for your
Elation
®
Aquarius
II™ before attempting operation.
Aquarius
II™
Operating
Voltage