Casio QV-R40 5 User Manual
Page 3
94
PLAYBACK
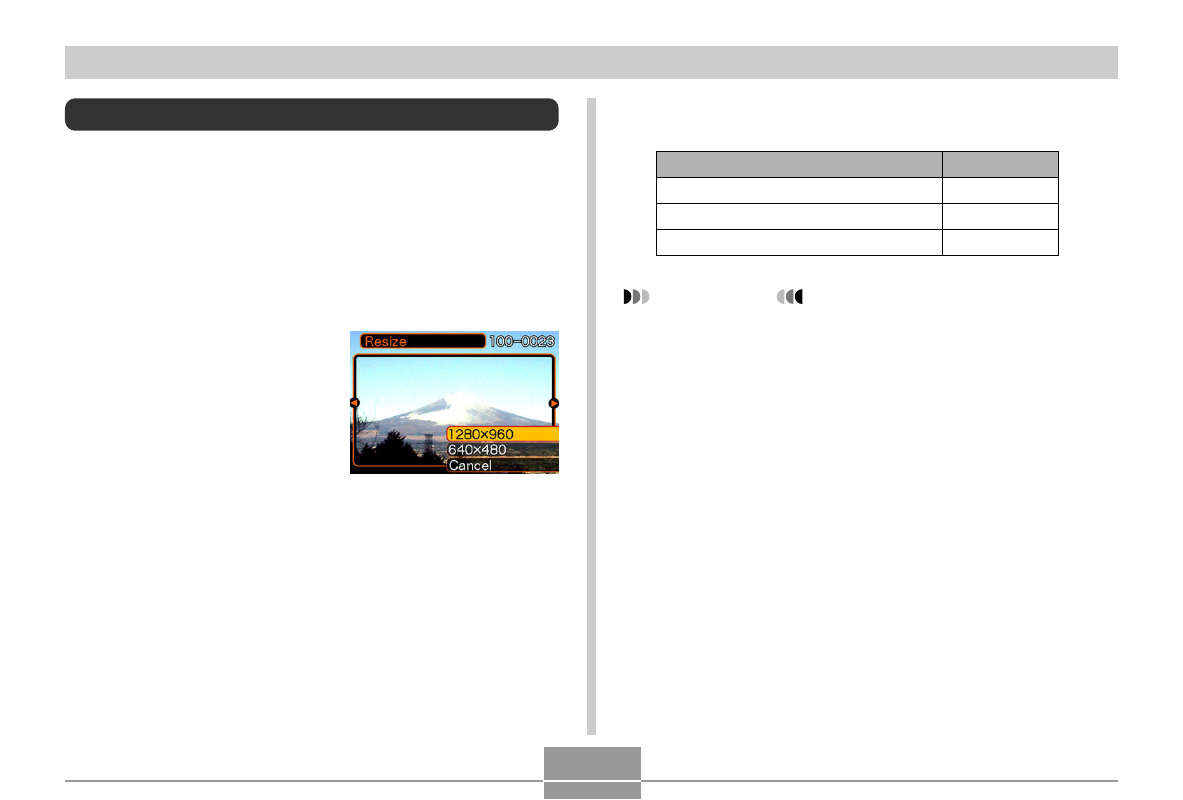
Resizing an Image
You can use the following procedure to change a snapshot
image to either SXGA size (1280 x 960 pixels) or VGA size
(640 x 480 pixels).
• VGA is the optimum image size for attachment to e-mail
messages or incorporation into Web pages.
1.
In the PLAY mode, press [MENU].
2.
Select the “PLAY”
tab, select “Resize”,
and then press [
왘].
3.
Use [
왗] and [왘] to scroll through images and
display the one you want to resize.
IMPORTANT!
• Resizing an image creates a new file that contains
the image in the size you select. The file with the
original image also remains in memory.
• Images smaller than 640 x 480 pixels cannot be
resized.
• Note that you can resize snapshots recorded with
this camera only.
• If the message “This function is not supported for this
file.” appears, it means that the current image cannot
be resized.
• The resize operation cannot be performed if there is
not enough memory to store the resized image.
• When you display a resized image on the camera’s
monitor screen, the date and time that the image was
resized appears on the screen. Note, however, that
the EXIF data* accompanying the resized image is
the data for the original (pre-resize) image.
* EXIF data is information about recording conditions
that is stored along with the image data. See page
154 for more information.
4.
Use [
왖] and [왔] to select the setting you
want, and then press [SET].
To do this:
Resize to 1280 x 960 pixels (SXGA)
Resize to 640 x 480 pixels (VGA)
Cancel the resizing operation
Select this:
1280 x 960
640 x 480
Cancel