Echo PAS Rapid Loader User Manual
Page 7
PAS R
APID
L
OADER
TM
T
RIMMER
A
TTACHMENT
O
PERATOR
'
S
M
ANUAL
7
C
ONTENTS
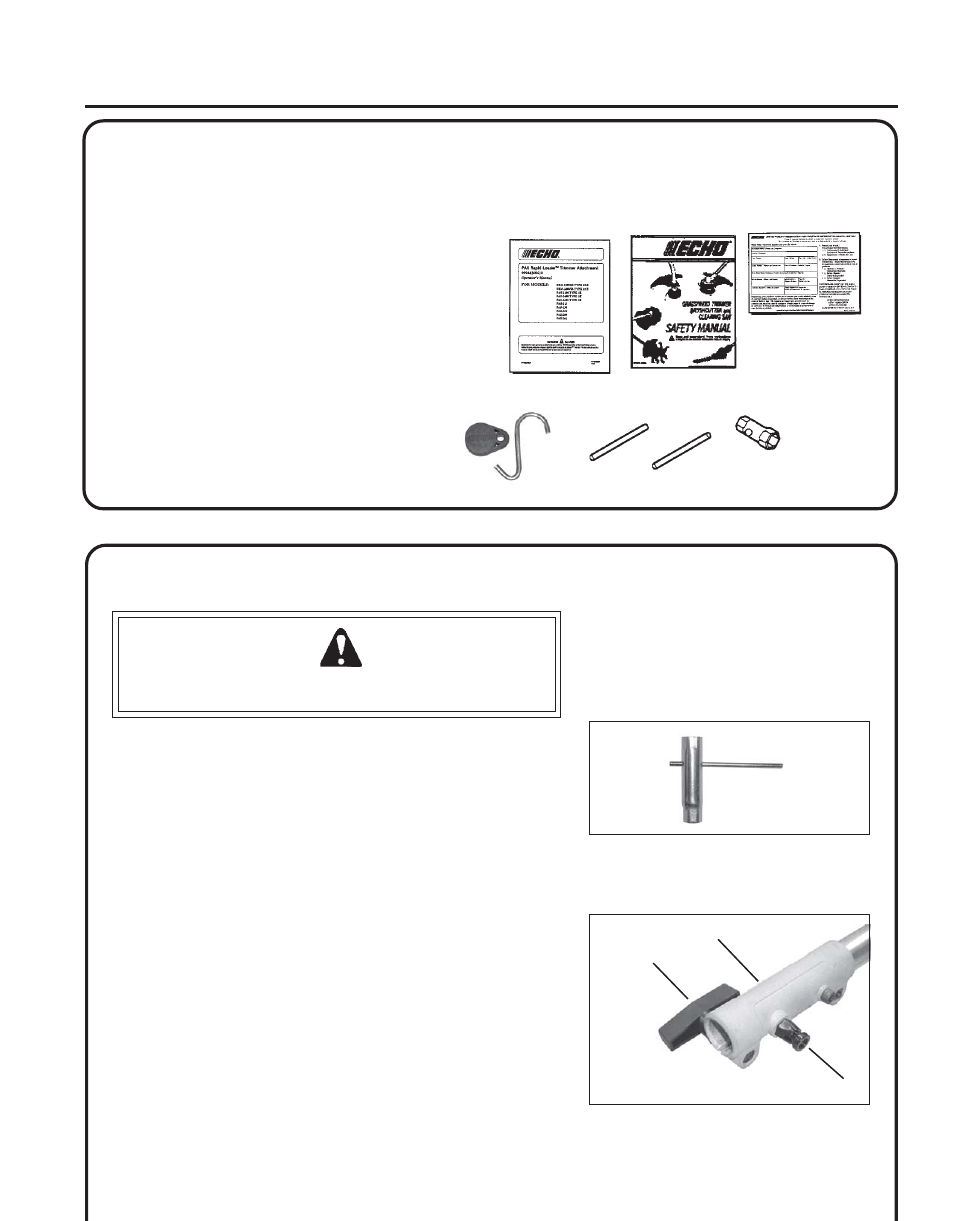
After opening the carton, check for damage. Immediately notify your retailer or ECHO Dealer of damaged or missing
parts. Use the contents list to check for missing parts.
__ 1 - Pro Attachment Series
TM
Trimmer Attachment
__ 1 - Operator's Manual
__ 1 - Safety Manual
__ 1 - Warranty Registration Card
__ 2 - Locking Tools
__ 1 - Wrench 17 x 14.5
__ 1 - Rapid Loader
TM
Head
__ 1 - Nut
__ 1 - Washer 10x32x1.2
__ 1 - Plastic Debris Shield
__ 1 - Split Pin
__ 1 - Shield plate
__ 3 - 5mm x 16mm Screws (shield mounting)
__ 1 - Storage Hook Assembly
A
SSEMBLY
WARNING
DANGER
Do not perform maintenance or assembly procedures with engine
running.
Tools Required: Screwdriver, Head Locking Tool, 17x14.5mm Wrench,
Needle Nose Pliers
Parts Required: Power Head Shaft, Attachment Lower Shaft
Assembly, Plastic Shield, Shield Plate, three (3)
5mm x 16mm screws, Rapid Loader
TM
Head
POWER
HEAD
SHAFT
/
ATTACHMENT
LOWER
SHAFT
ASSEMBLY
1.
Set Power Head/Shaft Assembly on a level surface.
2.
Pull locator pin (A) and rotate counter clockwise 1/4 turn to lock
out position.
3.
Remove vinyl cap from attachment drive shaft.
4.
Remove cardboard spacer, if necessary.
5.
Carefully fit attachment lower drive shaft assembly into coupler (B)
to decal assembly line (C), making sure that the inner lower drive
shaft engages into the upper drive shaft mount.
A
B
D