Atlantic Water Gardens 18 Color Changing Vase User Manual
Page 3
3
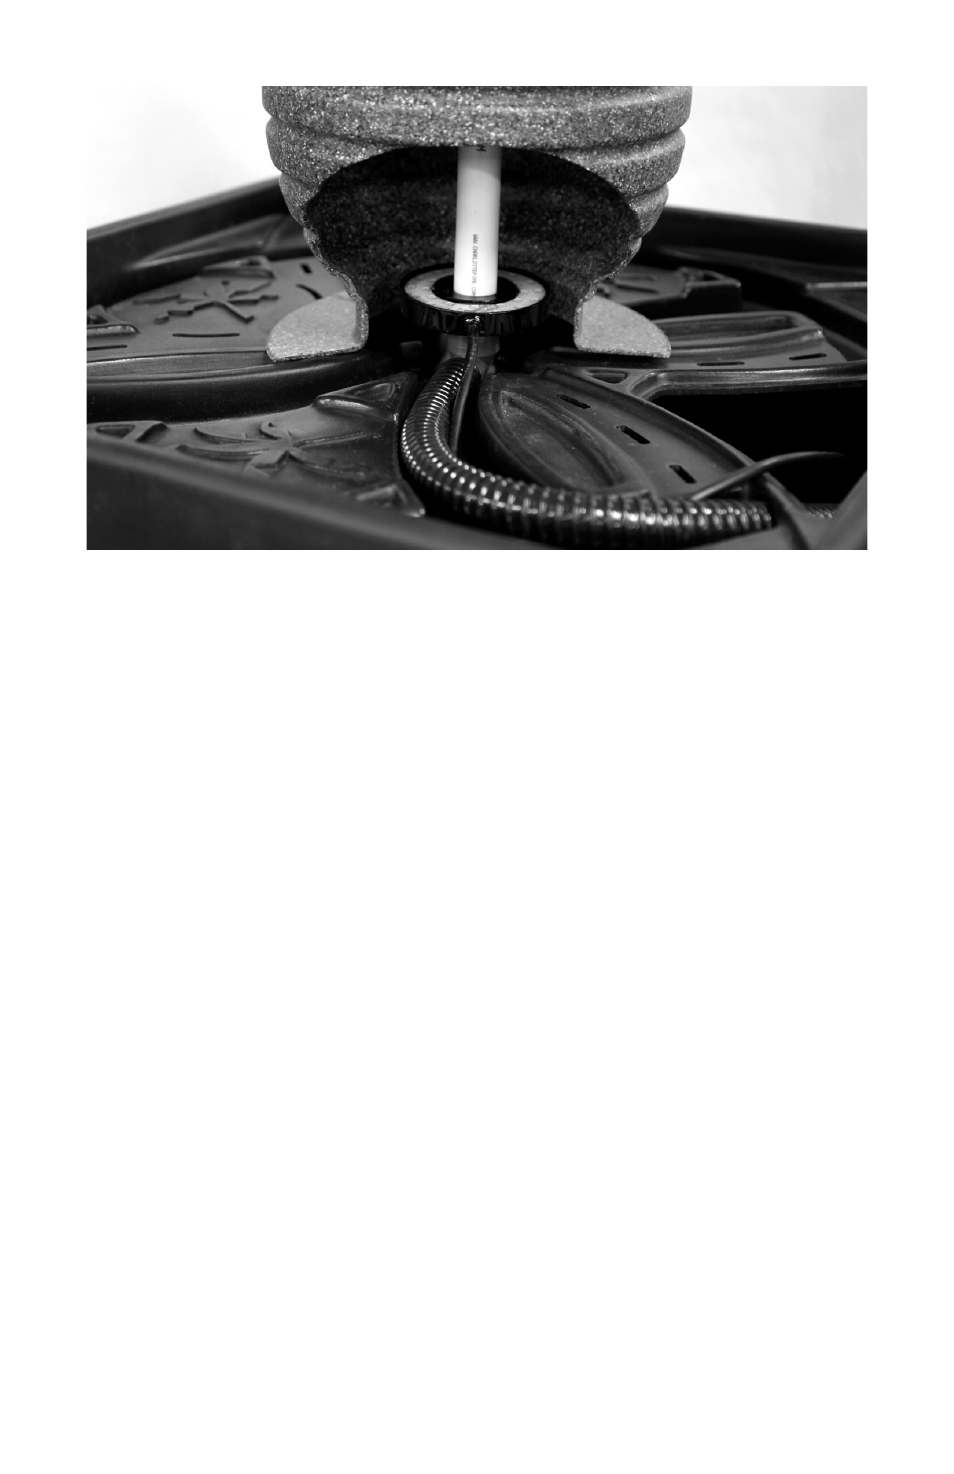
• Slide the light ring over the standpipe so that the LEDs are facing upward into
the fountain. Install the ¾” insert x ¾” socket elbow on the bottom of the
standpipe. Do not use glue when making this connection so that the fountain
and light ring can be easily removed for cleaning or winterization.
Note: ¾” insert x ¾” socket elbow is included in all Fountain Plumbing Kits.
• Connect the feed line to standpipe and stand the fountain up in the desired
location on the fountain basin. Utilize the recessed plumbing channels to route
the tubing to the pump chamber. Once all plumbing is completed, cover the
Fountain Basin with decorative material (ex. decorative gravel, polished stones,
glass beads, etc.) of your choosing to complete installation.
Control Module Installation
• The Control Module is weather resistant with an IP54 rating. Do not submerse
it or expose it to heavy rainfall. It must be mounted off the ground close to the
power source. Failure to do so will void the warranty.
• Ensure that all cable connections are secure.
• Install the control box in a well-ventilated area to ensure that the module
operates in within its working temperature specified above.
• Verify that the control module input voltage is 12 volt AC. We recommend that
you use the transformer provided with this unit.
• Do not connect the power before the cord connections are finished.
• Do not cut or alter the cord between the SOL Light Ring and the Control Module.
• The remote control requires three (3) AAA batteries (not included).