Ascaso BARISTA User Manual
Page 8
8
START-UP
Place the general switch in the “ON” position and
the machine will automatically start filling the boiler
to the established level.
When the filling process is complete, the water
will start to heat up and the correct operating
temperature and pressure will be established.
Pump pressure adjustment:
The pump comes with a factory-programmed
pressure of 9 bar. If it requires adjustment,
proceed as instructed below:
Remove the plastic cap, located on the side
panel of the machine, and use a screwdriver to
turn the screw of the pump.
By turning it clockwise the pressure will
increase.
By turning it anti-clockwise the pressure will
decrease.
Expansion valve adjustment: The expansion valve
is a component that limits the maximum pressure
in the boiler’s thermal tubes. This pressure
must never exceed 12 bar. The valve is factory-
programmed at 11 bar. If you wish to adjust the
valve, follow the indications below:
Place the filter holders with the blind filter in the
coffee group.
Set the group running and adjust the pump to
the pressure at which you wish to use the valve.
Then turn the valve adjuster until water starts
coming out of it.
When the process is complete, adjust the
pump to 9 bar again.
ATTENTION: The expansion valve can
discharge very hot water (93
o
C/200
o
F).
It is necessary to wait until boiler pressure reaches
the established value before starting to make
coffee.
Making coffee
$ny type of coffee may be used. For optimal
results, use blends designed especially for making
“espresso” coffee.
If the coffee comes out very quickly or
very slowly, change to a finer or coarser
coffee grind and experiment with
compactness to suit preference.
1. The machine must be connected. Place the
filter holder (with filter) in the group.
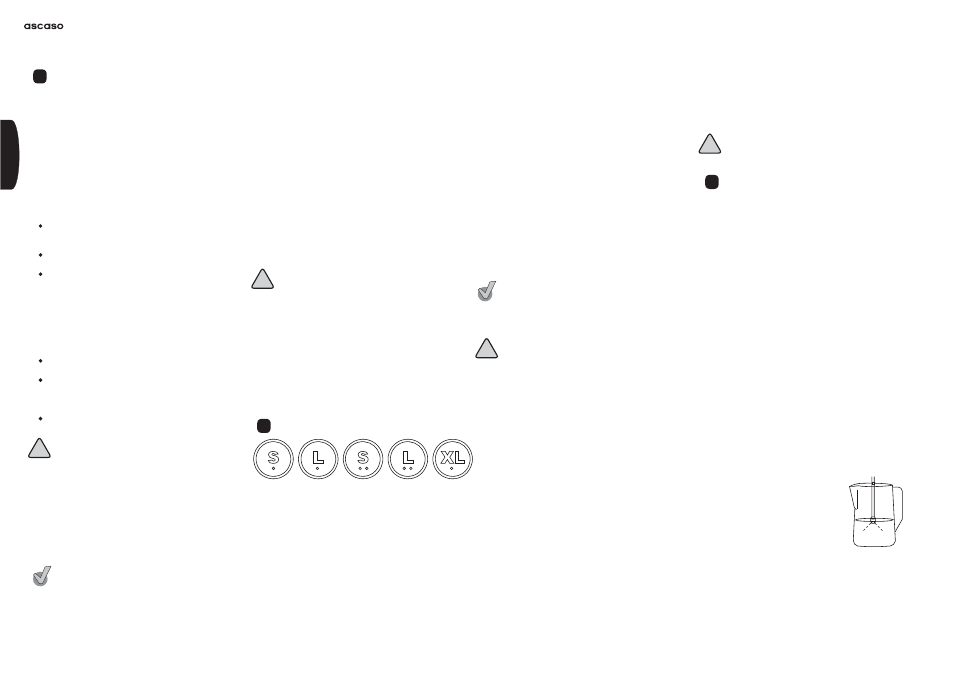
2. Press the XL button (continuous coffee
6
!
dispenser) and allow water to pass through
the group. Performing this procedure before
making coffee will eliminate residues and
establish the temperature for optimal service.
3. The filter must be filled to 3/4 its capacity, once
the coffee has been compacted.
4. Clean the coffee residues that have been
deposited on the edges of the filter to ensure a
perfect fit.
5. Fit the filter holder in the group and turn from
left to right, exerting sufficient pressure at the
end.
6. Place the cups or cup on the tray and press the
button for the chosen coffee type (S/espresso//
double espresso; L lungo//double lungo; XL/
continuous).
7. Perfect espresso extraction takes 20-25
seconds.
8. $ttention—to obtain optimal quality when
making coffee, always use the 1- or 2-coffee
filter.
ATTENTION: Do not remove or turn
the filter holder while the water is
passing through, as the machine is
under pressure at this time.
General tips
The filter holder must always be fitted in the
machine to keep it warm.
Place the cups on the cup warmer. The espresso
is best at optimal temperature (40°C/105°F).
Grind the amount of coffee necessary, as required,
because ground coffee quickly loses its aroma
and taste and the coffee’s fatty substances turn
rancid.
PROGRAMMING THE COFFEE DOSE
To program different coffee doses, follow the
instructions below:
1. Keep the XL button pressed down for at least
3 seconds, until the LED starts blinking (the
other LEDs remain off).
2. Before 5 seconds have passed, press the
button of the dose to be programmed. The LED
will remain steadily lit, as will the programming
button (XL). The pump and solenoid valve are
!
7
1
espresso
1
lungo
2
espressos
2
lungo
continuous
(press
again to
discontinue
the dose)
activated at this time.
3. When the cup contains the required amount of
coffee, in order to stop dispensing, press the
dose button that was used for programming
once again, or press the XL button.
4. When the XL button stops blinking, the dose
has been memorised.
To change or program different doses, follow the
above steps and apply them to the dose to be
changed.
Continuous dispensing:
Press the XL button to obtain coffee in semi-
automatic mode. Pressing the XL button activates
dispensing until the button is pressed again
to complete the process. The maximum time
established is 6 minutes, after which dispensing
will stop.
Remember: Programming of the left-
hand group is transferred to the other
groups, which may be modified as
required.
VERY IMPORTANT: Never remove the
filter holders while the coffee group
is running.
Programming the pre-infusion function
The pre-infusion function allows a quantity of water
to penetrate the filter holders for 2 or 3 seconds,
thus moistening the tablet of ground coffee,
causing it to swell and opening up irrigation
channels through it.
Water at a temperature of approximately 90ºC
and a pressure of around 9 bar runs through the
irrigation channels that have been forged in the
coffee.
$s the water passes through, it drags with it the
coffee’s soluble materials, aromas and fats.
The coffee machine is supplied with the pre-
infusion function deactivated.
If you wish to activate pre-infusion, follow the steps
below:
1) With the machine off (general OFF switch),
keep the single espresso coffee (S) button on
the left button pad pressed down, and start
the machine (general ON switch) until only the
button being pressed remains lit.
!
2) Switch the machine off and then switch it back
on again.
3) The pre-infusion function is now activated.
To deactivate the pre-infusion function, follow
the same steps but press the single lungo coffee
(L button).
IMPORTANT: The pre-infusion function
can only be enabled for a single
espresso (S) and a single
lungo (L).
CAPPUCCINO, WATER AND INFUSIONS
True “cappuccino” contains 25 millilitres of
espresso coffee and 125 millilitres of cold steam-
whipped milk, which goes from 3 or 4 degrees
centigrade to nearly 55 degrees centigrade.
8se fresh cow’s milk with a protein content of over
3.2 percent and a fat content of 3.5 percent. Whip
only the amount required for one cup in a steel
recipient (jug) to prevent it from mixing with other
odours or tastes.
The density of the cream must be uniform and
there must be no separation from the liquid, or
holes or bubbles.
Preparation
The pressure gauge will indicate a boiler pressure
of 1.2/1.5 bar. The boiler is ready to dispense
water and steam (approx. 20-22 min.).
Turn the steam control knob. It is normal for a little
water to come out of the nozzle after setting the
steam function running. We therefore recommend
that you place the nozzle in the drainage tray.
Put the nozzle in the milk to be heated. Fill the jug
up to 1/3 capacity.
TEXTURE
Obtaining cream
To obtain what is known as a
“velvety” consistency, place
the frother nozzle just beneath
the surface of the milk.
Turn the steam control knob
and move the nozzle at
different angles (constantly
under the surface of the milk) to attain an emulsion
with the air circulation. Once textured, the milk
may attain double the volume.
Remember to move the jug and the steam nozzle
very close to the surface of the milk.
8pon completion of this operation, the milk will be
textured but still cold.
!
8
ENGLISH