Installation – Aqua Lung Airsource 3 with Cut-off Valve User Manual
Page 7
7
Airsource Owner's Manual
INSTALLATION
Aqua Lung recommends that you bring your Airsource, buoyancy compensa-
tor and regulator together to your authorized dealer for the installation of your
Airsource. The retailer can also answer any questions you may have pertaining
to the information in this manual. If it is not possible to return to your authorized
dealer, you may install the Airsource onto your BC and attach the MP inflator
hose to your first stage by carefully following the steps in the following proce-
dure.
Attaching Airsource to BC
To install, unscrew original inflator assembly counterclockwise at the shoulder.
Place new Airsource assembly onto threaded portion, and screw clockwise
until tight. Make sure the o-ring gasket is in place and in good condition on the
threaded portion of the bc.
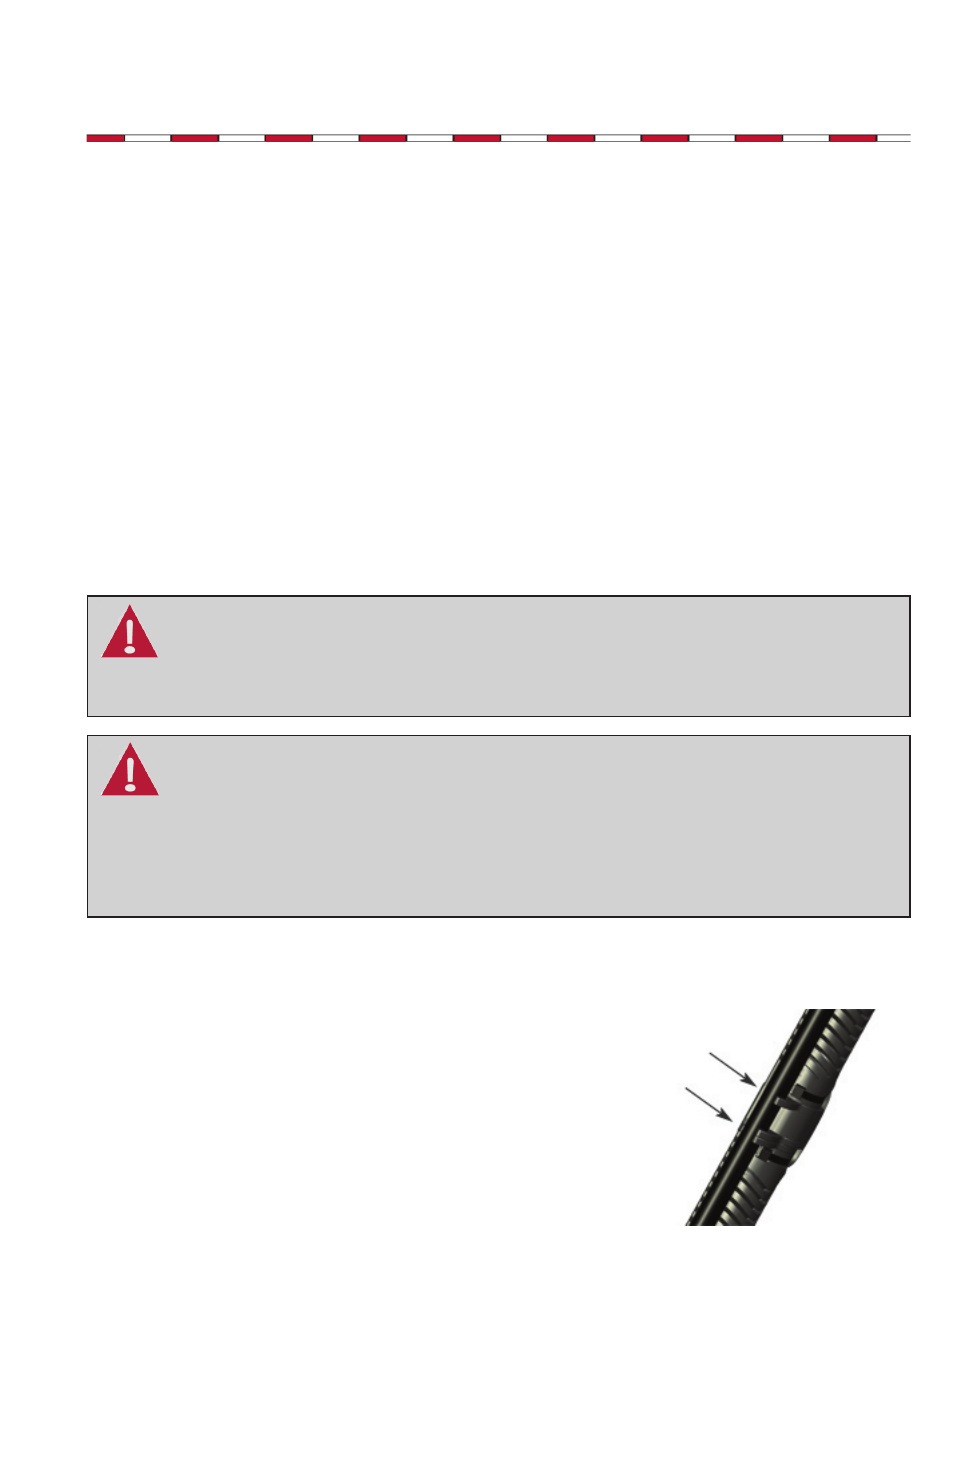
1. Detach the medium pressure (MP) inflator hose
from the hose guides at the middle (figure 2) and
top hose guides.
Figure 2
The Airsource is specifically designed so that the lower unit can be easily
detached and stored with your regulator.
WARNING: DO NOT connect the inflator hose to a high pressure
(hp) port (greater than 200 psi/14 bar). This may cause the hose
to burst when pressurized, which can result in serious injury. If
you are unsure which regulator port is medium pressure (Mp) or
high pressure (hp), consult your regulator's owner's manual or
your dealer before attaching the hose.
WARNING: dO NOT attempt to remove the MP inflator hose from
the Airsource body, as this may cause damage to the hose and/or
body. The Airsource is specifically designed so that the MP infla-
tor hose remains attached to the unit.