Step 2: route the network cable, Step 3: install the camera on the surface – ACTi Indoor Mini Dome and Mini Fisheye Dome on Tilted Wall User Manual
Page 4
Installation Guide
Step 2: Route the Network Cable
NOTE:
Before installation, consider the camera viewing angle and camera logo placement. The
arrow on the drill template and mounting plate align with the direction of the camera logo. Rotate
the drill template as needed.
If the cables will be routed along the surface
, route the network cable along the surface.
If the
cable will pass through the surface
, drill the cable hole according to the bundled drill template,
then route the network cable to pass through the hole.
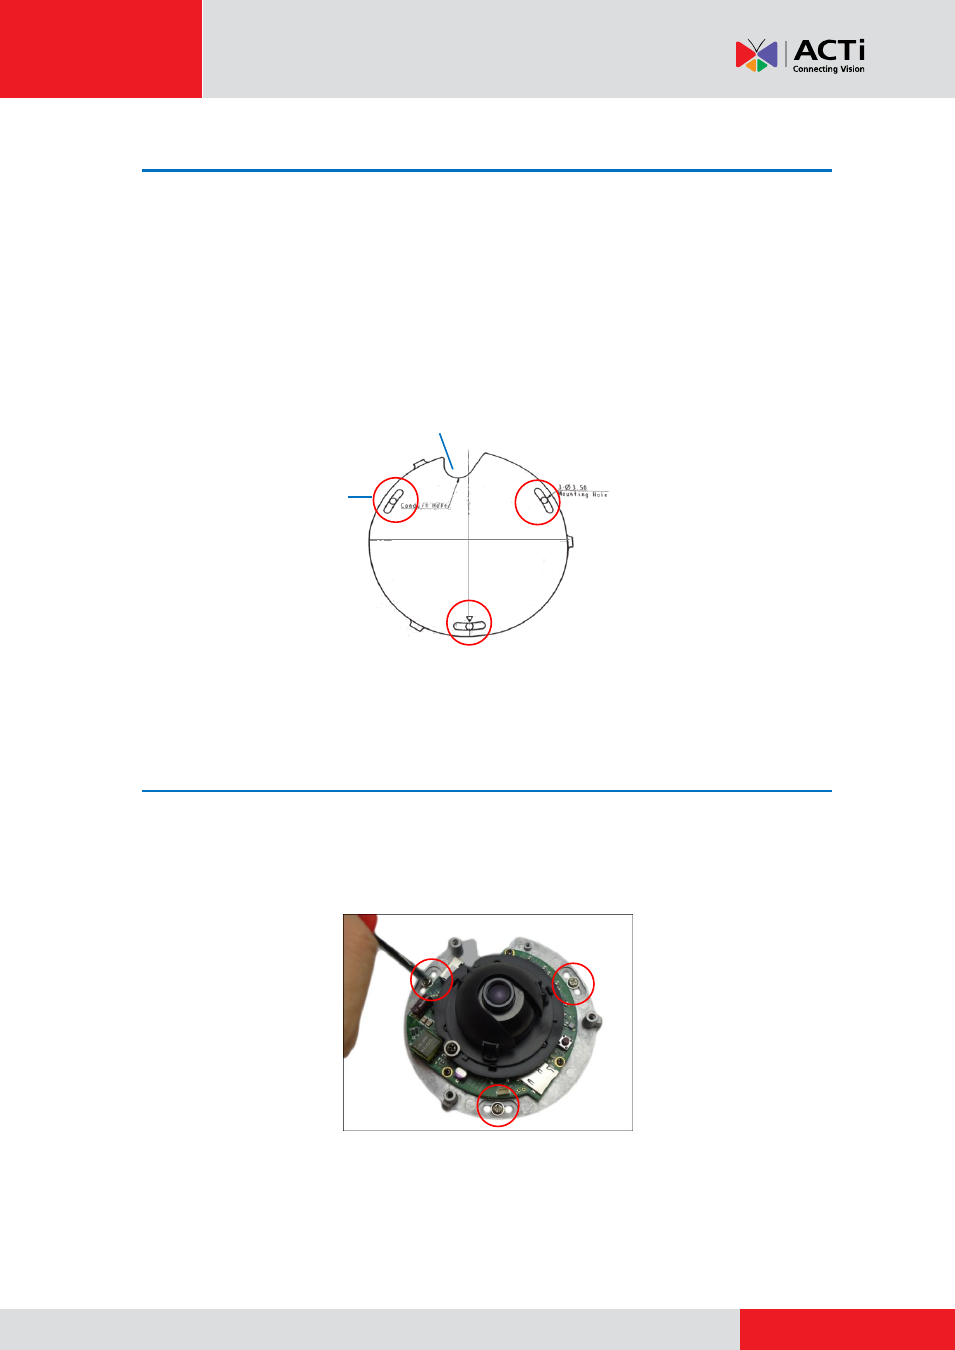
Step 3: Install the Camera on the Surface
Depending on the material of the wall, you can use the camera itself as a template and attach the
three (3) screws included in the camera package. Or, use the drill template to mark and drill the
screw holes, insert the plastic plugs and install the camera using the three (3) supplied screws.
NOTE:
Make sure the screws are flat on the plate.
Cable Hole
Screw Holes