Troubleshooting, Technical guide duct mounted e-bus co, Sensor technical guide 7 – Orion System OE256-07 Duct Mounted v.2 User Manual
Page 7: Using leds to troubleshoot, Altitude correction, Tb1 terminal block (co, Reading)
Technical Guide
Duct Mounted E-BUS CO
2
Sensor Technical Guide
7
Troubleshooting
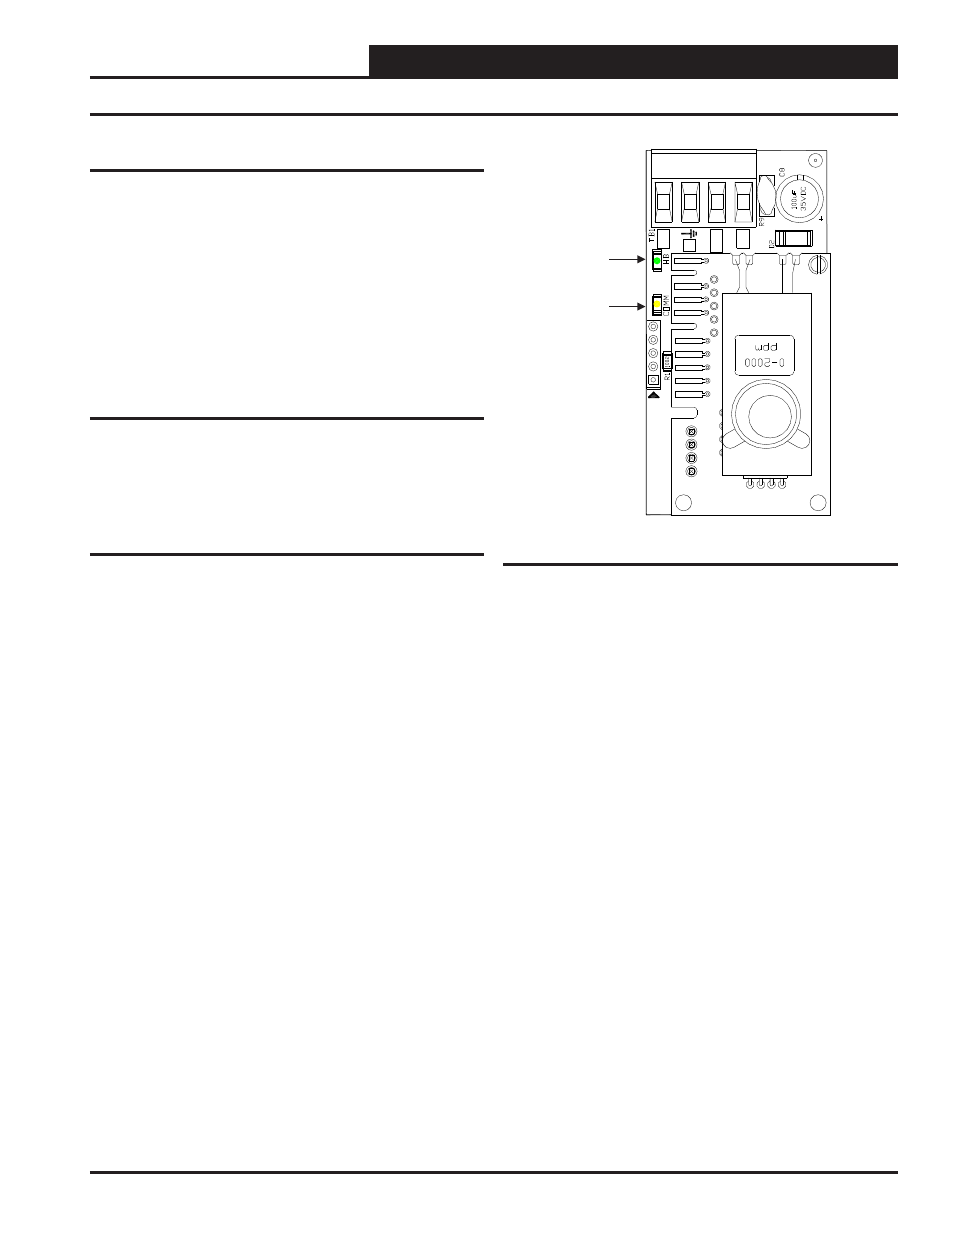
Using LEDs to Troubleshoot
LEDs are available for troubleshooting the CO
2
Sensor. There are two
LEDs that are visible at an angle through the plastic cover. See Figure
4 for locations.
COMM LED
The COMM LED blinks on whenever communications are sensed.
HB LED
Initially, the HB LED blinks fast for 30 seconds. It will then blink every
30 seconds. A CO
2
sample is taken once every 30 seconds.
Altitude Correction
Altitude correction can be confi gured using Prism II software installed
on a computer. The altitude can be confi gured at a value of 0-15,000
feet. The default is 500 feet.
TB1 Terminal Block (CO
2
Reading)
The TB1 terminal block should only be used to test the sensor when the
sensor cable is plugged into the controller and the sensor and controller
are powered up. Directions: Set the meter for DC volts and connect
the GND probe to the GND terminal and the + probe to the CO
2
0-5
terminal. Look at the output voltage and record it. Multiply the voltage
times 400. The value should match the CO
2
as read on the System Man-
ager TS, Modular System Manager, Modular Service Tool, or Prism. If
the signal doesn’t match the sensor reading, call WattMaster Controls
for a replacement.
J1
R+
G
+12
T -
HB
LED
COMM
LED
Figure 4: OE256-07 Board LEDs