Warning – Maytag MSB26C6MDM User Manual
Page 5
5
TOOLS NEEDED:
Bubble level, Phillips screwdriver, ³⁄₁₆" hex key, ¹⁄₄" hex-head
socket wrench, ¹⁄₄" and ⁵⁄₁₆" open-ended wrenches or adjustable
wrench, internal star drive or ³⁄₈" hex-head socket wrench
Remove the Doors
1.
Unplug refrigerator or disconnect power.
2.
Open both doors to 90°. Remove the base grille by removing
the two screws, then pulling out on the outside corners. See
Graphic 1
.
NOTE:
The doors must only be opened to 90°. If they are
opened all the way, the base grille will not come off.
3.
Disconnect the water tubing, located behind the base grille
on the freezer door side. The dispenser tubing runs through
the door hinge, and must be disconnected in order to remove
the door.
NOTE:
On models with the ice storage bin on the door, there
are two water tubing connections, as shown. On models with
the ice storage bin inside the freezer, there is only one water
tubing connection.
■
Style 1:
Press the colored outer ring against the face of
fitting and pull the water tubing free. See Graphic 2A.
NOTE:
Keep the water tubing connector attached to the
tube that runs underneath the freezer. The door cannot be
removed if the connector is still attached to the tube that
runs through the door hinge.
■
Style 2:
Firmly pull on the clasp to release the tube, then
pull the water tubing free. See Graphic 2B.
NOTE:
Keep the clasp attached to the tube that runs
underneath the freezer.
4.
Disconnect the wiring, located behind the base grille on the
freezer door side. See Graphic 3.
On models with the ice storage bin on the door:
NOTE:
There are two wiring bundles that run underneath the
freezer - a large bundle with a large grommet and two white
plugs at the end, and a small bundle with a small grommet
and one yellow plug at the end.
■
Remove the P-clamp using a ¹⁄₄" hex-head socket
wrench. Remove the small wiring bundle from the
P-clamp.
■
Remove the wiring clip using a ¹⁄₄" hex-head socket
wrench.
■
Pull the electrical housing out from under the refrigerator.
Disconnect the wiring plugs from the housing.
■
Gently pull the large wiring bundle (with two white plugs)
through the routing plate.
On models with the ice storage bin inside the freezer:
NOTE:
The wiring configuration is simpler than what is shown
in Graphic 3. There is only one wiring bundle with one wiring
plug, and there is not a routing plate.
■
Remove the wiring clip using a ¹⁄₄" hex-head socket
wrench.
■
Pull the electrical housing out from under the refrigerator.
Disconnect the wiring plug from the housing.
5.
Close both doors and keep them closed until you are ready to
lift them free from the cabinet.
6.
Use a ³⁄₁₆" hex key to remove the top left hinge screws as
shown. See Graphic 4.
IMPORTANT:
Do not remove either screw A.
7.
Lift freezer door straight up off bottom hinge. See Graphic 5.
The water tubing and wiring remain attached to the freezer
door and pull through the bottom left hinge.
NOTE:
This may require two people - one to lift the door and
another to feed the water tubing and wiring through the
hinge.
On models with the ice storage bin on the door:
■
Be sure the hole in the hinge is clear of obstructions, then
gently pull one water tube through the hinge. (Avoid
kinking the tube.) Next, gently pull the other water tube
through the hinge, again avoiding kinks. Finally, gently
pull the wiring bundle (including the grommet and wiring
plugs) through the hinge.
On models with the ice storage bin inside the freezer:
■
Be sure the hole in the hinge is clear of obstructions, then
gently pull the water tube through the hinge. (Avoid
kinking the tube.) Next, gently pull the wiring bundle
(including the grommet and wiring plug) through the
hinge.
IMPORTANT:
Rest the door on its side on a soft, clean
surface, such as a towel, blanket or piece of cardboard. This
will help avoid damaging the door, water tubing and wiring.
8.
Use a ³⁄₁₆" hex key to remove the top right hinge screws as
shown. See Graphic 6.
IMPORTANT:
Do not remove either screw A.
9.
Lift the refrigerator door straight up off bottom hinge.
IMPORTANT:
Rest the door on its side on a soft, clean
surface, such as a towel, blanket or piece of cardboard. This
will help avoid damaging the door.
10.
It may not be necessary to remove the bottom hinges to
move the refrigerator through a doorway. Both bottom hinges
have similar construction.
■
If necessary, use an internal star drive or a ³⁄₈" hex-head
socket wrench to remove the bottom hinges. See
Graphic 7
.
IMPORTANT:
The leveler brackets are mounted behind
the hinges. If you remove the hinges, make sure that the
leveler brackets are replaced when reinstalling the hinges.
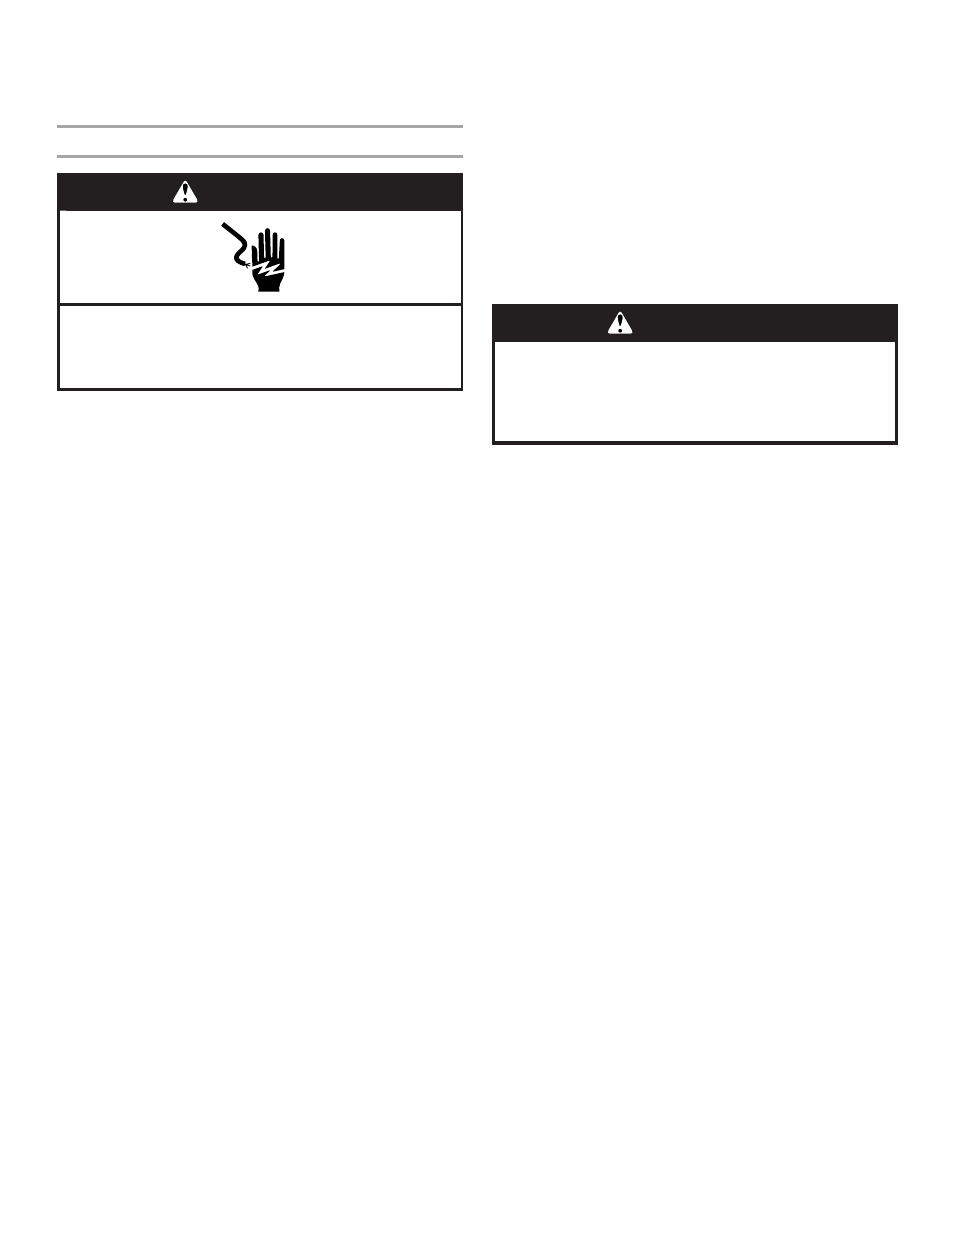
WARNING
Electrical Shock Hazard
Disconnect power before removing doors.
Failure to do so can result in death or electrical shock.
WARNING
Excessive Weight Hazard
Use two or more people to lift the freezer door.
Failure to do so can result in back or other injury.