Wma mp3 cd dvd, Virtual surround, Black level setting – Denon DVD-558 User Manual
Page 23: Stereo sound mode, Disc playback, Picture control, Camera angle
– 22 –
EN
You can enjoy stereo phonic virtual space through your exist-
ing 2 channel stereo system.
During playback, press the
MODE button repeatedly until
the Virtual Surround setting
appears.
Press the ENTER button to set it 1(Natural effect),
2(Emphasized effect) or OFF.
Press the RETURN button to exit.
NOTES
:
• Select Virtual Surround OFF or lower the volume if the
sound is distorted.
• Virtual Surround will not be effective if the sound mode
is set to something other than “STEREO” (for Audio CD
playback only).
• This function cannot be used during Dialog Speed
(refer to page 21).
3
2
1
WMA
MP3
CD
DVD
Virtual Surround
Adjust the Black Level Setting to make the black parts of the
picture as bright as you prefer.
During playback, press the
MODE button repeatedly until
Black Level setting appears.
Press the ENTER button to switch ON/OFF.
ON (Default) : Makes the dark parts brighter.
OFF : Shows the original picture as recorded.
Press the RETURN button to exit.
NOTE:
• This function cannot be used during Dialog Speed
(refer to page 21).
3
2
1
DVD
Black Level Setting
ON
Press the AUDIO button repeatedly during playback to
select your desired sound mode.
STEREO - both right and left channels are active (stereo)
L-ch
- only left channel is active
R-ch
- only right channel is active
NOTE:
• Stereo sound mode will not be changed when playing
DTS CD.
1
CD
Stereo Sound Mode
Both right and left channels
are active (stereo).
Only the left channel
is active.
STEREO
L-ch
R-ch
Only the right channel
is active.
DISC PLAYBACK
OFF
Picture Control
Picture Control adjusts Brightness, Contrast, Color, Gamma
Correction and Sharpness of the specific display.
During playback, press the
MODE button.
Press the Cursor buttons
(K or L) to switch among items.
Press the ENTER button or the Cursor buttons (sor B)
to adjust the selected item to a desired level.
• -6, -5, -4, -3, -2, -1, 0, +1, +2, +3, +4, +5, +6 can be selected.
To return to normal playback, press the RETURN
button.
NOTES:
• The default settings for all items in Picture Control are “0”.
• The setting display will disappear in 10 seconds of no use.
• This function cannot be used during Dialog Speed
(refer to page 21).
• If you return all items to the default settings, select
“INITIALIZE” at step
.
2
4
3
2
1
DVD
BRIGHTNESS s +1B
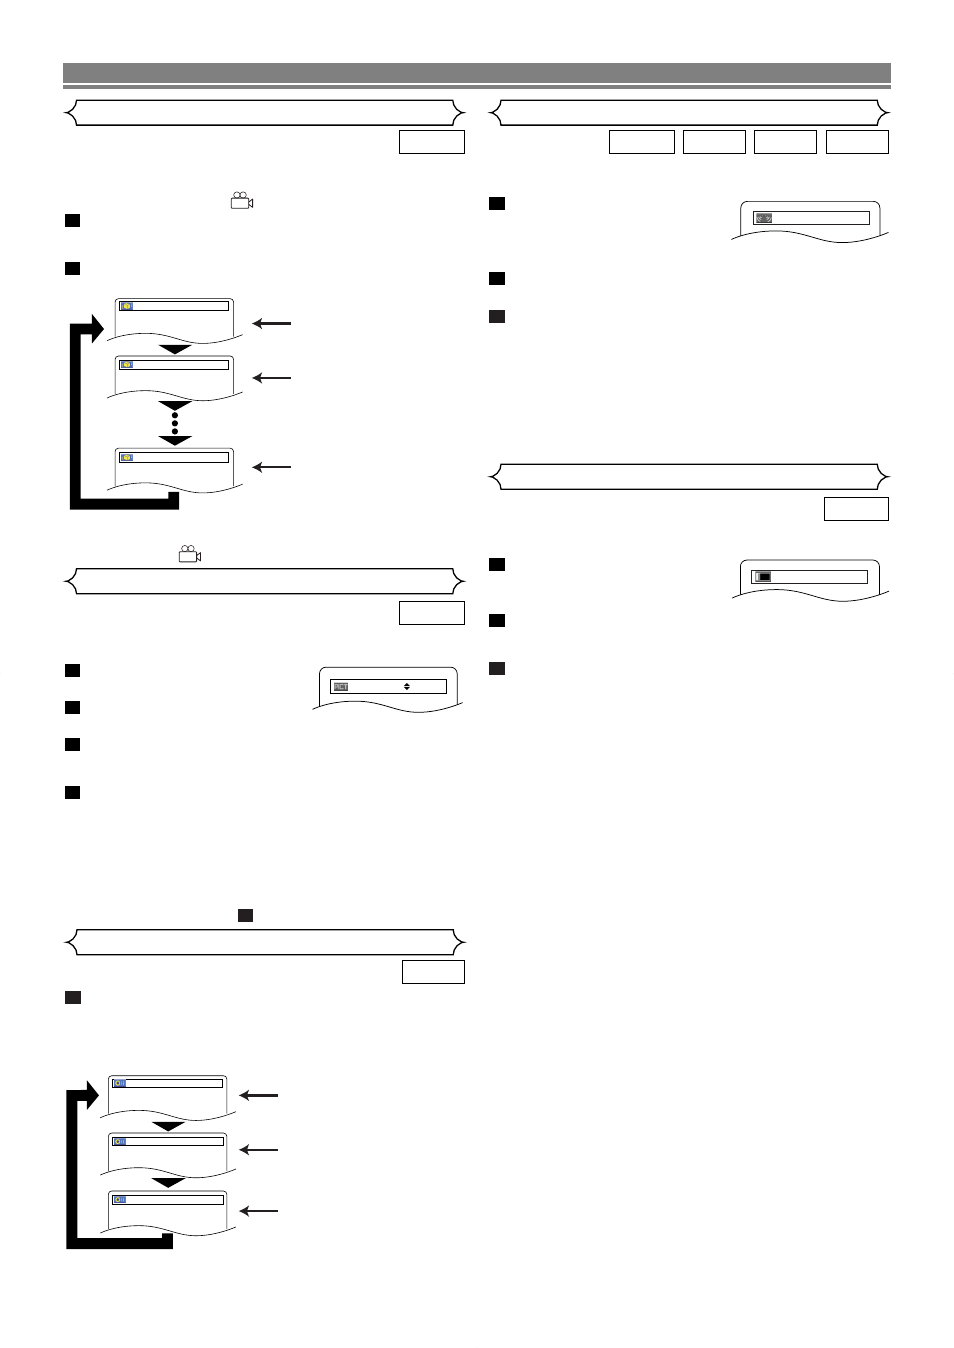
Some DVD discs contain scenes which have been shot
simultaneously from various angles. You can change the
camera angle when the (
) mark appears on the screen.
Press the ANGLE button during playback.
• The selected angle will be displayed on the display bar
at the top of the screen.
Press the ANGLE button repeatedly to select your
desired angle.
NOTE:
• If the “ANGLE ICON” setting is “OFF” in the Others
menu, the (
) will not appear (refer to page 25).
2
1
DVD
Angle 1
Angle 2
Angle 8
1 / 8
2 / 8
8 / 8
Camera Angle