Kleenmaid CH600X User Manual
Page 4
•
The cooking hob must be connected to 240v
single phase mains supply by the intermediary of a
two phase + earth homologated EEC 7 plug or a
single pole cut-off device with a contact opening by at
least 3mm.
If the mains connection cable is damaged it must
be replaced by your After-Sales Service
because special tools are needed.
Warning: The protection wire (green /yellow) is
connected to the earth terminal
of the apparatus
and must be connected to the
earth terminal
of the installation.
P
P
a
a
r
r
t
t
1
1
:
:
F
F
o
o
r
r
t
t
h
h
e
e
I
I
n
n
s
s
t
t
a
a
l
l
l
l
e
e
r
r
•
Glue the joint supplied in the sachet before
installing the hob.
Before inserting the hob:
1- Turn over the hob and pose it with precaution
above the opening of the support in order not to
damage the knobs, lighting stubs and the metal gas
security rods.
2- Glue the foam joint delivered with the apparatus to
the external rim of the carter. This joint ensures
sealing between the cooking hob and the work
surface
3- Place the cooking hob in the opening of the support
unit taking care to centre it well in the cut-out..
4- Fit the burner heads, burner caps and the grids..
5- Connect the hob power supply cable to the
electrical installation of the kitchen. See "How to
connect the cooking hob to the electrical supply".
6- Connect the gas. See "How to connect the
cooking hob to mains gas" or "How to connect to
connect the cooking hob to Butane /Propane
gas".
-4-
Network
Cable H05V2V2F - T90
.
Cross section of
conductors in mm2
Fusible
240 V
- 50 Hz
3 conductors of which 1 is
to be earthed
1
10 A
CROSS SECTION OF THE CABLE TO USE
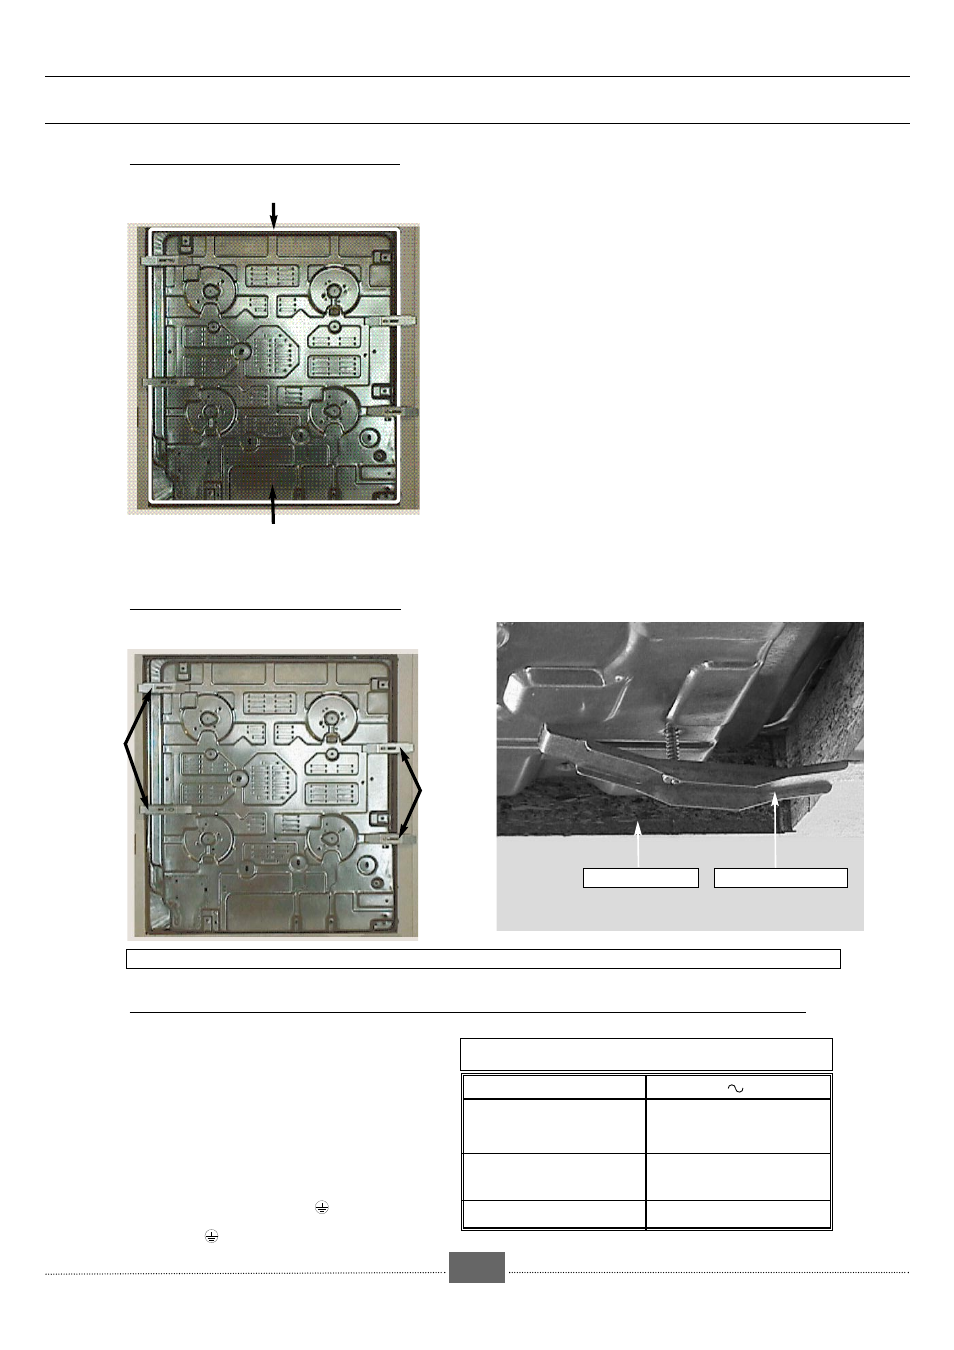
Worktop
Fastening bracket
HOW TO INSTALL THE HOB
●
HOW TO FASTEN THE HOB
●
HOW TO CONNECT THE COOKING HOB TO THE ELECTRICAL SUPPLY.
●
Under surface of the
hob (carter).
Joint
Fastening
bracket
Fastening
bracket
If you wish to clamp the hob, ensure that the four fixation plates supplied in the sachet are used.