3 tig welding – Kemppi Evo 150 User Manual
Page 11
EN
Site your equipment in a suitable location, ensuring there is adequate cable length to
complete the weld pass. Before you start welding, ensure you are comfortably positioned in
front of the work piece, and that you are well balanced with your weight equally distributed.
Ensure that the power source current setting is correct for the electrode size selected. Draw
the welding face shield over your eyes. (Electronic welding face shields like Kemppi BETA
90X, allow you to see the welding start point more accurately and better concentrate on the
welding process. This reduces the possibility of arc flash). Ensure others in the welding area are
aware that you're going to weld. To establish the arc, scratch the electrode on the surface of
the work piece.
As the arc starts to burn you will see a bright molten material form, this is molten slag,
formed from the electrode coating and the darker coloured material is the molten weld metal
itself, formed from the melting core wire. Hold the electrode at an angle of approximately
75–85 degrees from the horizontal, leaning away from the weld itself. Hold this position,
maintaining a 3 mm distance from electrode tip to work surface. As the electrode burns, this
arc length distance needs constant maintenance throughout the welding cycle. Slowly travel
the electrode away from the deposited weld pool material, maintaining a constant travel
speed. Your completed weld bead should be straight and of even width and bead height,
consistent in its appearance. Travel too slowly and the weld pool will get too big and may
burn through the weld piece, too fast and the resulting weld will be too small and may have
slag entrapments and/or poor strength. After welding, the solidified slag on the weld surface
should easily remove with a chipping hammer. Ensure you wear eye and face protection when
removing the slag from the weld surface.
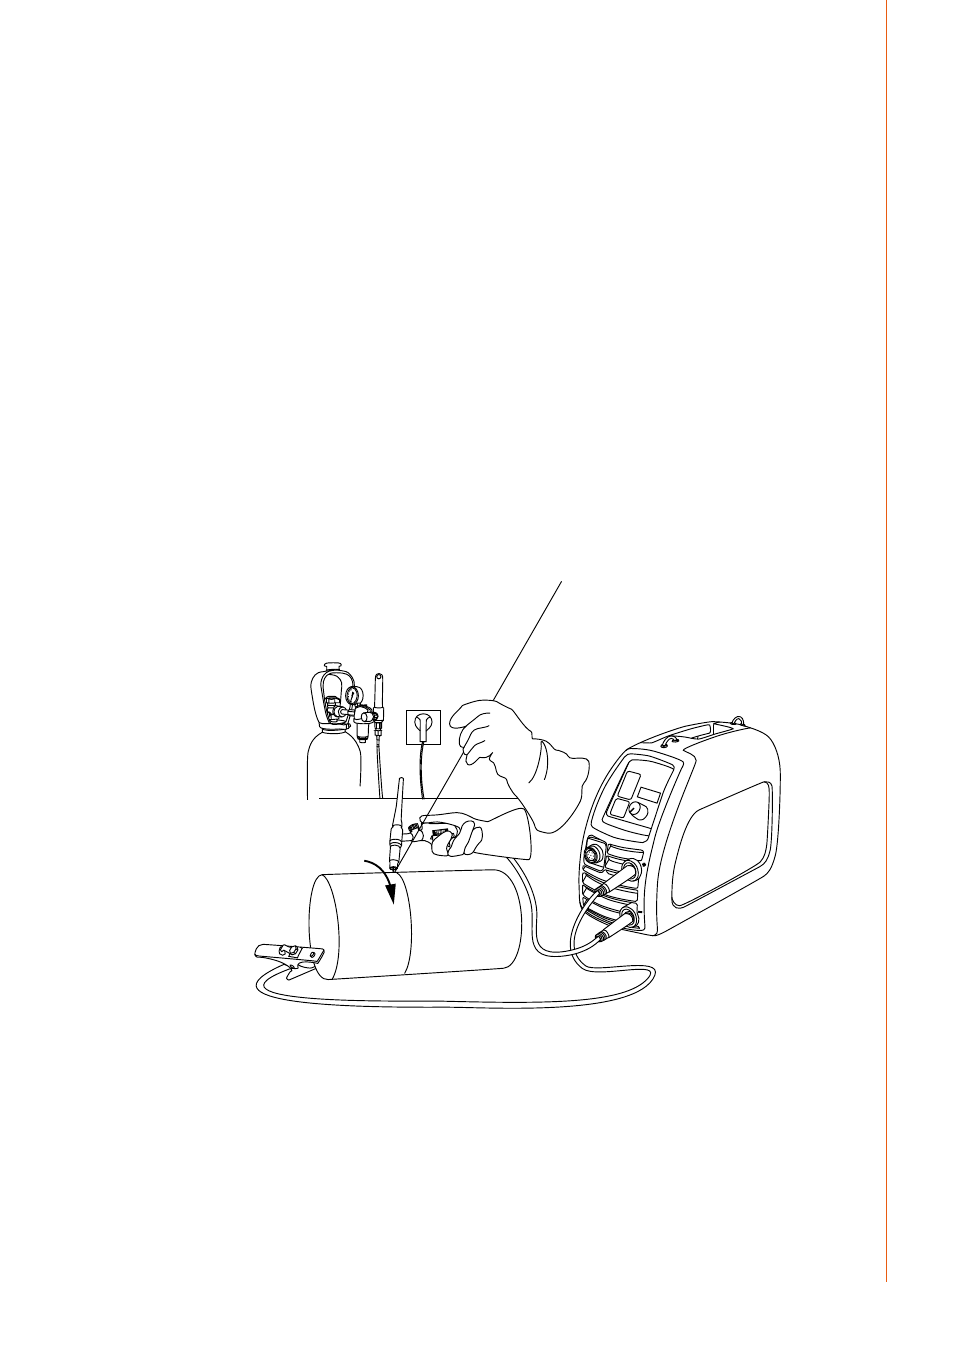
3.3 tig welding
Minarc Evo can also be used for basic TIG welding and remote current control. The TIG arc is
started by the touch and lift ignition technique. Order numbers for the additional equipment
required for TIG welding and/or remote current control devices can be found in Ordering
codes section later in this manual. Ensure you select TIG process on the Minarc Evo control
panel before you commence welding.
The TIG process forms an arc between the tungsten electrode and the work piece. The arc
melts the work piece forming a molten weld pool. The arc and tungsten electrode mounted
in the TIG torch are shielded by an inert shielding gas that is connected to, and flows through,
the nozzle of the TIG torch. The gas required is argon and the flow rate is approximately 8 to 10
litres per minute. If necessary, suitable filler material is added to the weld pool to complete the
© Kemppi Oy / 1336
9