Language setup, Audio setup, 1video setup – Daewoo SD-8800P User Manual
Page 25
46
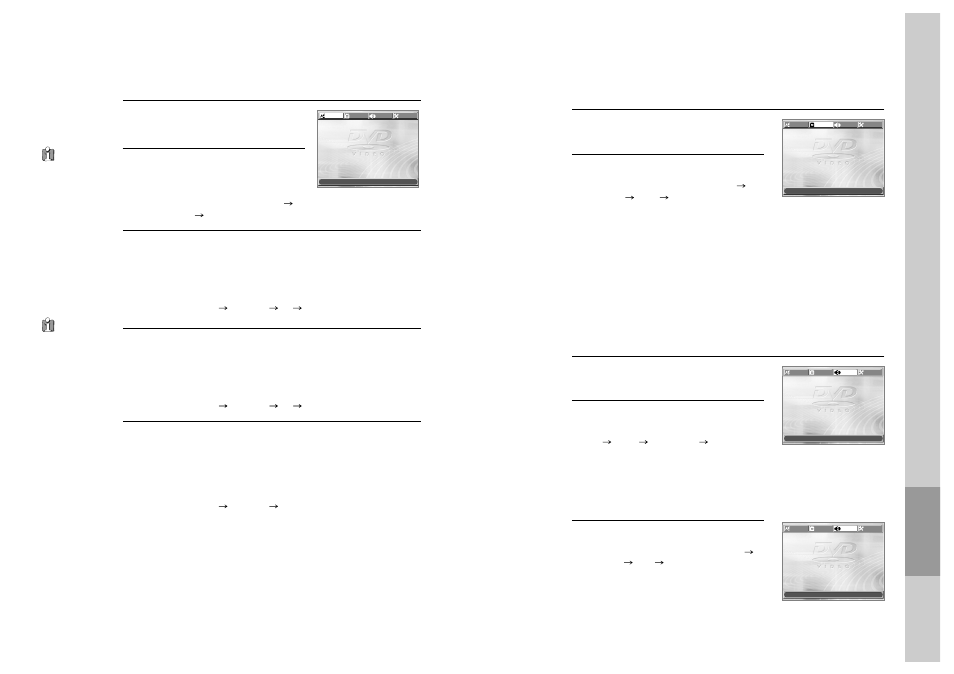
Language Setup
While in STOP or RESUME STOP mode,
press the [SETUP] button.
1
Selecting a OSD language.
Please select a language to be displayed on
DVD screen.
Every time the user presses [ENTER] button,
OSD LANGUAGE changes ENGLISH
FRANCAIS
... one by one.
2
Selecting Audio language.
Set it as the preferred audio language. When the audio language is set and
recorded in the DISC, it is automatically played in the set language on every
playing. For example, English is set and recorded as audio language in the
DISC, it is played in English.
Every time the user presses [ENTER] button, AUDIO LANGUAGE
changes ENGLISH
FRENCH
...
AUTO one by one.
3
Selecting Subtitle language.
Please set it as the preferred language. When the subtitle language is set and
recorded in the DISC, it is automatically played in the set language on every
playing. For example, English is set and recorded as subtitle language in the
DISC, it is played in English.
Every time the user presses [ENTER] button, SUBTITLE LANGUAGE
changes ENGLISH
FRENCH
...
OFF one by one.
4
Selecting Disc Menu language.
Please set it as the preferred DISC MENU language. When the DISC MENU
language is set and recorded in the DISC, it is automatically played in the set
language on every playing. For example, English is set and recorded as a DISC
MENU language in the DISC, it is played in English.
Every time the user presses [ENTER] button, DISC MENU LANGUAGE
changes ENGLISH
FRENCH
... one by one.
5
■
A user can set OSD language, Audio, Subtitle and Disc Menu.
In case a disc
does not include
setting languages
information, the
selected language does
not appear.
“OSD” means
“On Screen Display”.
OSD LANGUAGE
ENGLISH
ENGLISH
AUDIO
ENGLISH
SUBTITLE
ENGLISH
DISC MENU
ENGLISH
LANGUAGE
VIDEO
AUDIO
OTHERS
MOVE œ √†… SELECT:ENTER EXIT: SETUP
Setup
47
Audio Setup
Select a Digital Output.
Every time the user presses the [ENTER]
button, DIGITAL OUT changes BITSTREAM
LPCM
BITSTREAM
... one by one.
2
Select a Dynamic Range.
Every time the user presses the [ENTER]
button, DYNAMIC RANGE changes OFF
FULL
OFF
... one by one.
• Set “OFF” to view a program in the dynamic
range as recorded disc.
• If you hear loud sound softer and soft sound
louder, set “FULL”.
3
■ A user may select audio menu according to a user’s speaker set.
While in STOP or RESUME STOP mode,
press the [SETUP] button.
1
Video Setup
While in STOP or RESUME STOP mode,
press the [SETUP] button.
Selecting TV Aspect.
Every time the user presses the [ENTER]
button, TV ASPECT changes 4:3 LB
16:9
WIDE
4:3 PS
... one by one.
2
1
■ A user can set up a connected TV condition and screen.
If a user selects “4:3 PS”, the user can watch only a centre of the original scene of
“16:9”. If a user selects “4:3 LB”, the user can watch the original scene of “16:9”, but
the top and bottom of the screen will be black.
If a disc size is originally recorded in 4:3, a user cannot watch it in a wide screen
mode though a user sets a size as “16:9 Wide”.
TV ASPECT
4:3 LB
4:3 LB
LANGUAGE
VIDEO
AUDIO
OTHERS
MOVE œ √†… SELECT:ENTER EXIT: SETUP
DIGITAL OUT
BITSTREAM
BITSTREAM
DYNAMIC RANGE
OFF
LANGUAGE
VIDEO
AUDIO
OTHERS
MOVE œ √†… SELECT:ENTER EXIT: SETUP
DIGITAL OUT
BITSTREAM
DYNAMIC RANGE
OFF
OFF
LANGUAGE
VIDEO
AUDIO
OTHERS
MOVE œ √†… SELECT:ENTER EXIT: SETUP
Set output conditions to coaxial or optical terminal. You can set the following two
values of digital output;
• Bitstream: The same signal as audio signal recorded in disc goes to digital
audio output terminal.
• LPCM: Decoded audio signal goes to digital output terminal.