Hiti p910l quick installation guide – HiTi P910L Quick Installation Guide User Manual
Page 3
HiTi P910L Quick Installation Guide
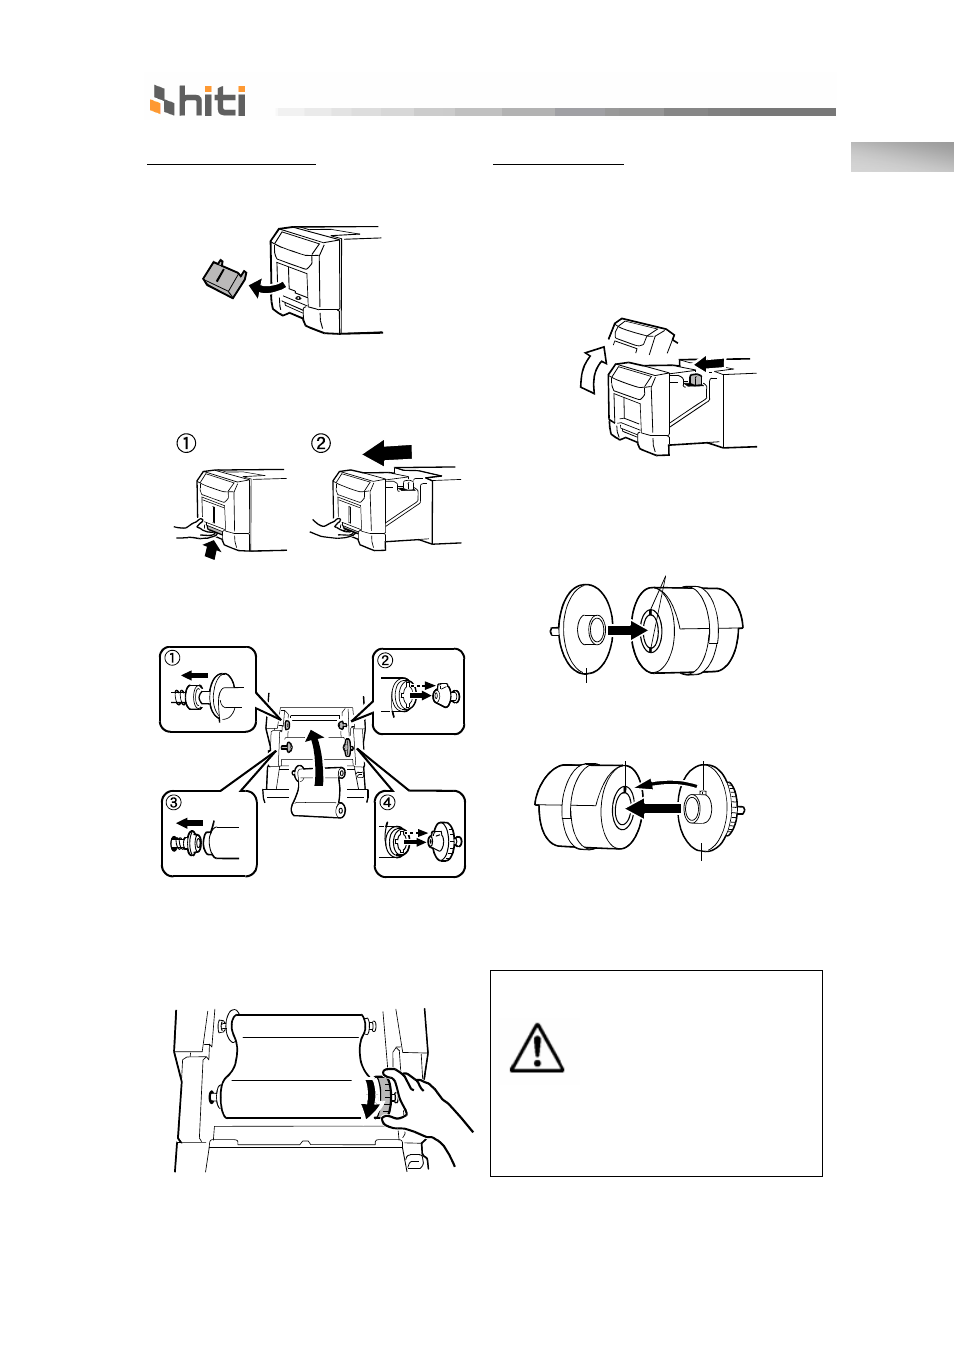
Setting Ink Ribbon
1.
Remove dust box.
Loading Paper
Turn on the power of the printer by
pressing "|" on the power switch.
1. Pull out the drawer unit and pull
the lever to open the open guide
unit.
2.
Carefully lift the drawer lever and
pull the drawer unit
2. Install the paper flange (white)
and paper flange (blue).
3.
Set the ink ribbon to drawer unit
as shown
.
Caution: The paper is not set
correctly if there is a gap of
about
5mm ~ 10mm
between
the paper flange and paper.
Match the notch of the paper
flange and the notch of the
paper core by rotating the
paper flange
4.
Take the slack ink ribbon by
turning the ink ribbon supply
core.
Two notches
Blue
Projection
Notch
English